I really wanted to make a bookshelf for myself.
I know I’m still new in design, so I started by browsing a lot of design from pinterest, and this is the design I love best.
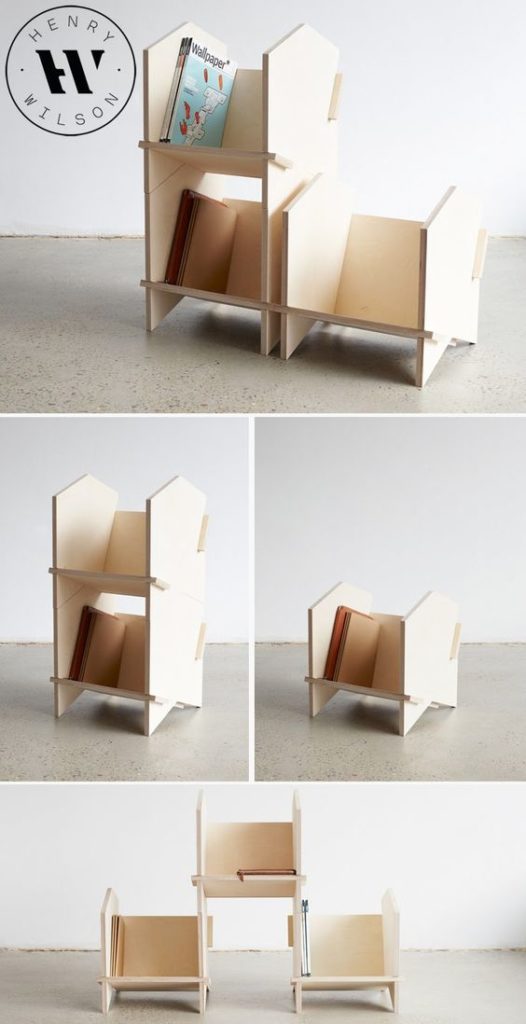
For this project I made a lot of test, mainly for the two different kinds of joints I want to create.
Joints 01
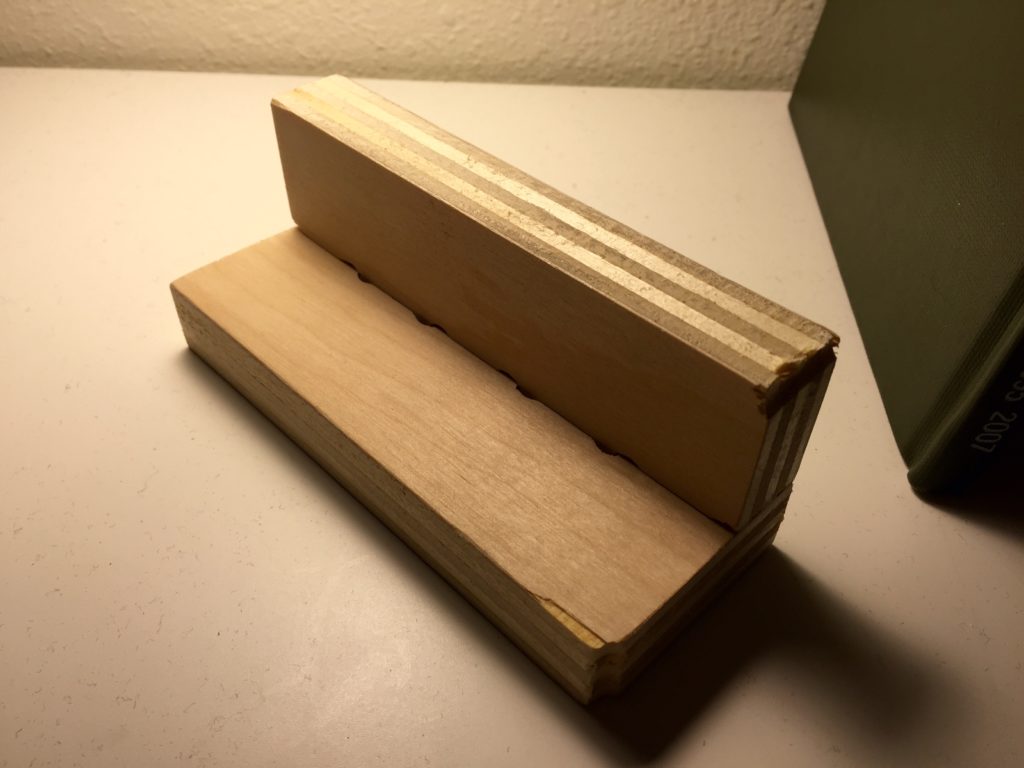
This first joint is what I wanted to use for the two inner boards of the bookshelf. Although I learned to create some tolerance for their depths, say 0.74″ hole for 0.73″ thick board, but I forgot to add some tolerance for those teeth so they are still all 1″ in width and fits super snug.
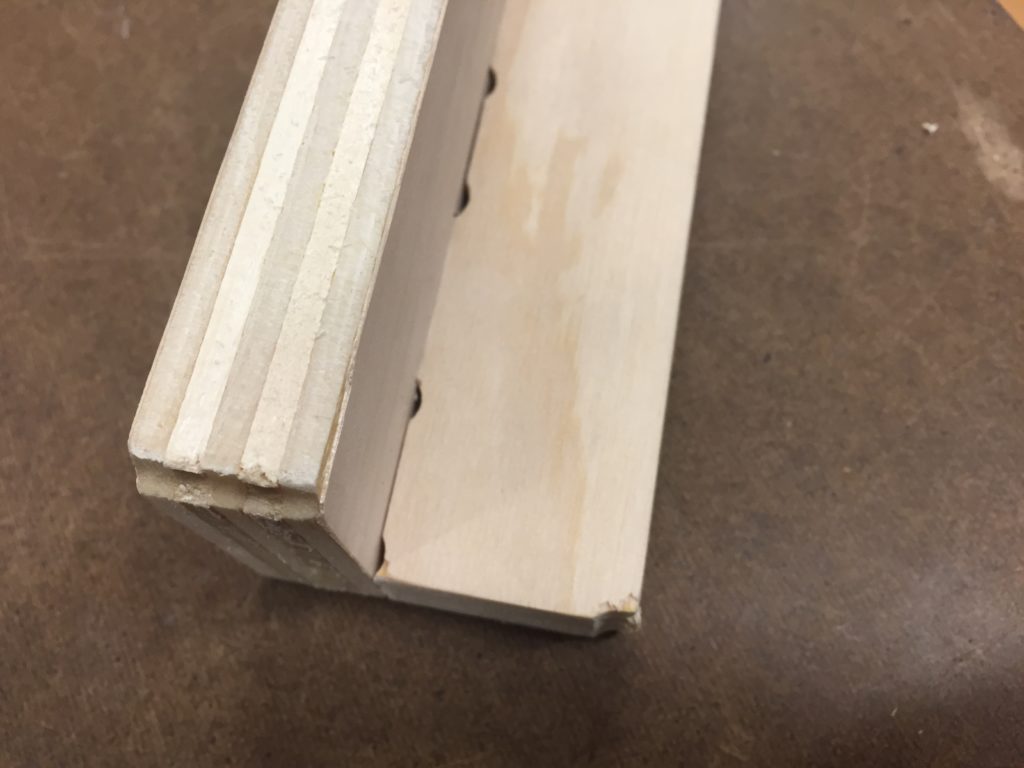

Another thing I learn is, if I’m creating some tiny piece it could damage the corner when finish the cut.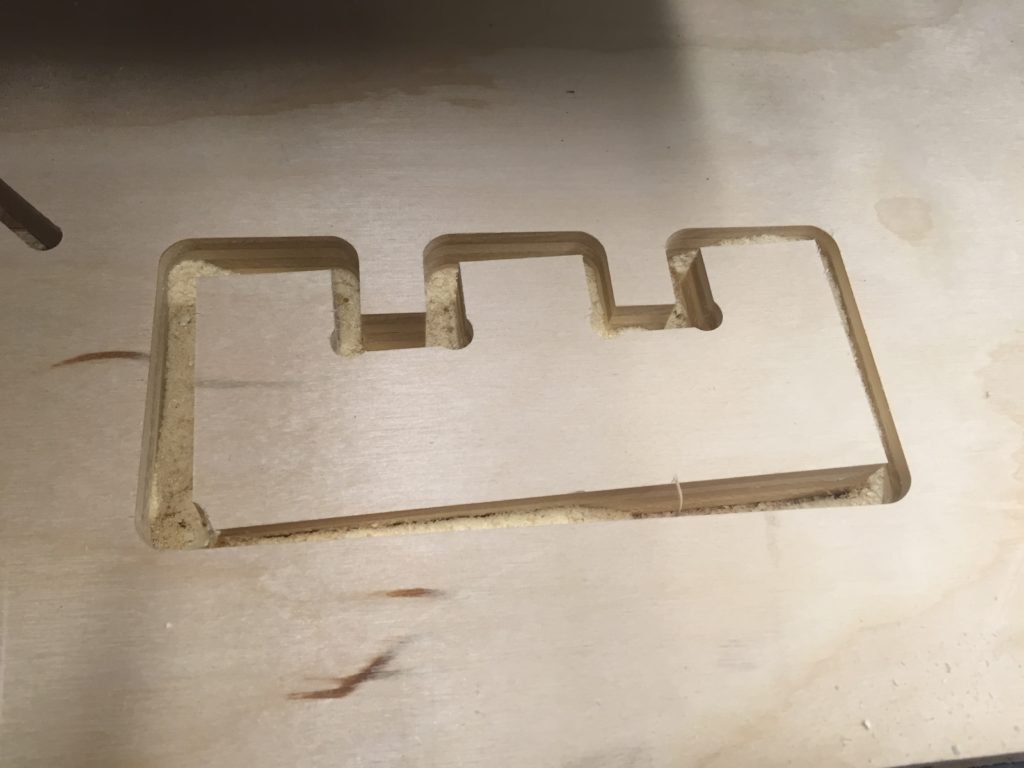
Joints 2
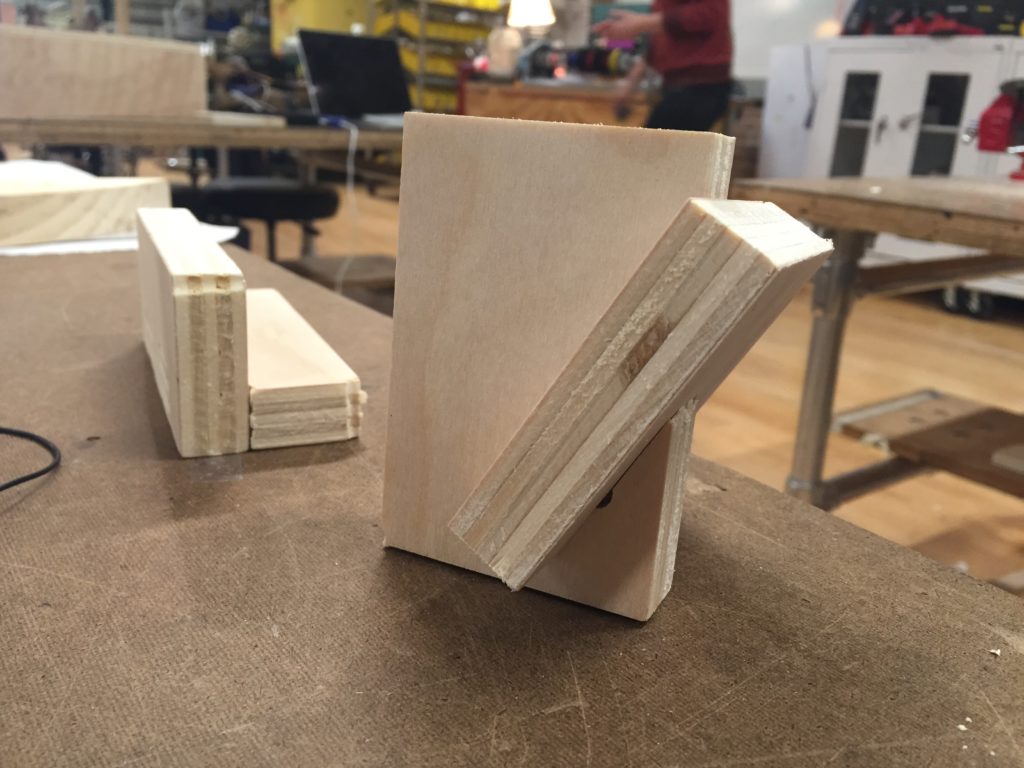
This is the second kind of joint I want to make, to connect the side board to the inner boards.
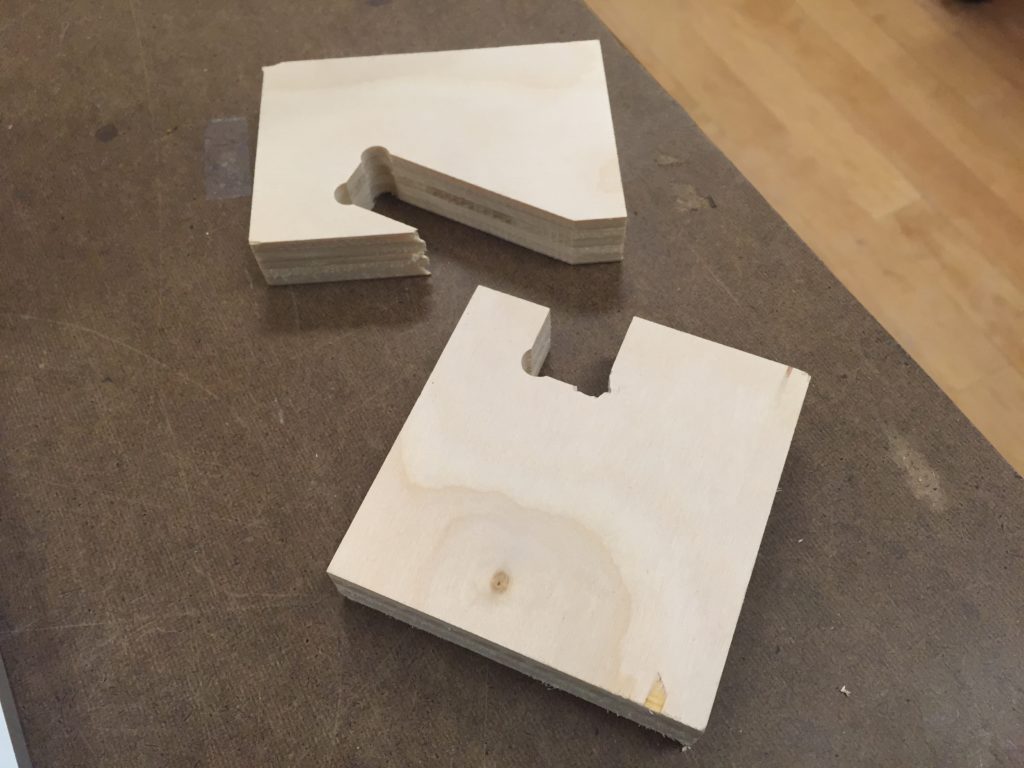
This time I used 0.01″ tolerance (0.73″ depth and 0.74″ hole) and it feels kind of loose. I think next time I’ll just try 0.005″.
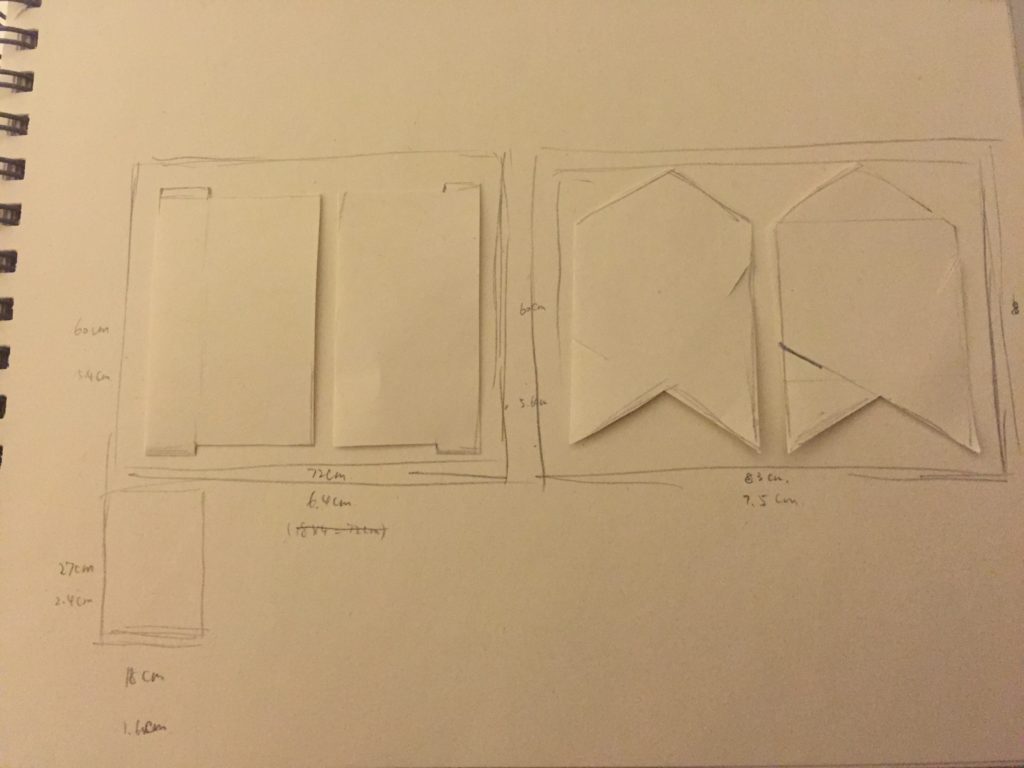
Paper version for measuring size
Since I want to make it a real bookstand, I don’t want it to be either too big and too small; also I want to know how much wood I need to use.
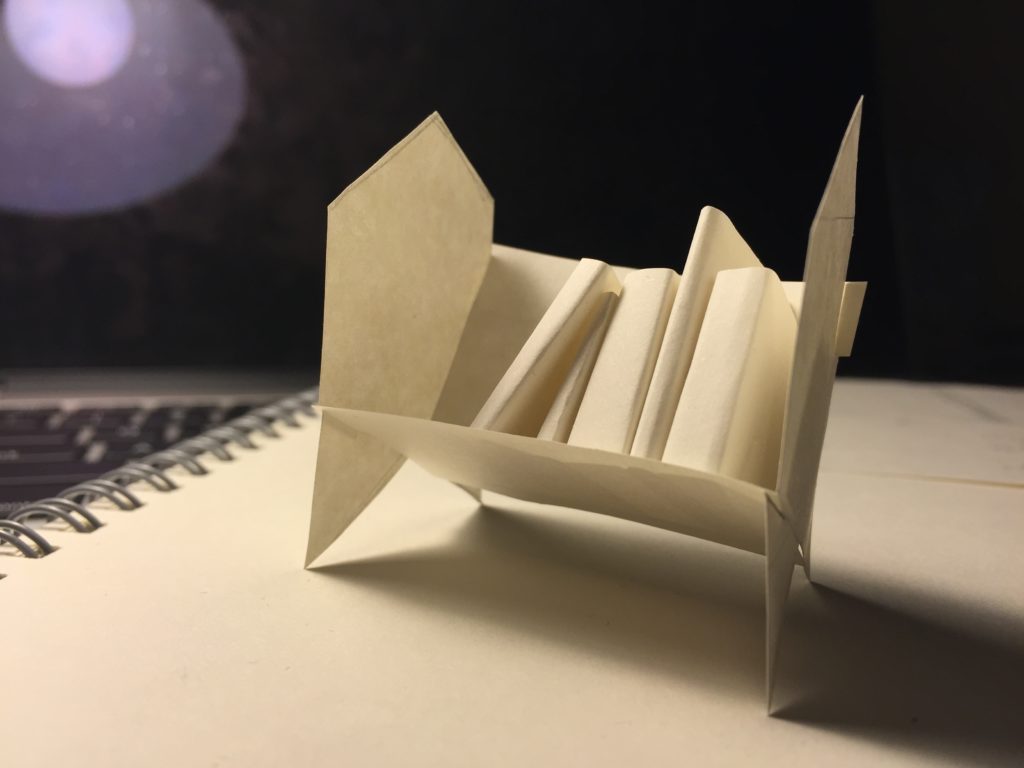
Kind of playful. I love it.
Final Result
Thinking about what I learned I created 0.005″ tolerance for every joint. And I also added some rounded corner to make it better.
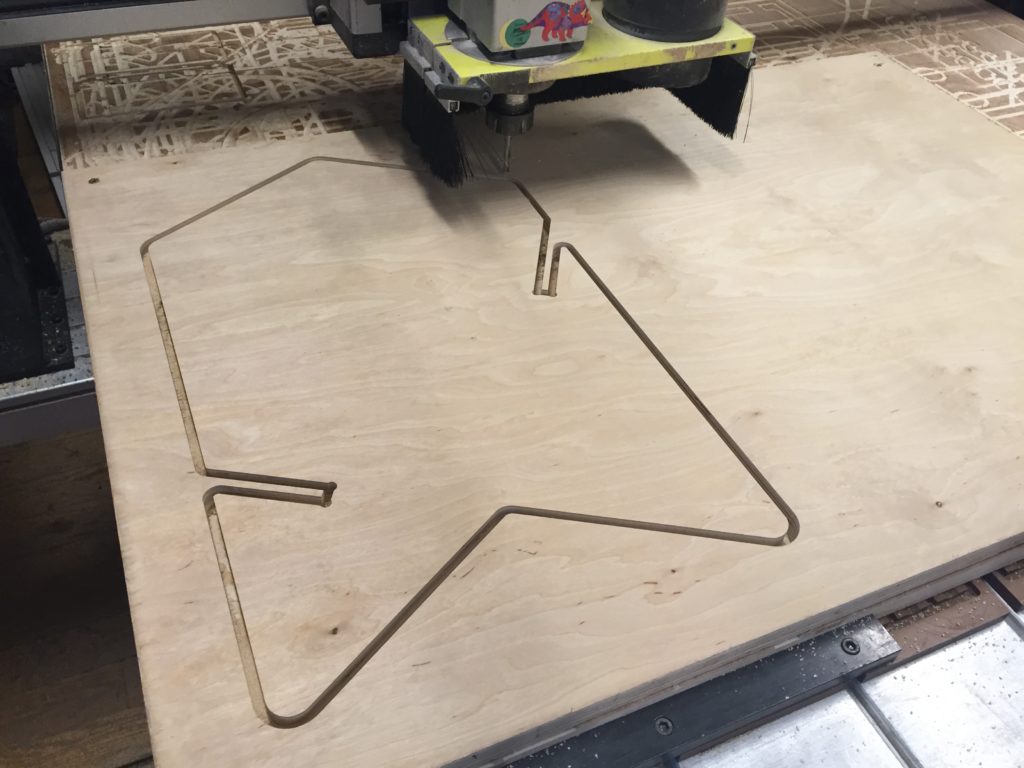
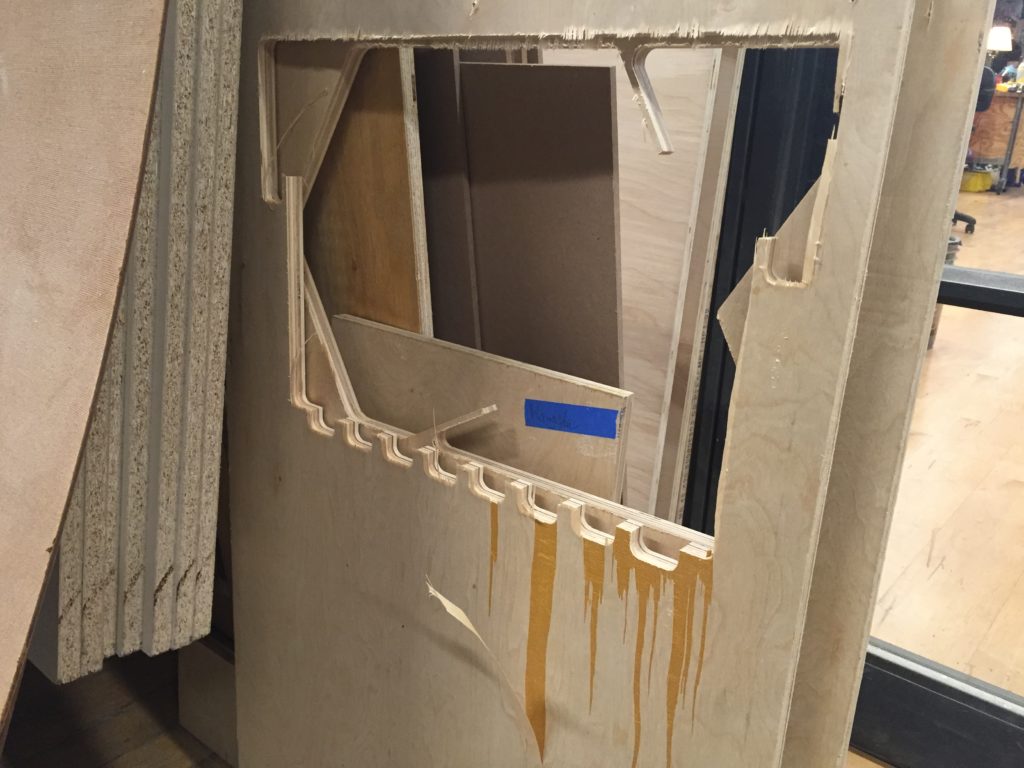
It got scratched when I was cutting it down…I measured the depth to be around 0.70″ to 0.71″ but maybe I have set the cutout depth to be just 0.71″ so it’s not completely cut. Also maybe I have to screw the board more flat.
Thanks for Quest’s help I eventually sand the piece good.

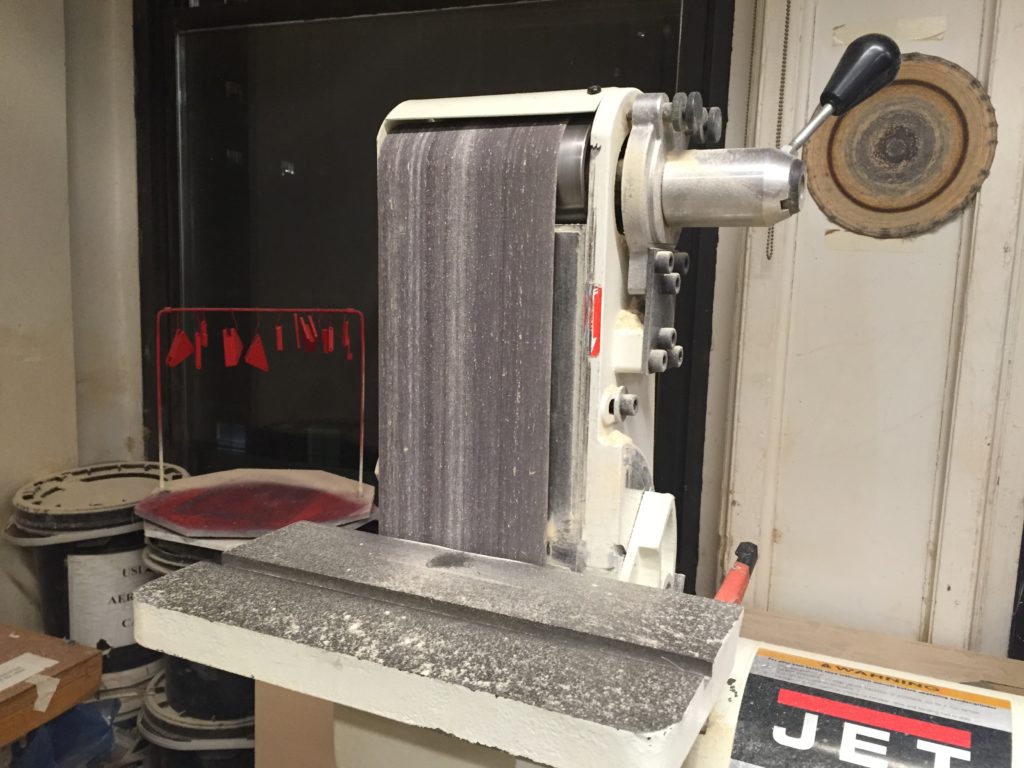
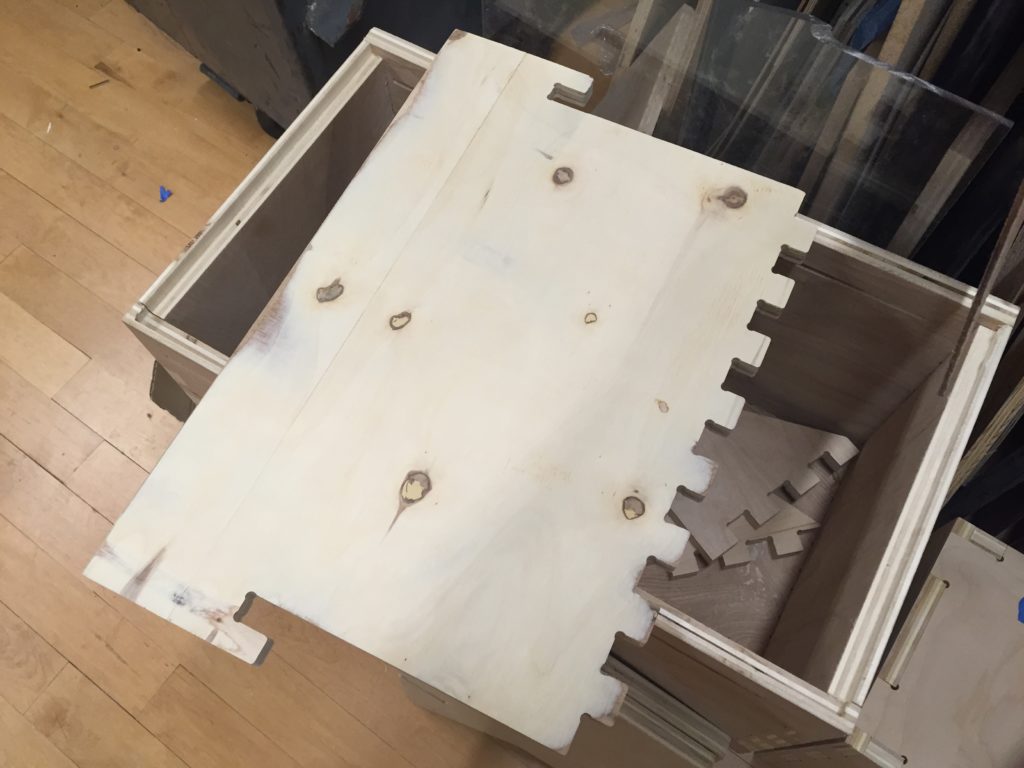
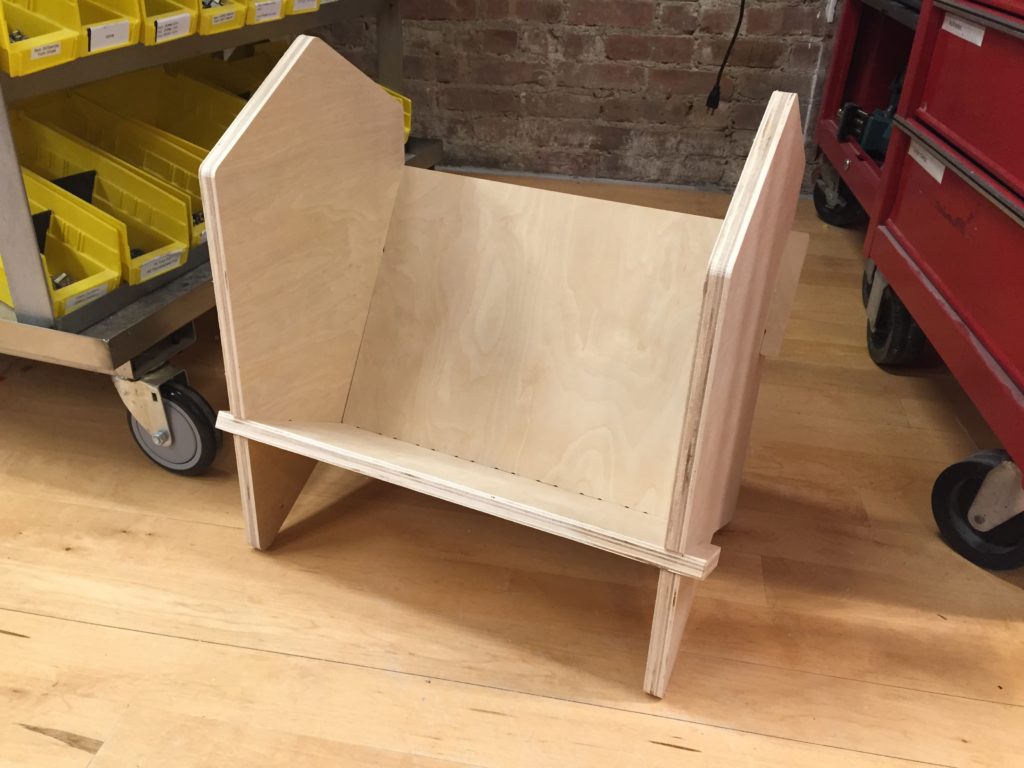
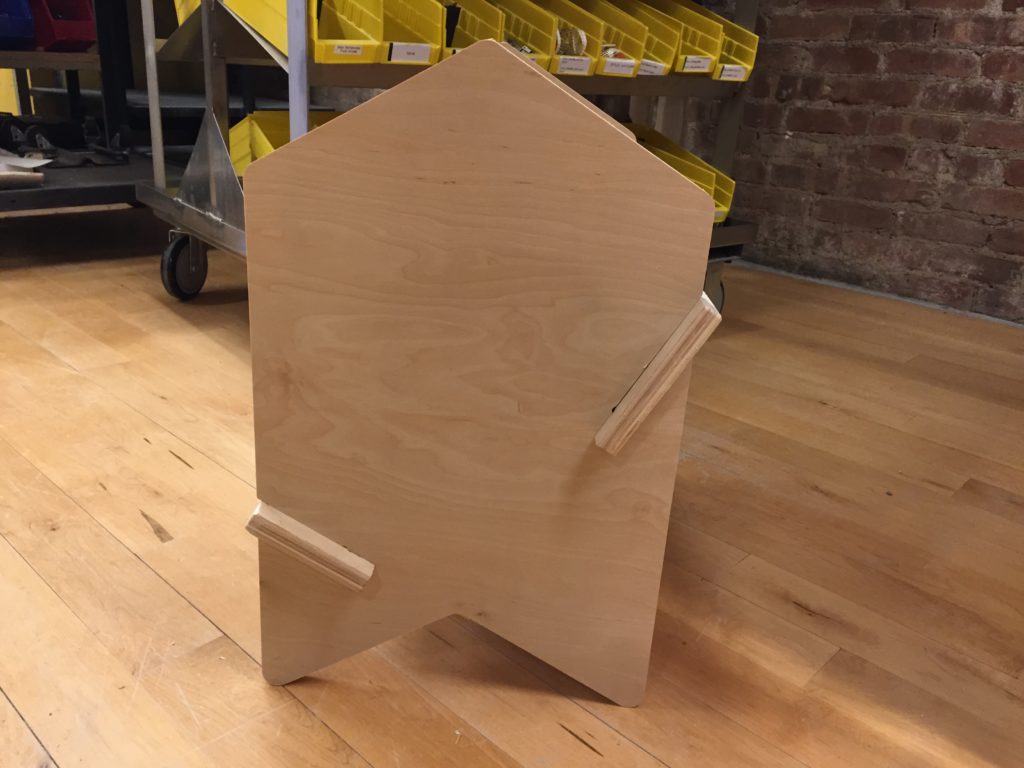
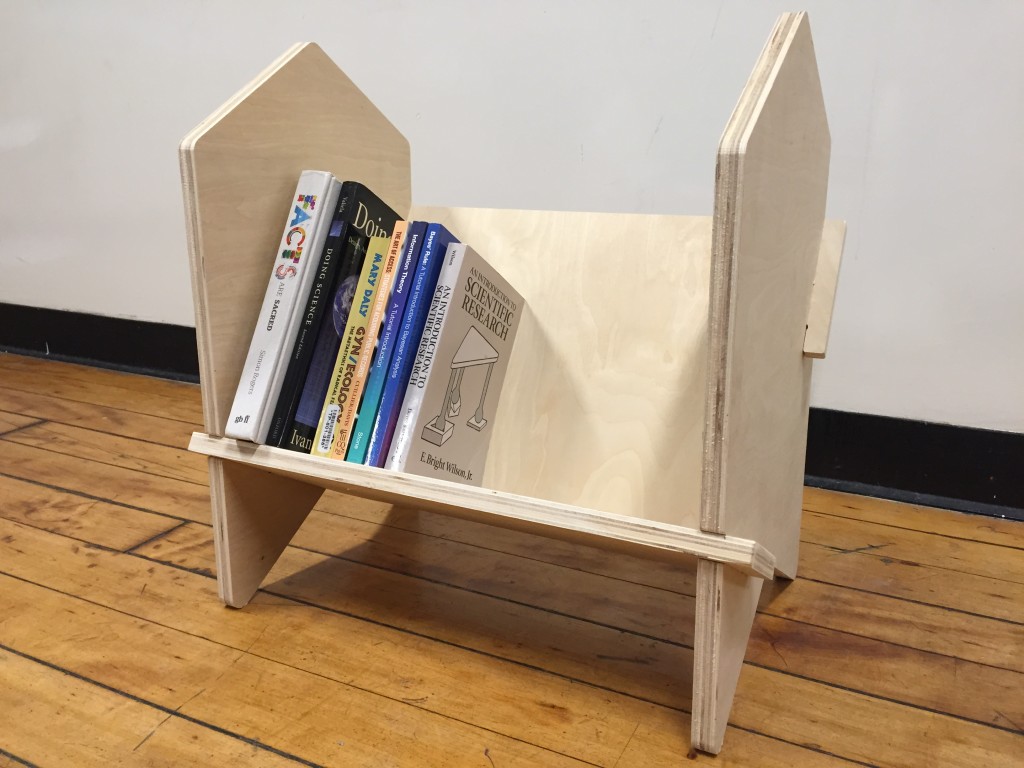
Finish! I’m so glad it fits perfectly everywhere.
Beautiful, ingenious, yet simple. You did a fantastic job, well done.
Thank you <3