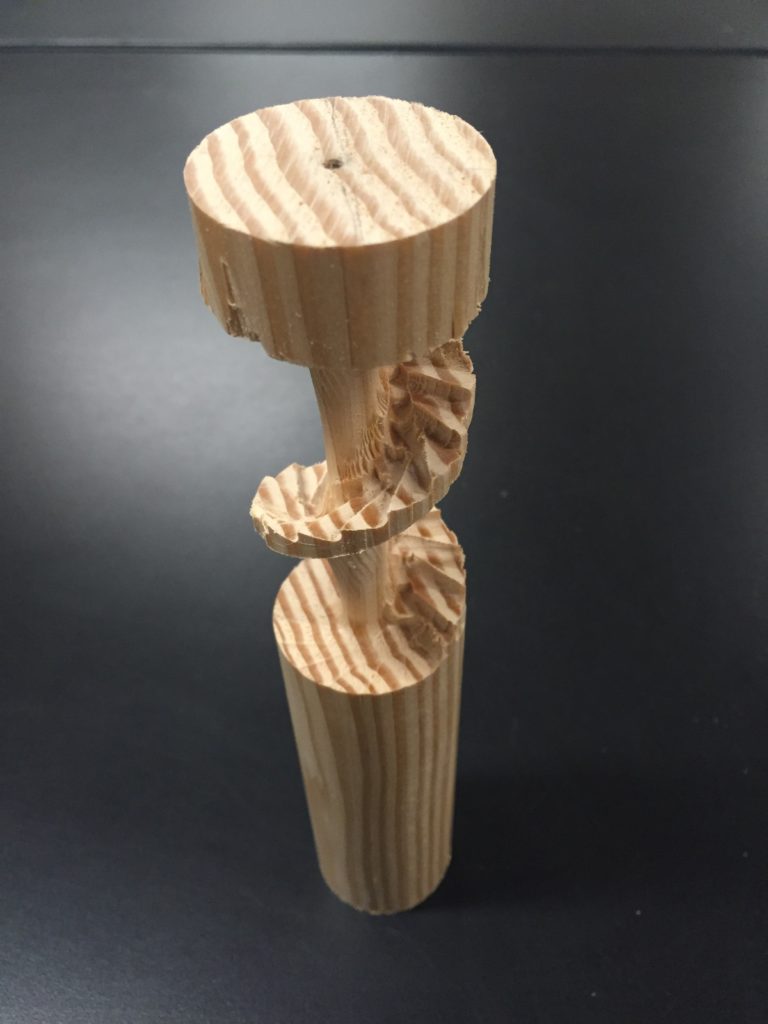
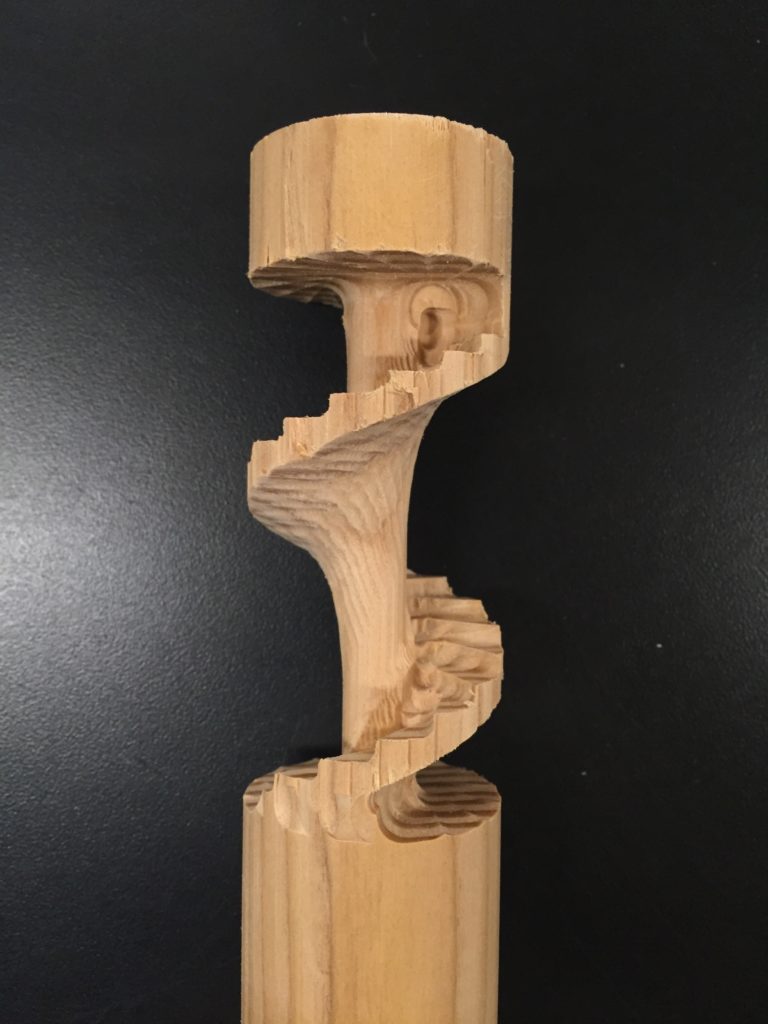
I really wanted to do something fancy and spiral, and I think stairs would be great. And when I search online I found a built-in stair tool inside Vectorworks, so I created the model with the tool easily.
It’s all about try and fail and learn and try again.
First try
First time when I set everything up, it says x should be at least 6.87″, but my delrin rod is 6″, so I need to decrease the number of stairs.
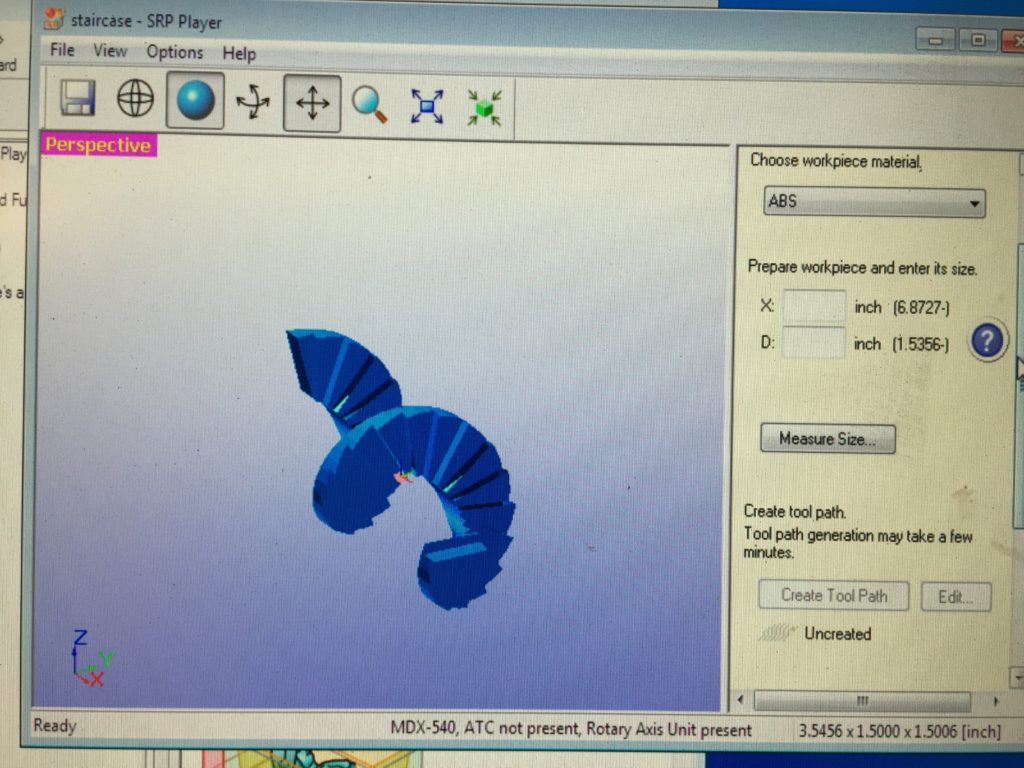
Then I suddenly realized that the end of staircase is so fragile.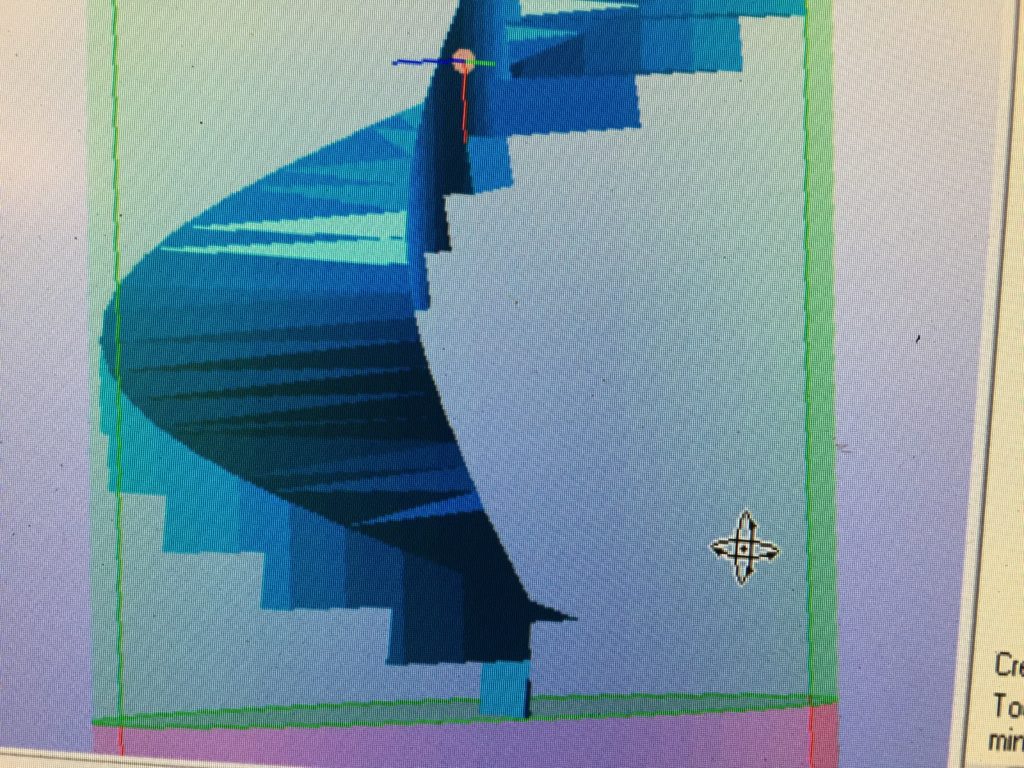
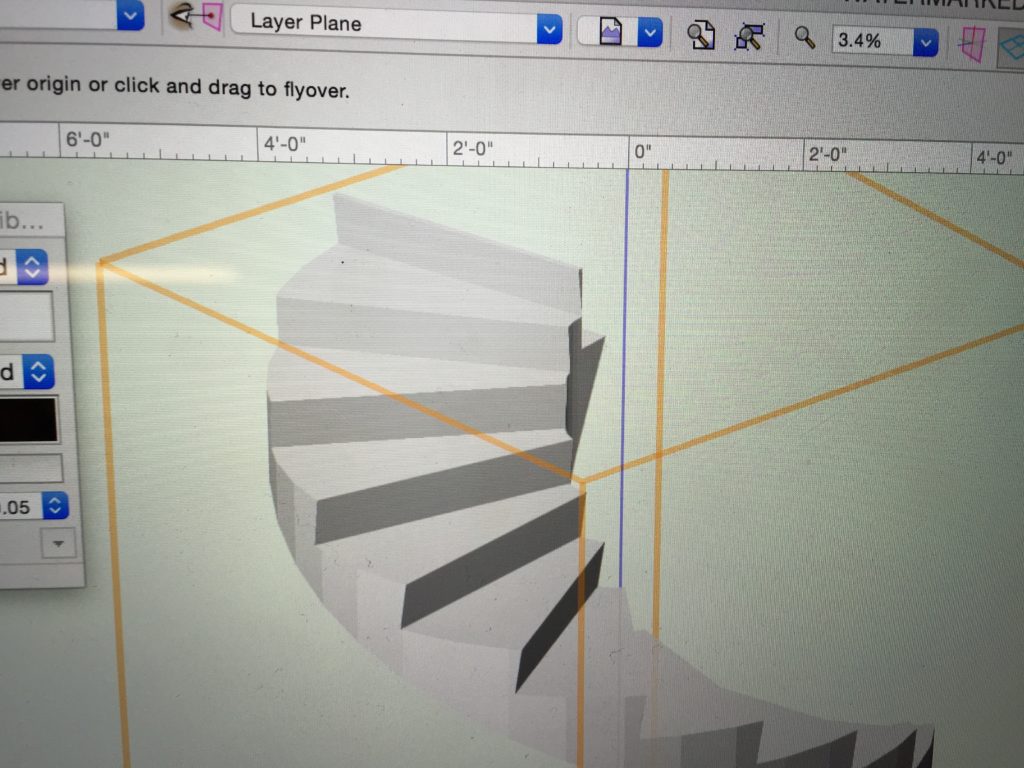
So it was “fixed” with some “flooring” settings. (Not completely fixed, actually.)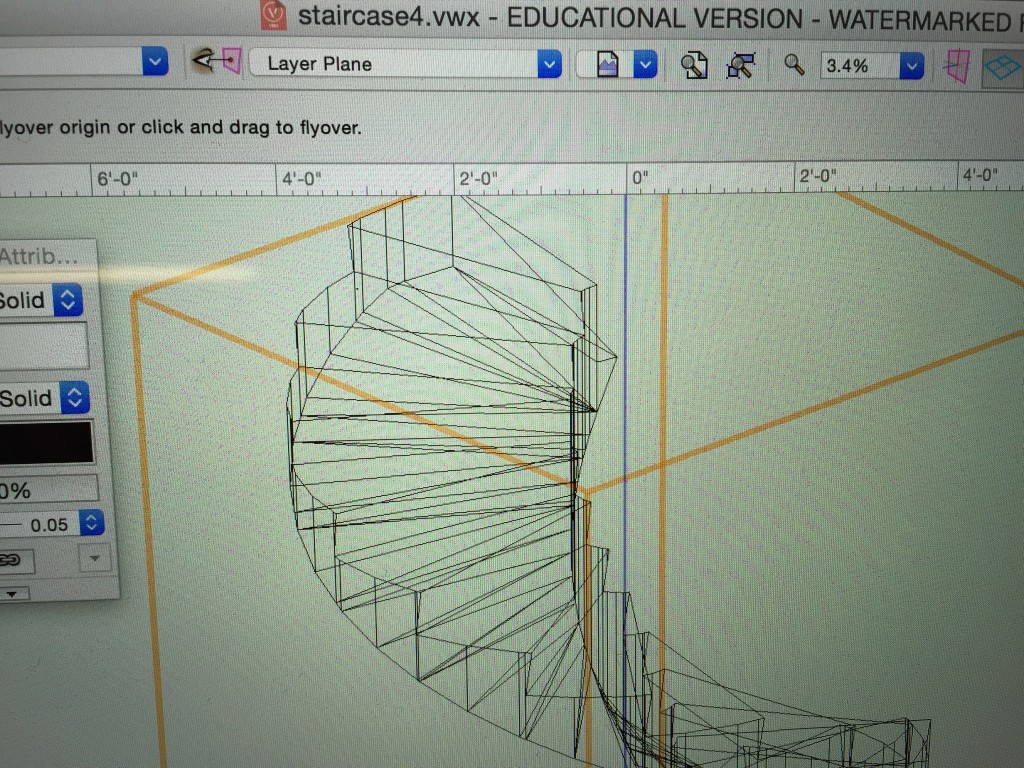
When I first select to only use 1/8″, it says I need 3.3 hours! Then I try to register a new 1/4″ bit and use it in the roughing path, and still use the 1/8″ bit for finishing, then the time magically shrinks to 1.1 hours. Truly a life saver.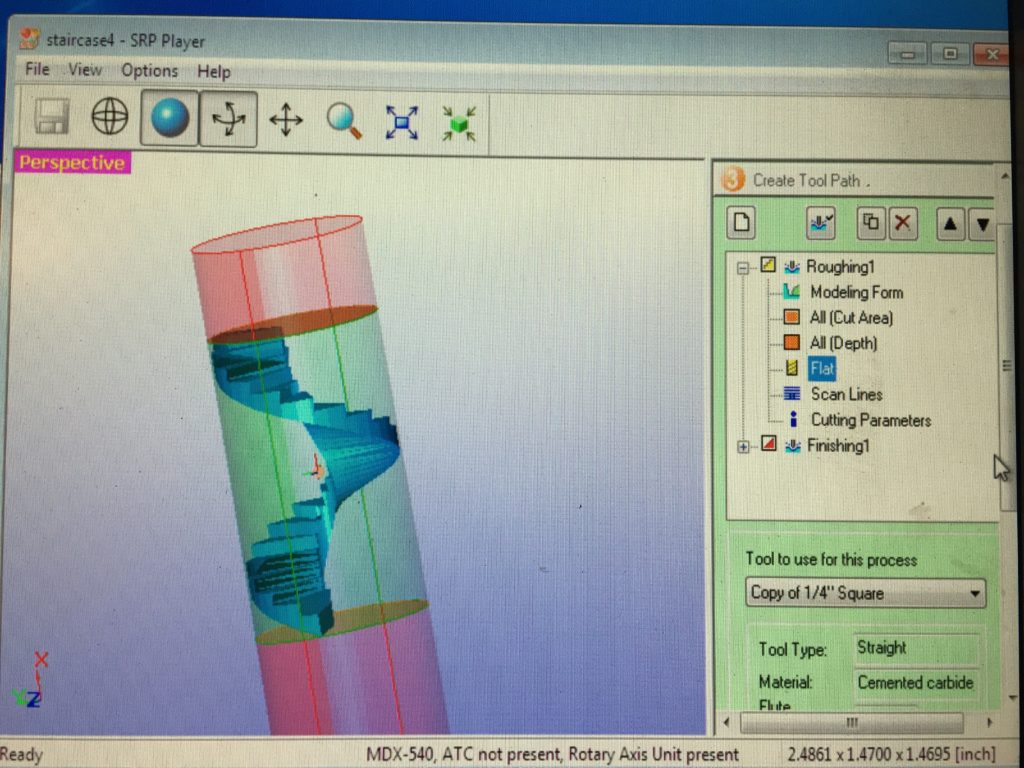
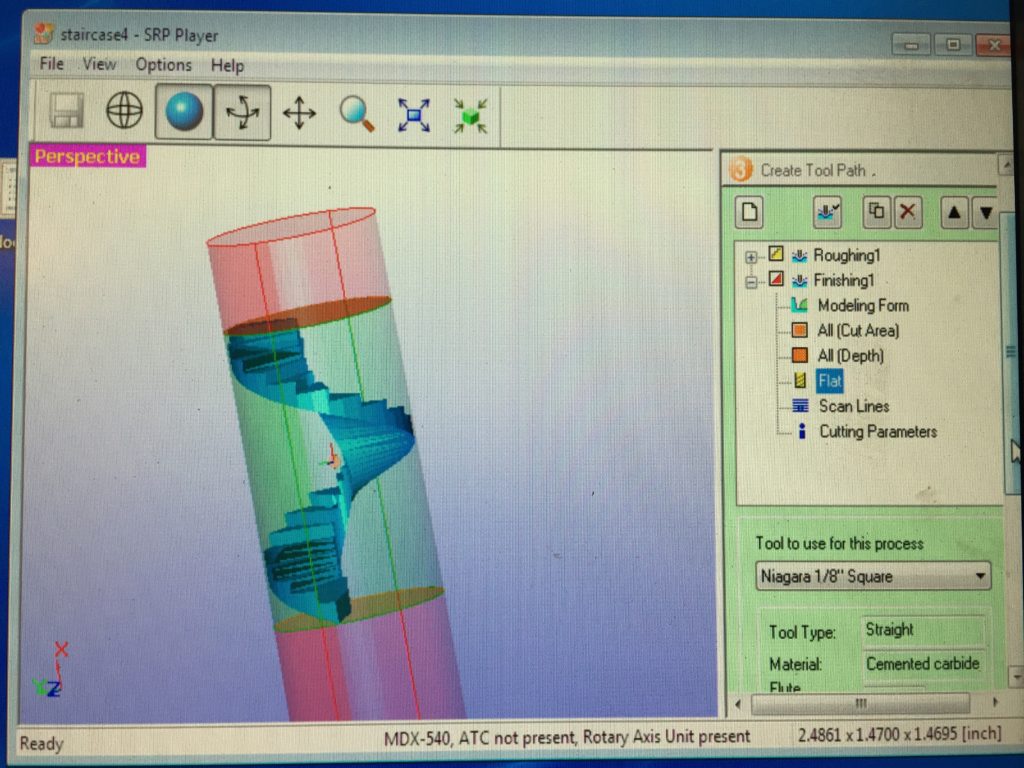
Finally everything looked great. (It seems the bit diameter do much more than ball-end-or-not in terms of the finishing quality. Using 1/8″ straight in finishing path looks much better than 1/4″ ball end.
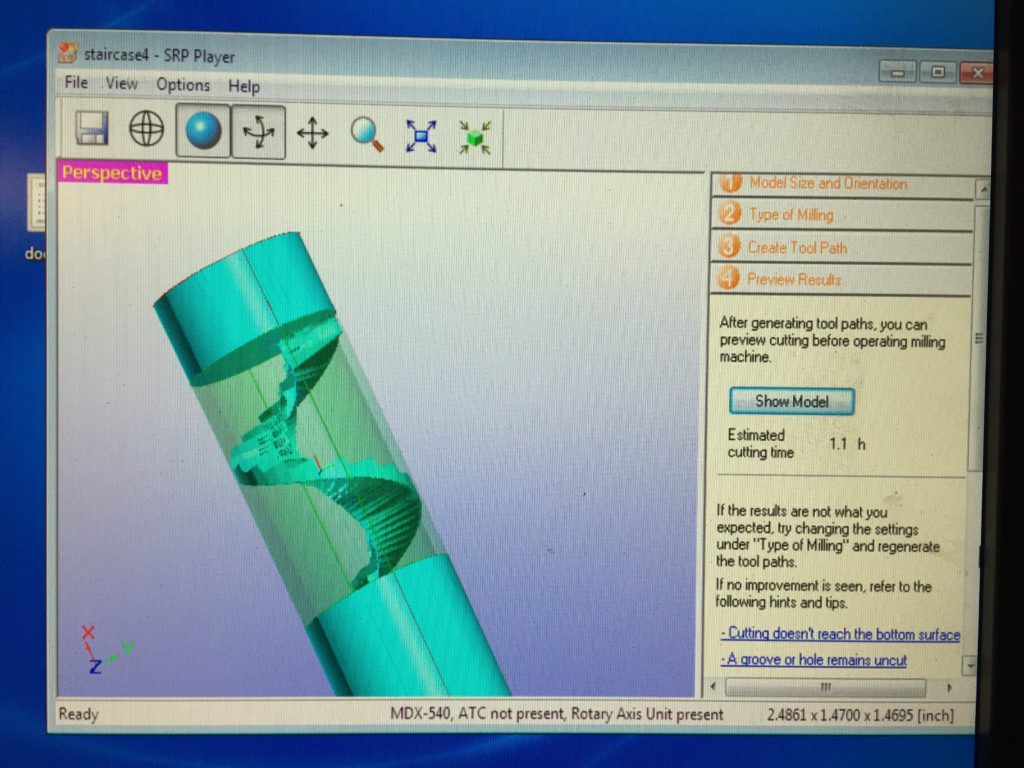
So everything looked good.
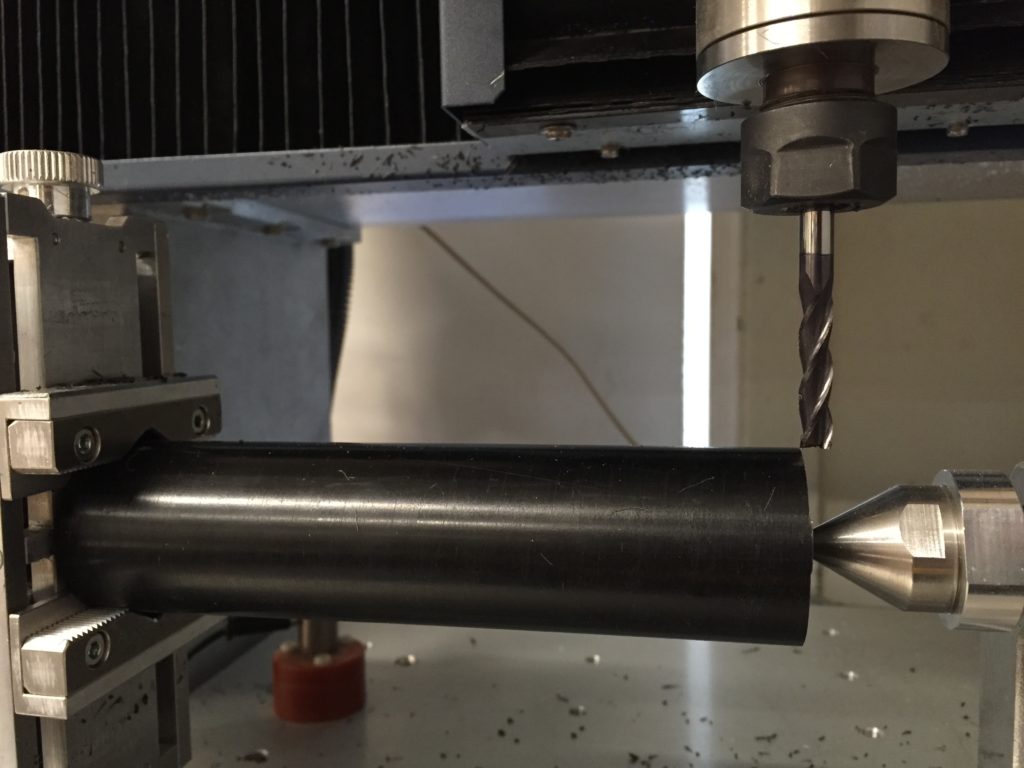
Saw that bad “detach” message again. Won’t be fooled again 🙂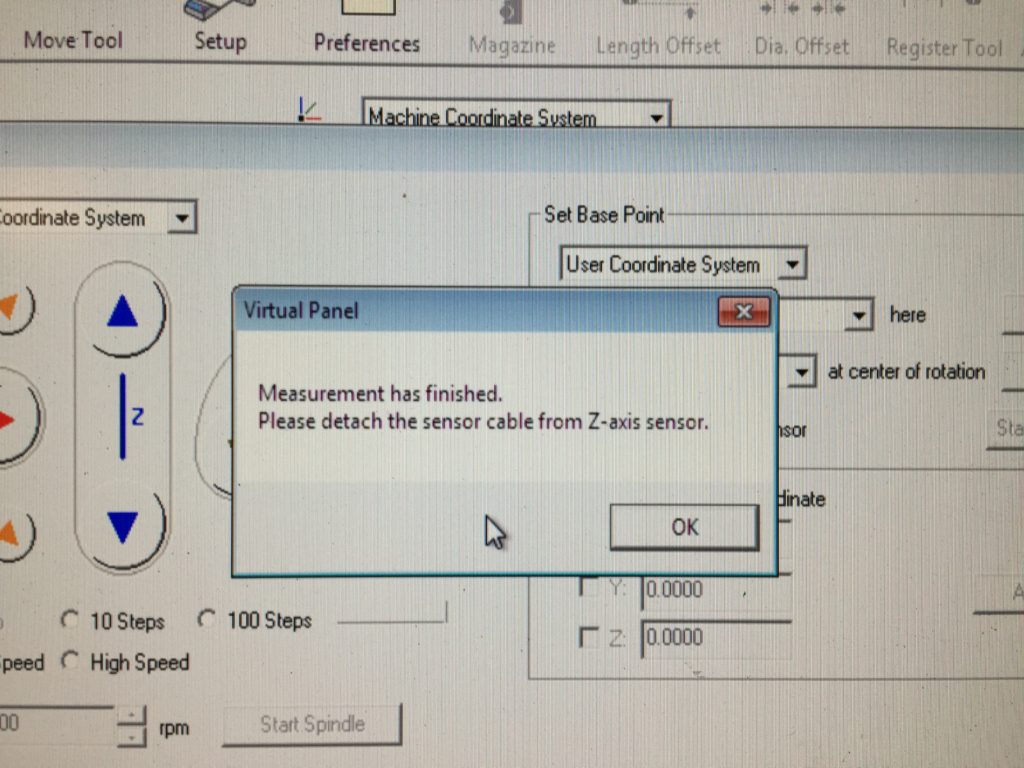
Roughing looked fast and good.
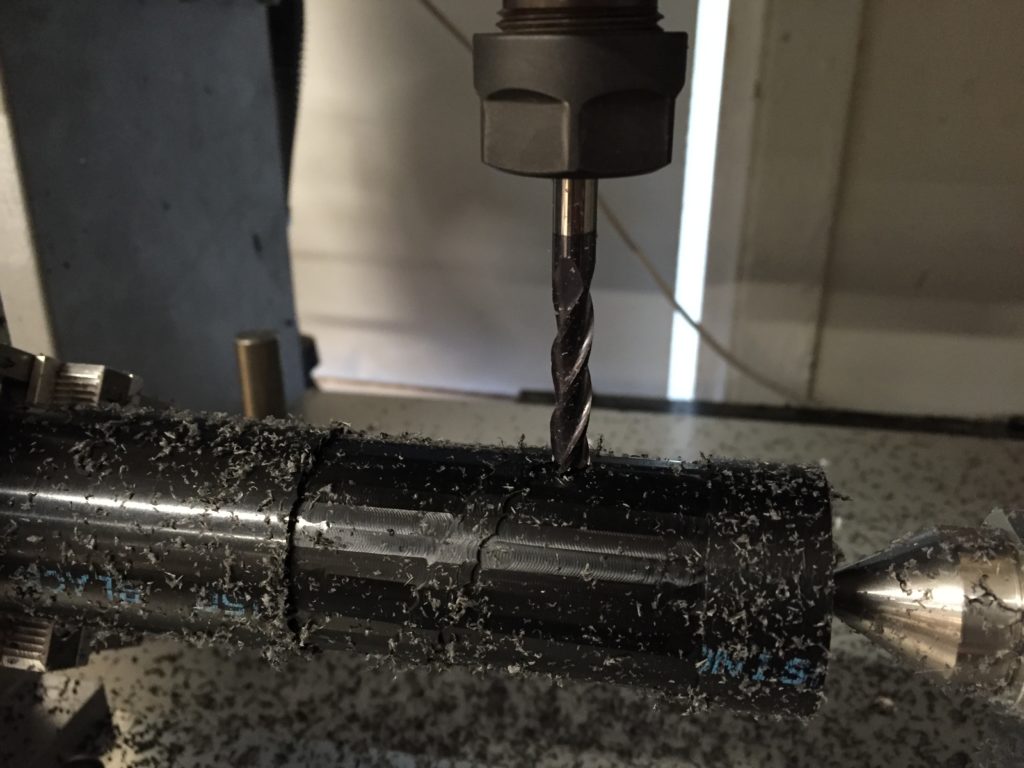
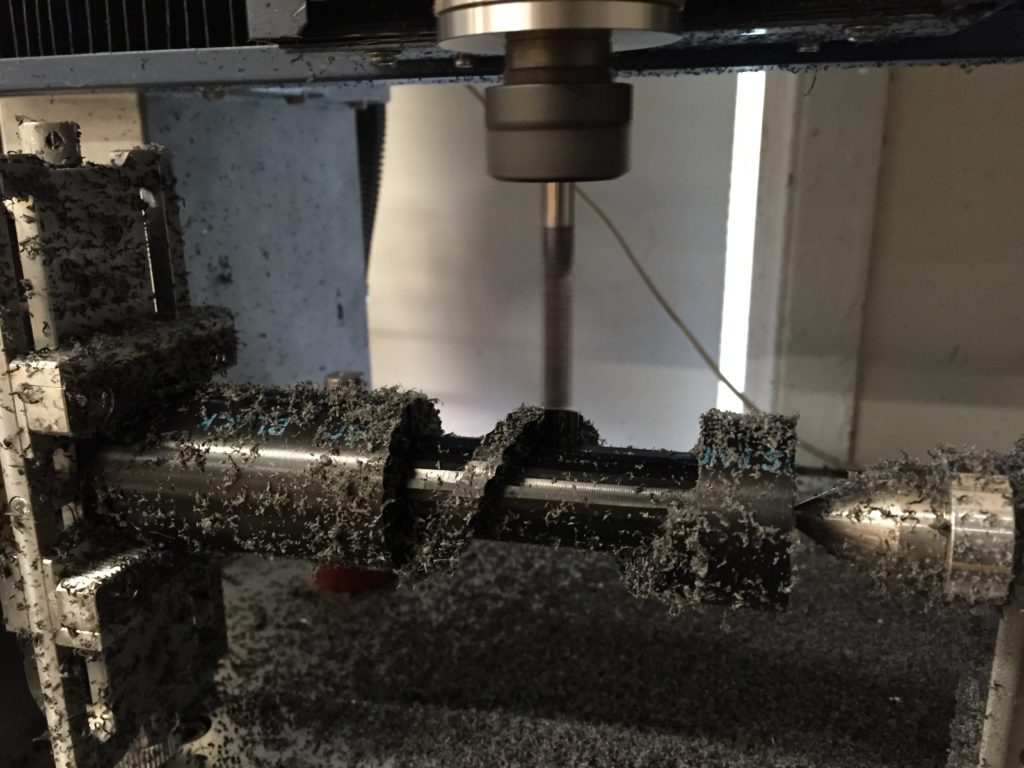
Near the end I heard a little cracking but thought it fine (what did it mean? Seemed just good).
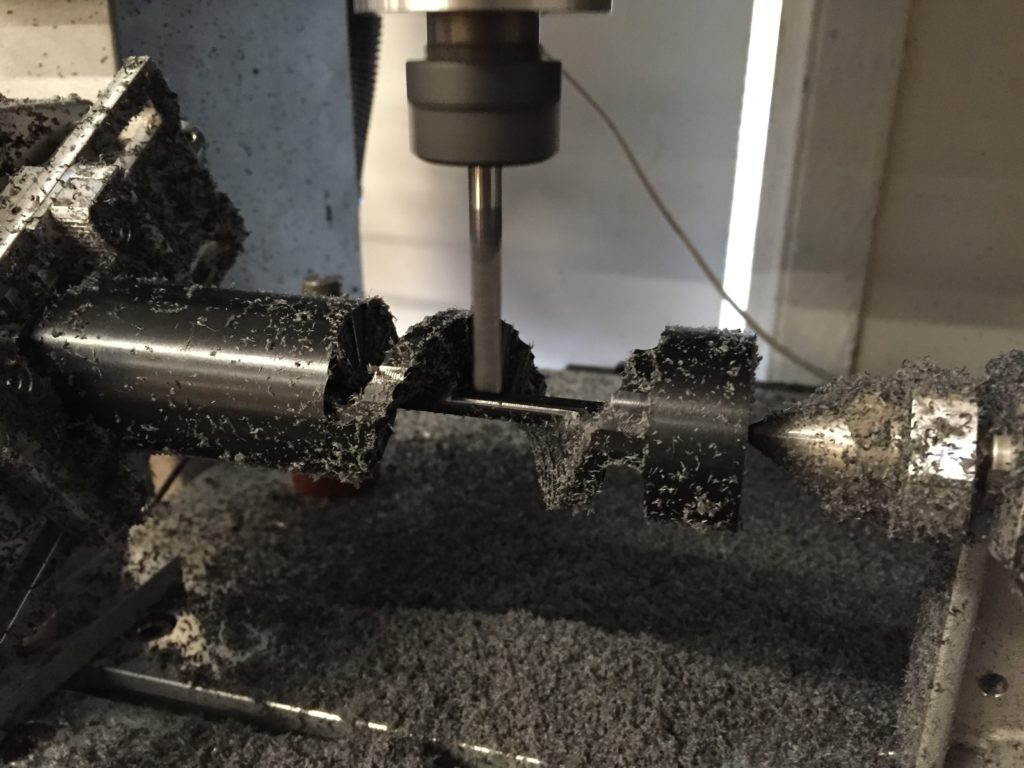
1/4″ bit fell on my piece when I unload it with wrenches. Bad start. (Maybe that also contributed to the cracking)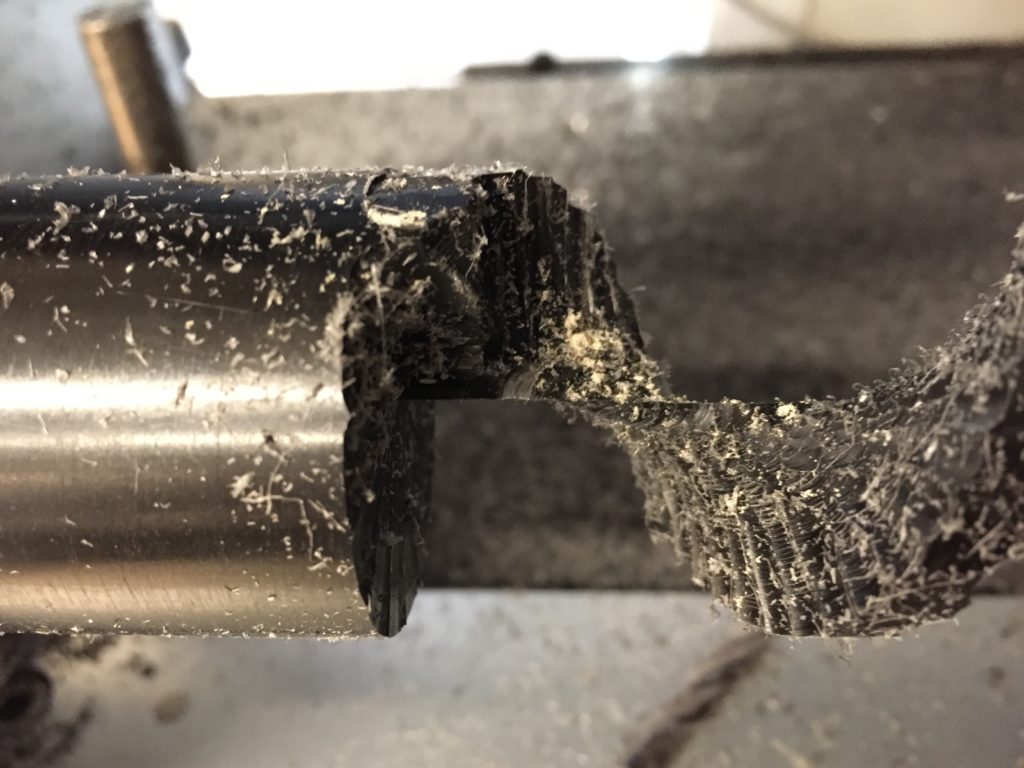
Switched bit, just looked good.
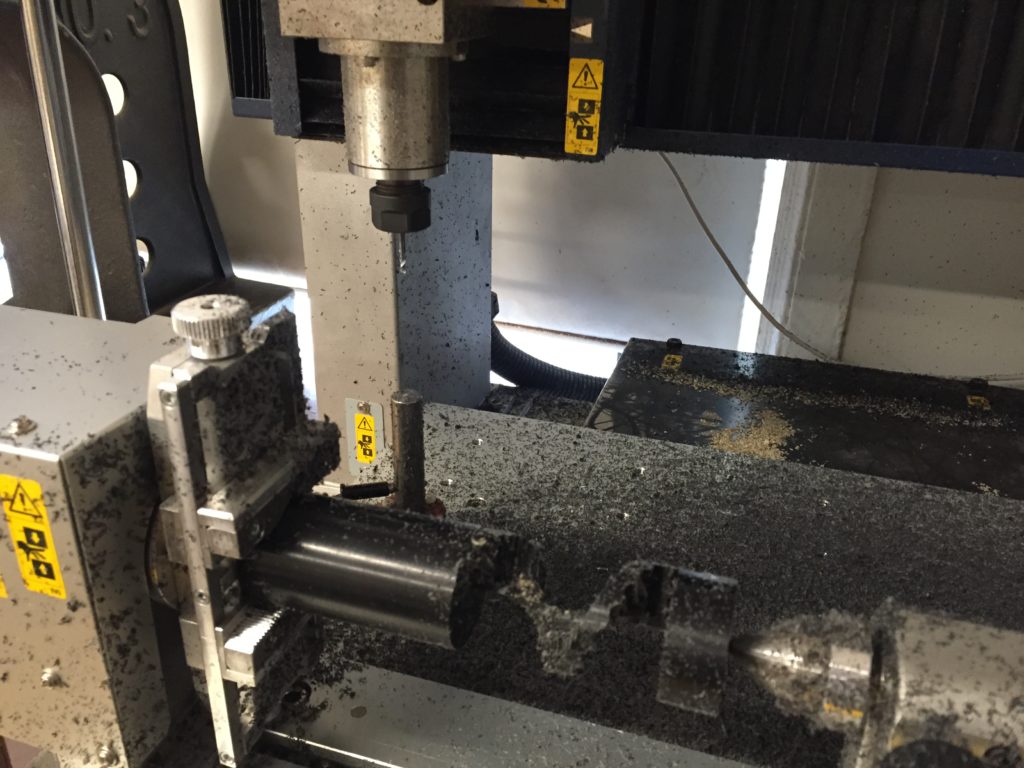
Looked just nice.
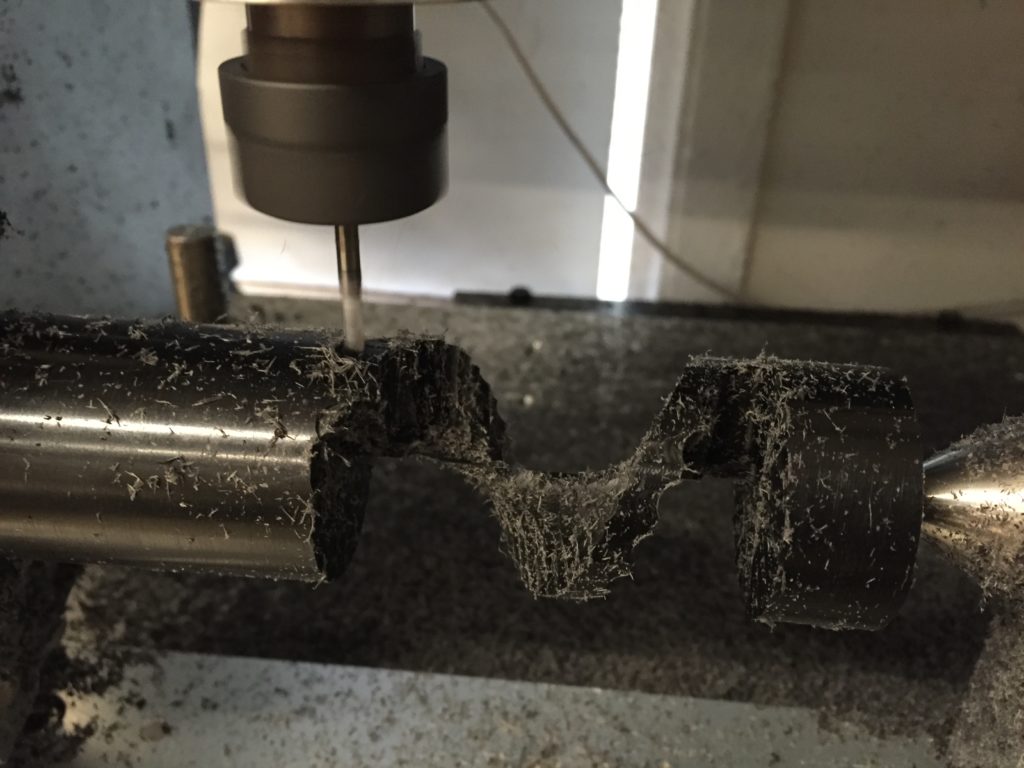
Suddenly I realized there was a lot of cracking noise. When I got closer, it seemed the machine tried to turn the left piece harshly. Yet, the left junction was somewhat cracked, and refuse to turn so much degree as the block did.
(The machine was also turning clockwise as seen from right, but the stair runs in different direction, making it susceptible for harsh turning as well? Or could it be that my piece was just too snug on the right to turn easily?)
So I saw the bit go wildly on my piece. I had to stop the machine since I already lost my precision.
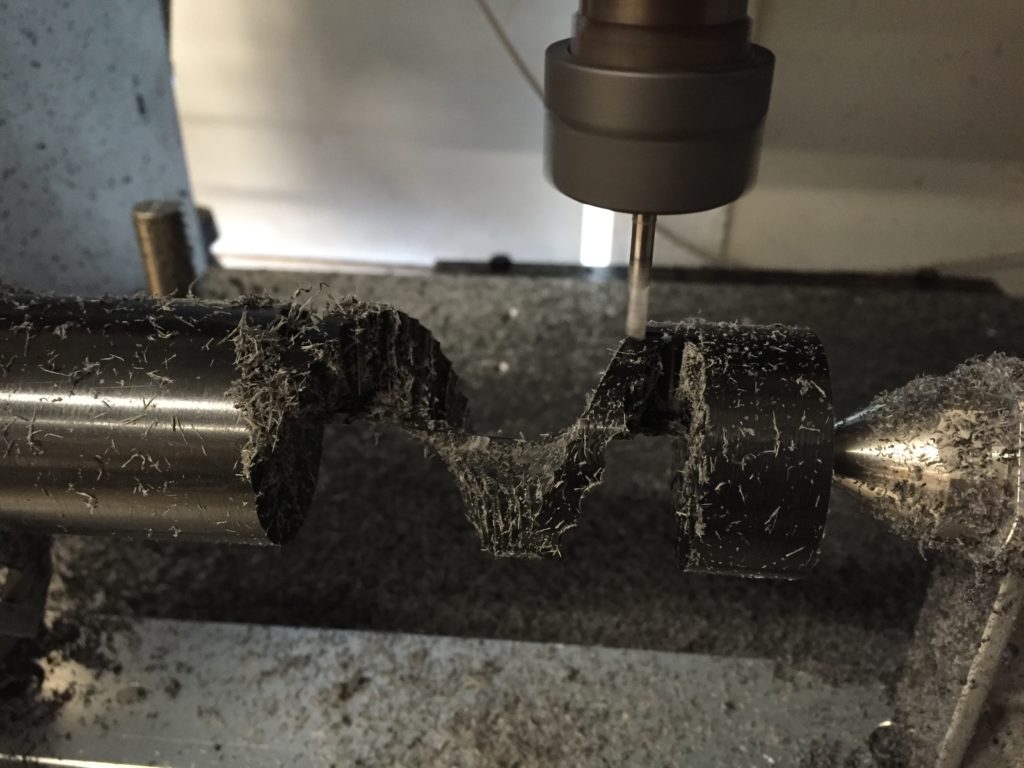
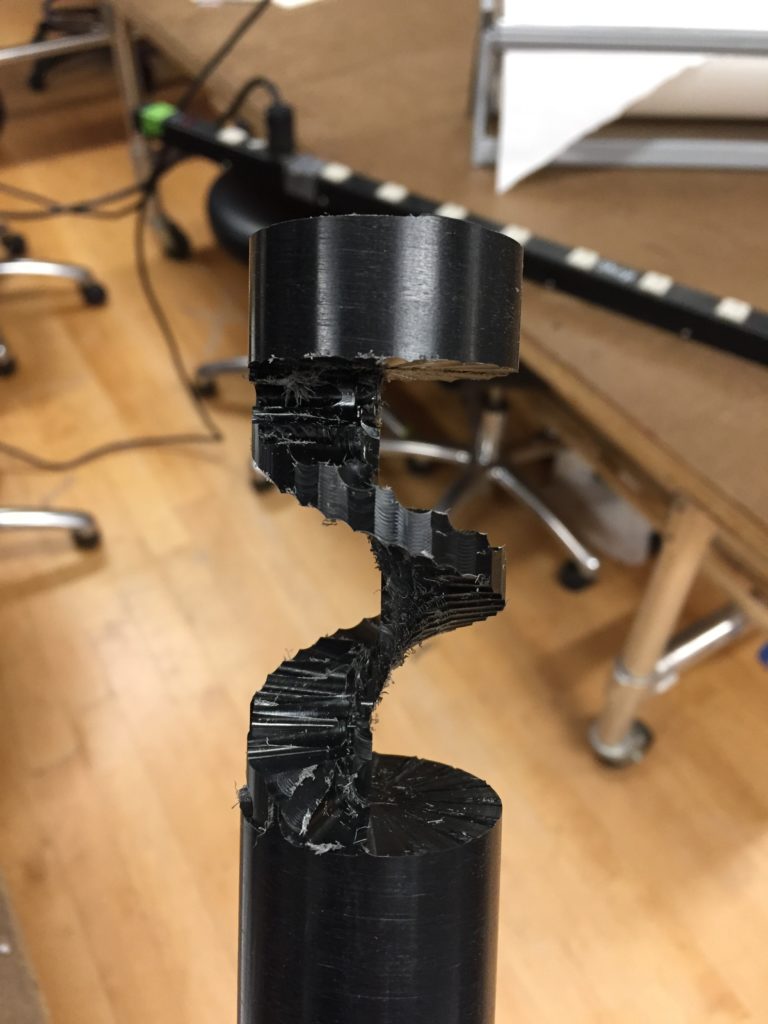
Sadly it looked so rough. And I lost my stock of delrin.
Luckily I went around Canal Street and got some fresh wood now. Hope it will be better tomorrow.
Second try
This time I got some wood. And this time I didn’t get it too snug.
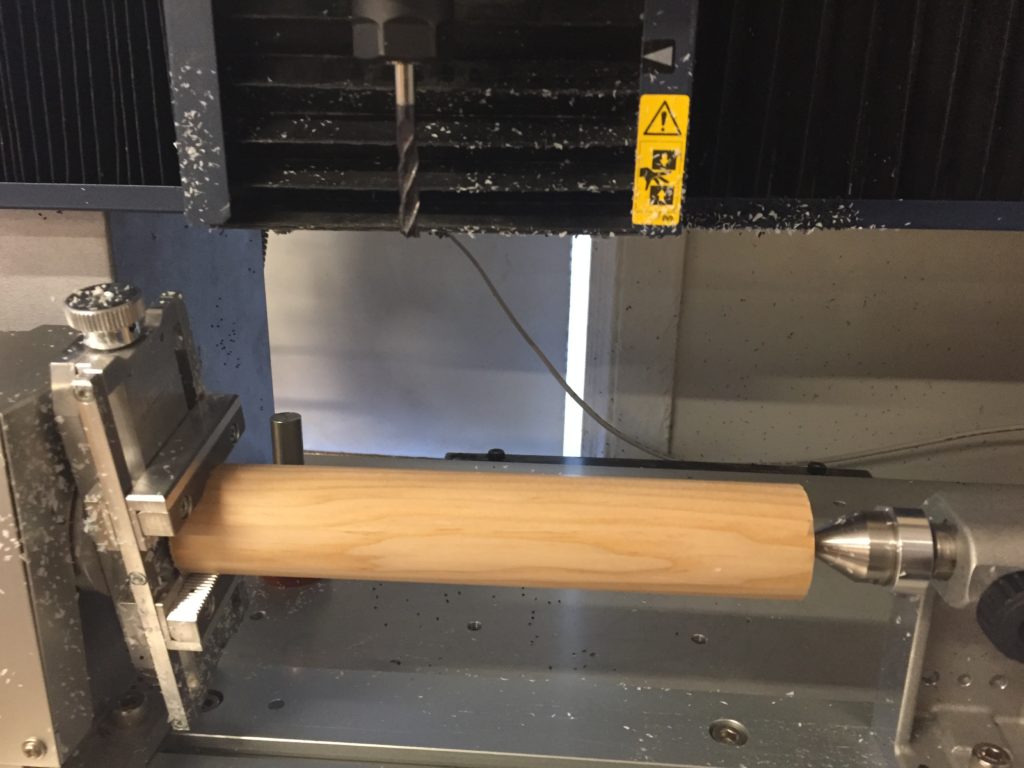
Tried to add support, but then the stairs will not be directly touching the floor and ceiling.
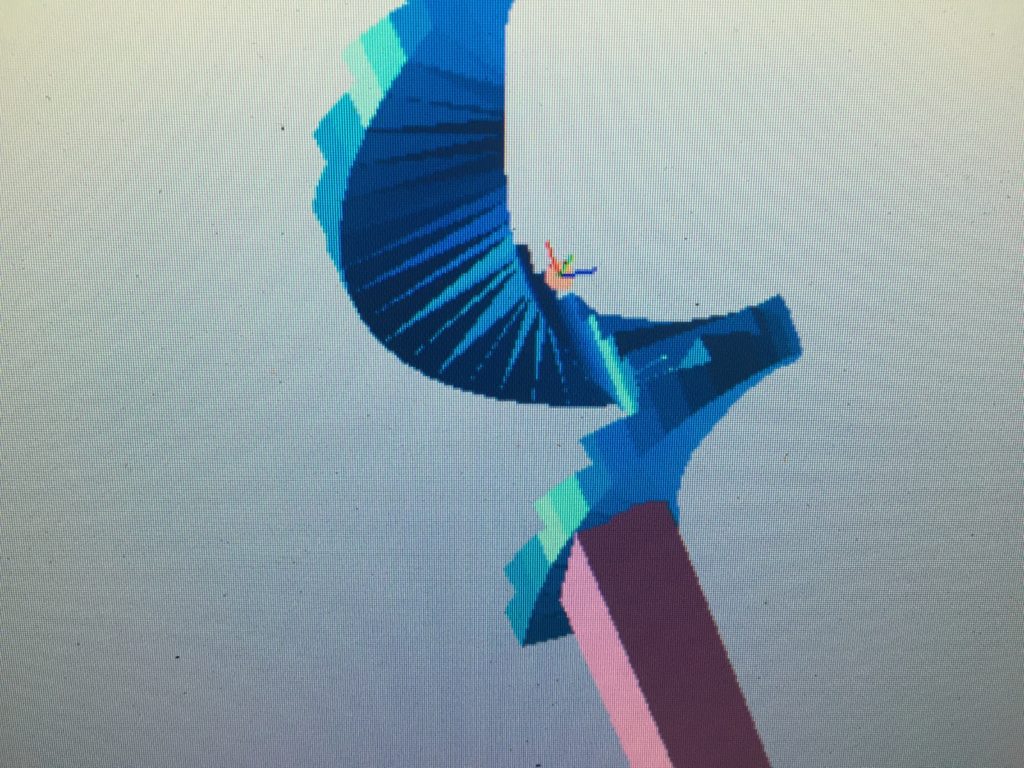
Then I tried another solution: yesterday, it seemed the first roughing pass was strong enough for support. So I choose not to do the finishing path at the start and end, thus the two ends will stay rough but strong, while the stairs in between will remain with full detail.
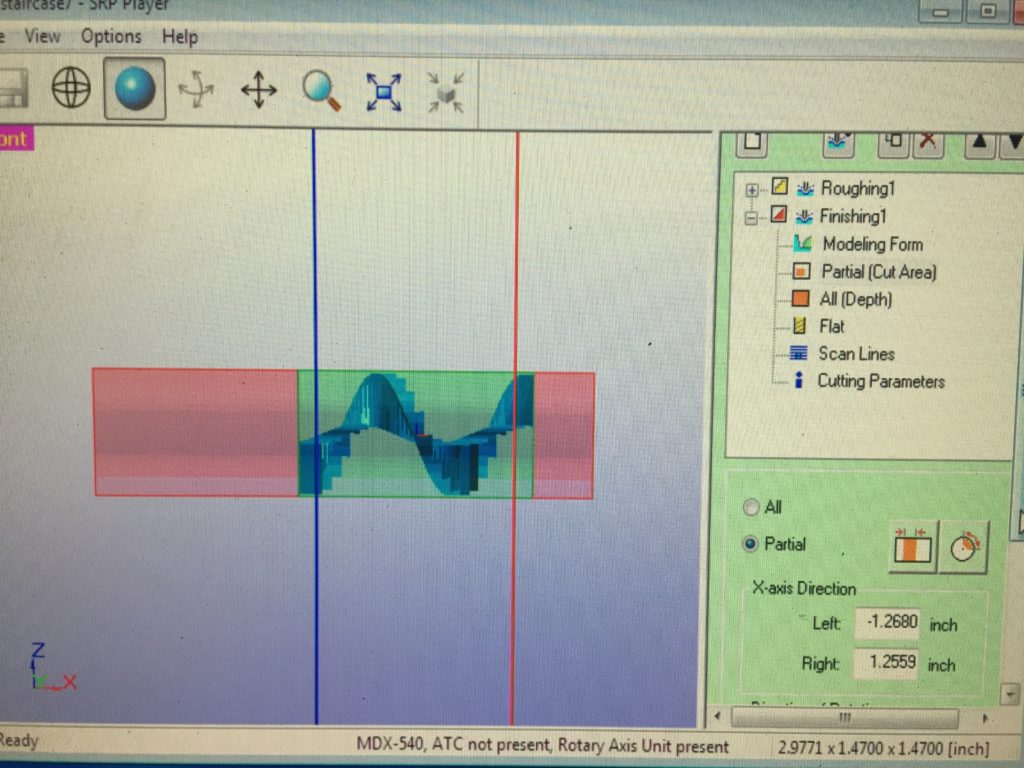
So it should look like this, and wood is fast.
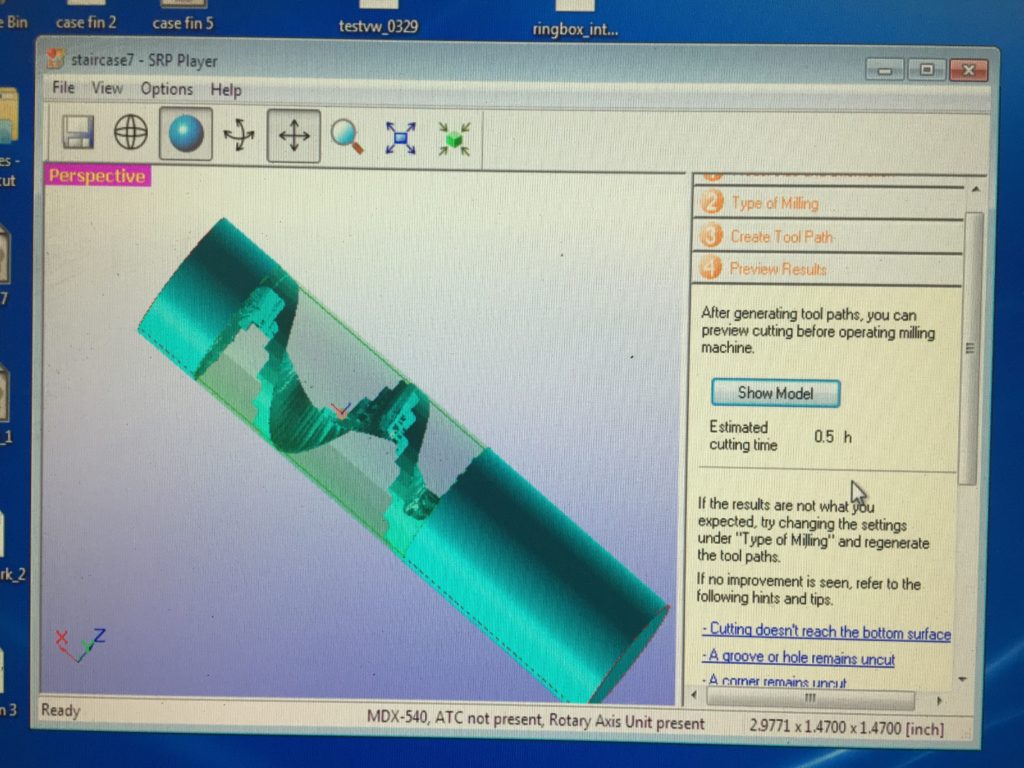
I was not sure if my wood is hard-wood or not…I chose soft wood for I feel it kind of soft and less heavy than some of the wood I know. It sounded scary yet looked just ok. Splinters were expected yet I was still surprised how they damaged the surface all along.
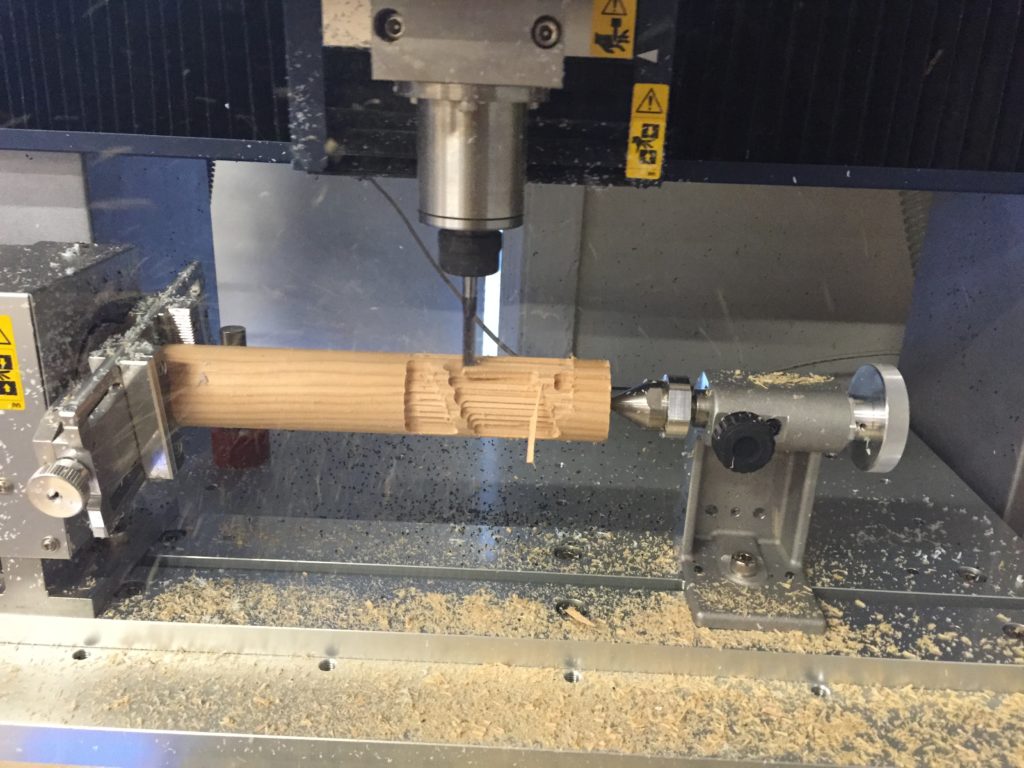
The roughing path only took 5 minutes and looked good, yet I was unsure why there was a cylinder inside, and thought it could be removed after the finishing path.
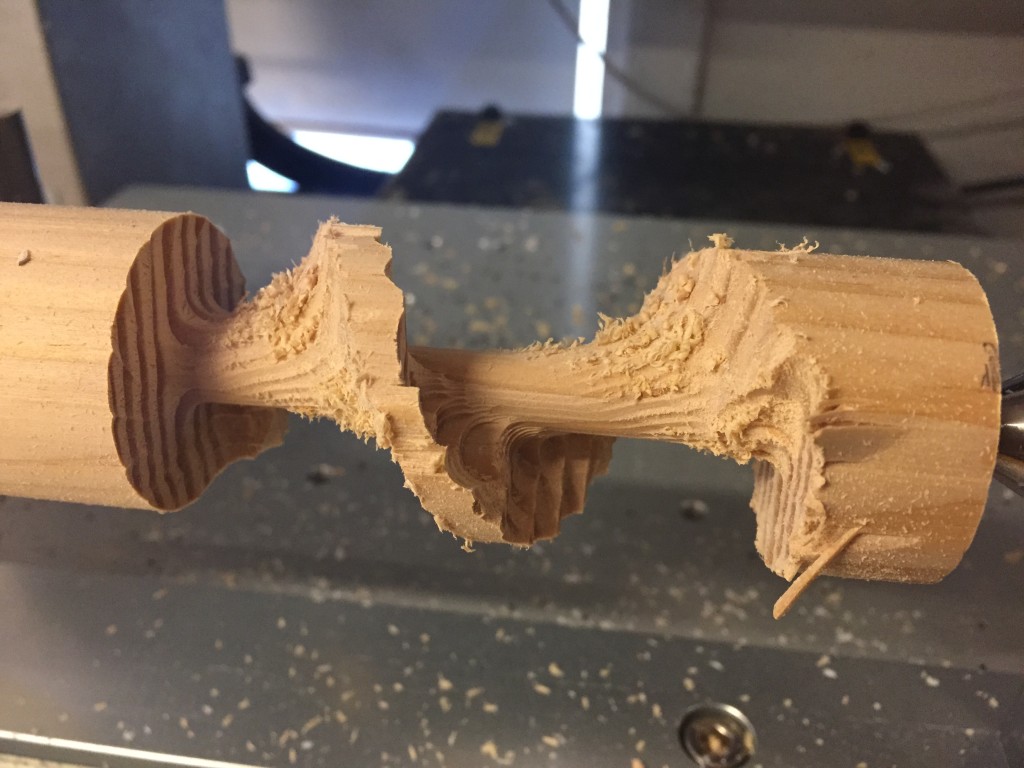
Finishing was fast and good, but eventually I realized that I didn’t set the Y axis close to the center, so the machine always moved eccentrically and leave the center cylinder intact.
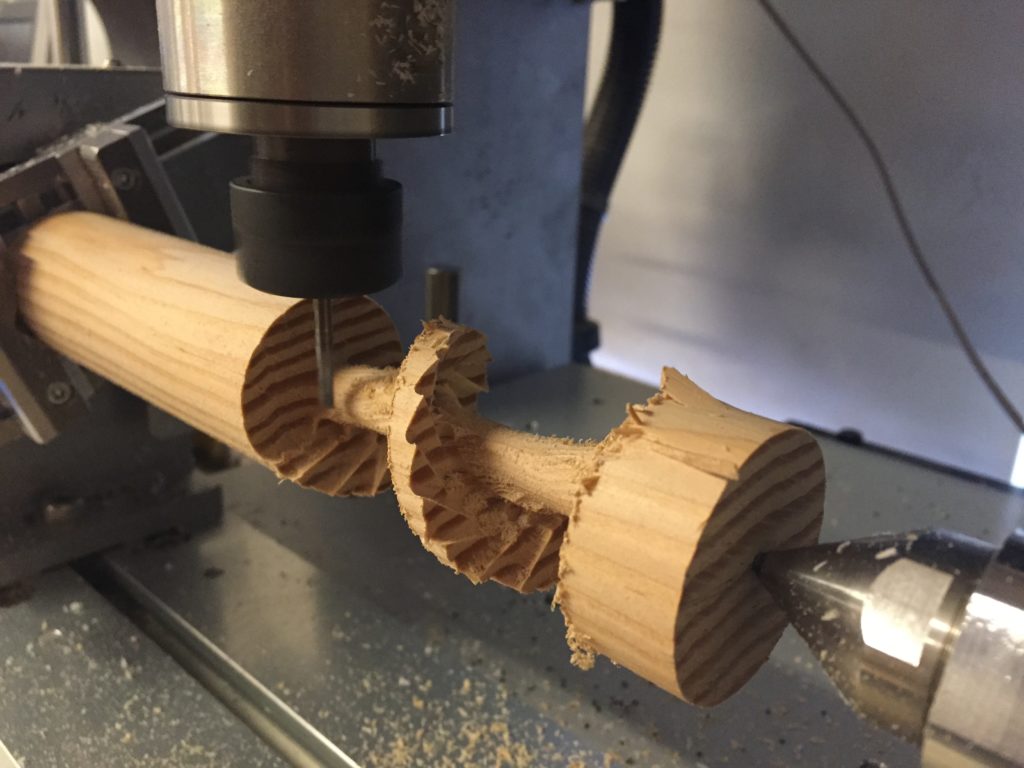
It turned out that the wood had good texture and was strong enough. I feel like want to experiment with the textures more.
