GA Chords


Live: https://www.sunwangshu.com/projects/spring-2017/noc/gachords/

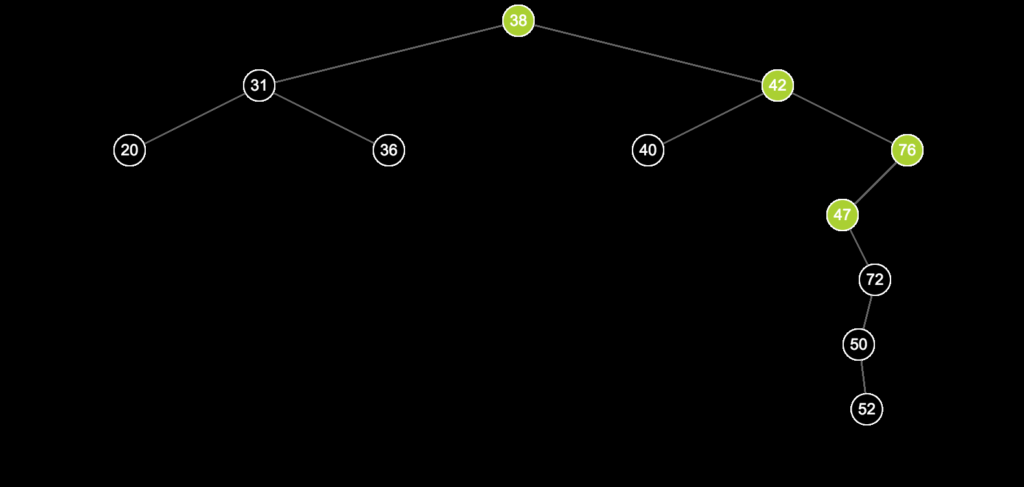
When learning about genetic algorithms, I really wanted to see how it feels if I can evolve on some melodies or chords.

So I did this experiment, get a bunch of random notes and pick the ones I like, and creating new generations based on the ones I like.


I used two classes, Chord inside Chords. Chords manages all Chord objects inside the class.

Overview:

It’s generally picking the ones you like, creating new generations based on them, and discarding / reusing the ones you don’t like.

Significance:

Each Chord object will randomly contain 2-4 different midi notes when created, and it has a value named Significance that determines its height.

Reproduction:

If mouse holds down and push the chord up, the significance will increase and it will be levitated.

Once significance reaches its maximum (when it reaches the top of canvas), it will create two more child that is based on the parent, but may vary in the number of notes / pitch of notes.

Destruction: 

All chord object will gradually fall down until it stay on half significance. If mouse holds down and push down the chord object, then the significance will decrease even more and it will continue falling until vanish when reaching 0 significance.

More:

Press Space to add 7 more new chords.


After several rounds of selection, you can easily get a bunch of chords you like.

Thumbelina in the 21st century

There’s an middle aged lady, she has a good work and income in the 21st century. She hasnt married yet, since no man is good enough to interest her. Yet she still wants a child – a little girl. She wants never be tied with another man in a marriage, thus she seeks help from science, and luckily gives birth to the girl she desired, which she names Emily.

Emily is taken good care of from childhood to her teens. She takes schools and lives a wealthy life, except that she has no idea how a father feels.

One day when goes out sightseening, she gets hit in the head. And when she wakes up, she finds herself in a mountainous countryside with no connection to the outside. And her cell phone died out. A man claims to be her husband and urges her to marry him immediately. She says no, then the man and the man’s family tortures her. How could this happen her? So she screams and cries in hope someone would notice.

Luckily it’s the day of merchants and one of them notice that. And he finds her in the slit window in a dark house. The sight he finds her, he falls in love with her and wants to get her. He is very wealthy and provides to offer a lot of money to the village in order to get her back, and he succeeded because the village has not seen so much money before.

Emily is grateful to his rescue, but the merchant says he wants to marry her and forbids her to go back home. She feels like its anyway better than living with the villagemen, and he doesn’t torture her, so she agreed.

So days after she is required to make tiara for marriage for herself. It gets tedious every day that she feels more and more boring thereafter. But the man helped her and she doesn’t want to owe him so much.

The other day she happen to find a battery and eagerly replace it. She secretly calls her mom. Her mom feels so happy about the fact that she’s still alive. But speaking of her marriage, her mom feels doubtful because Emily doesn’t feel a love about the man. She ask her to turn off the phone in case the merchant notices and call her back if she change her mind.

Eventually one day she feel like this cannot keep on

Week 02 Ideation

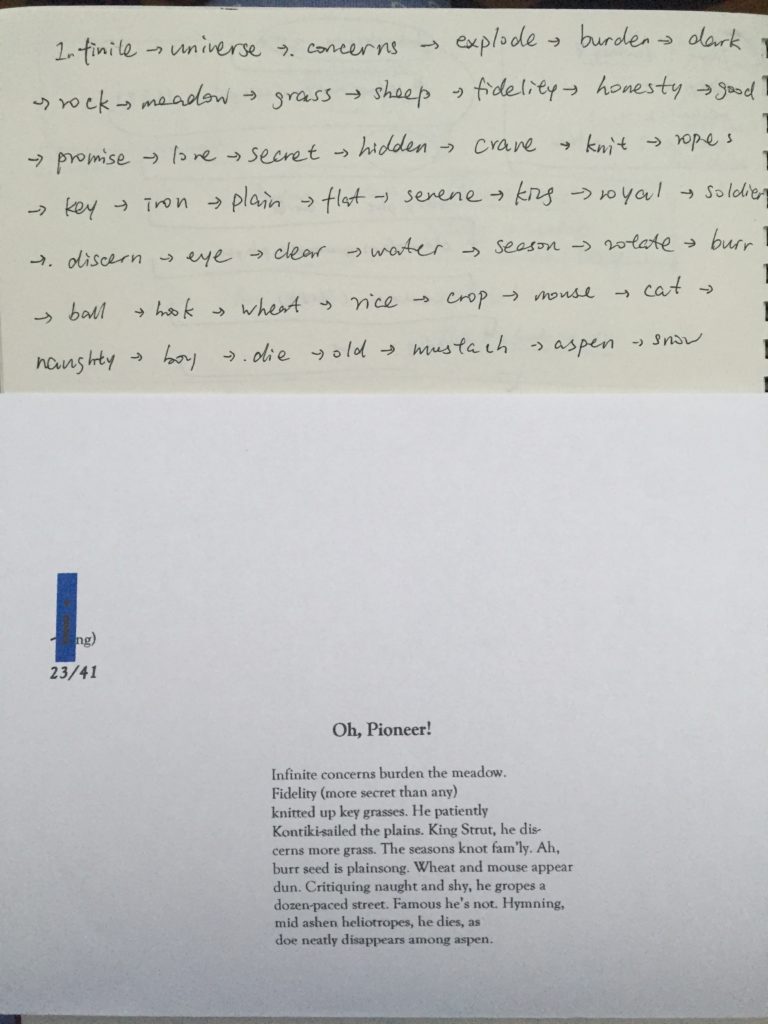
This class we were asked to use the poems for ideation of our projects.

Largely based on the poem, my mind wandered a little around the ideas.

img_1434

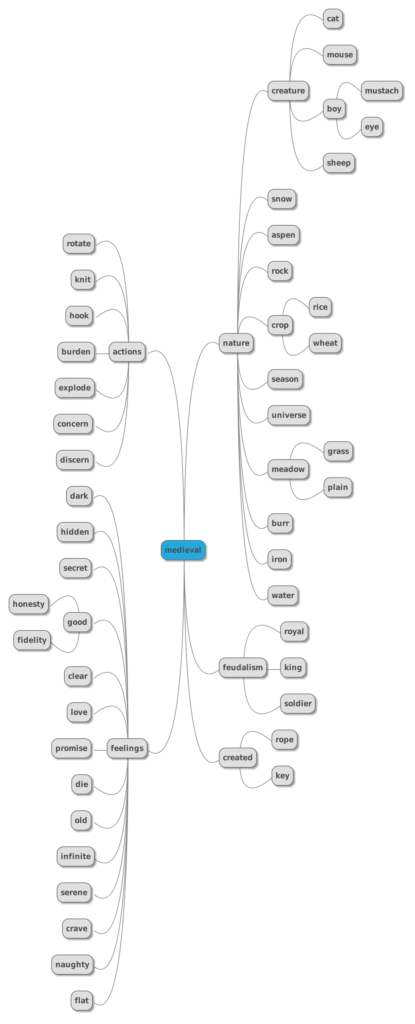
I organized my ideas using MindMup, an online mind mapping tool. And my concluding keyword for all my thoughts is “Medieval” (by a second thought, maybe “idyllic” is more to the point.)

medieval

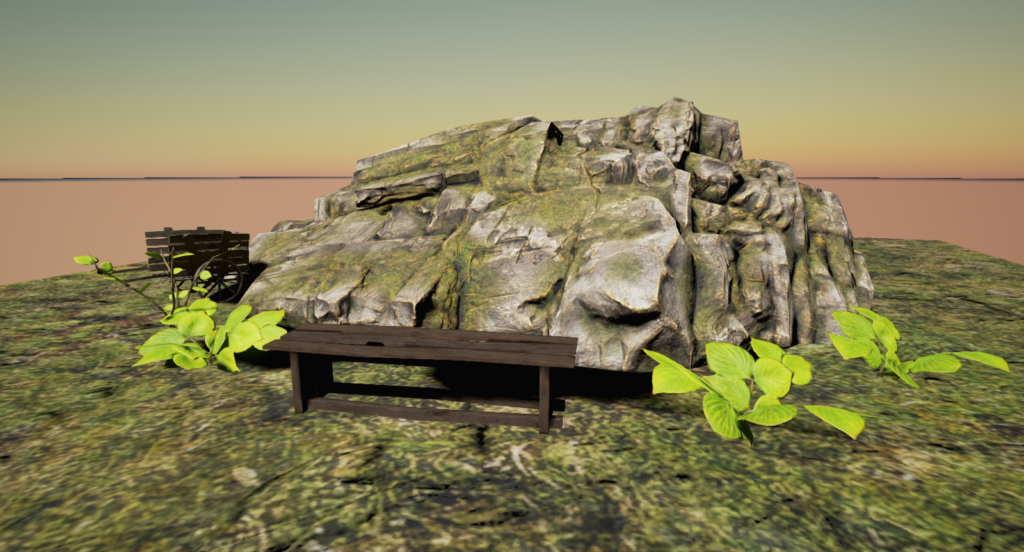
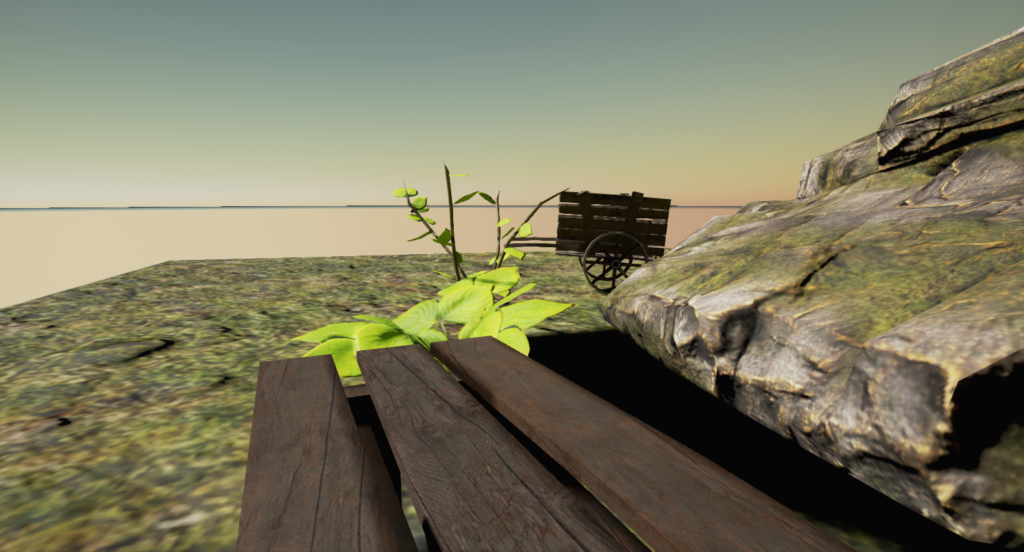
So I go through the Unreal tutorial and borrowed some assets to recreate the feeling (medieval / idyllic).

highresscreenshot00000 highresscreenshot00003 highresscreenshot00004


First tastes of cultural / ethnical museums

This week’s assignment requires us to visit two museums, so I chose to visit MOCA (Museum of Chinese in America) as one of my heritage, and The Jewish Museum as one I know little about.

A visit to MOCA (Museum of Chinese in America)

MOCA resides in the Chinatown in Manhattan. In my impression Chinatown is a place full of grocery markets and crowds. But it’s surprising to find such a nice and clean place, but it then feels reasonable since it is exactly where it belongs to, because it is about the history of people living just here.

img_0907

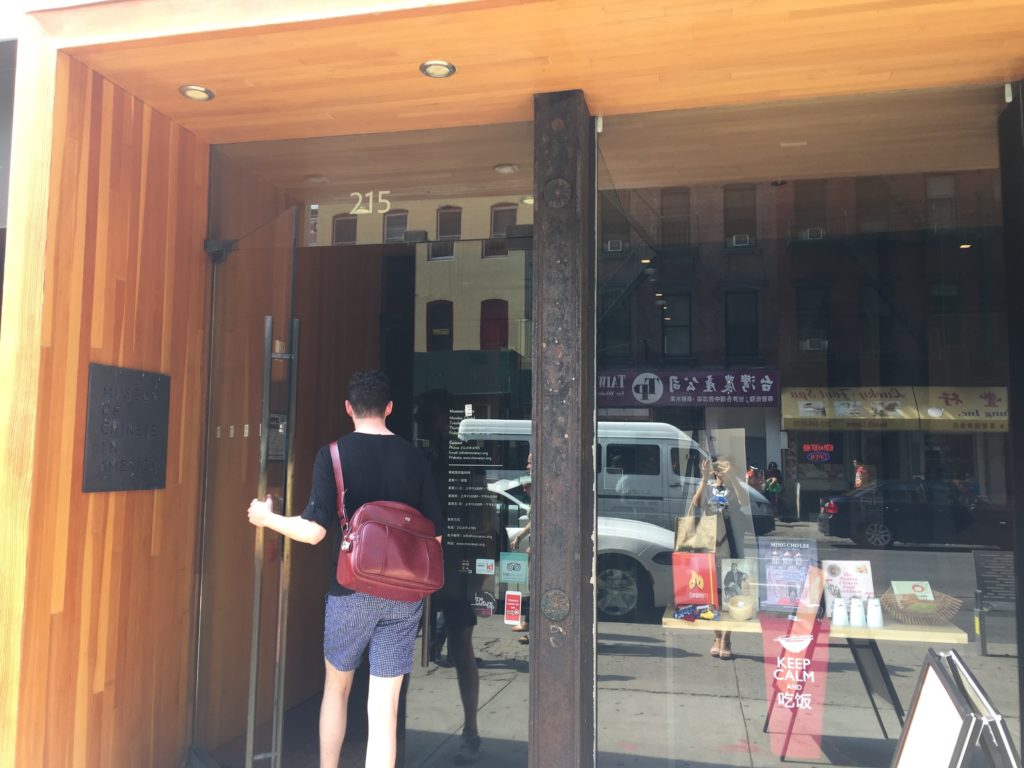
Front gate of MOCA

img_0931

With a Single Step – Stories in the Making of America

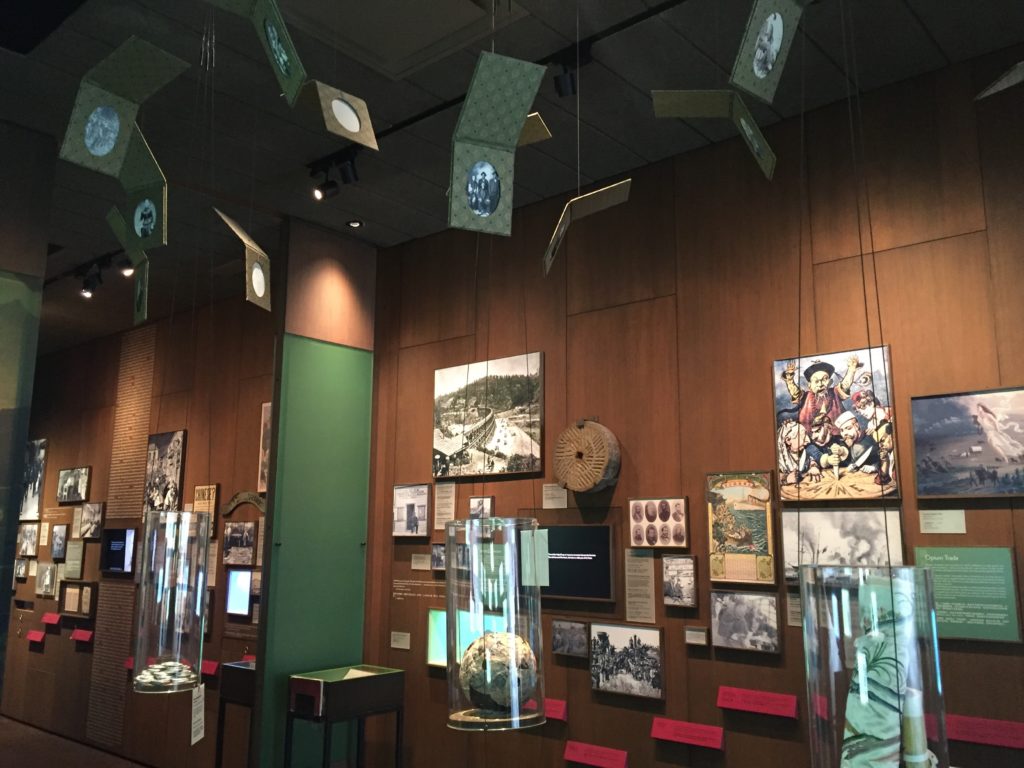
I first visited the exhibit With a Single Step – Stories in the Making of America. It is an exhibit about the history of Chinese immigrants in the U.S. It is well organized by timeline, and it tells a clear story about how they survived earlier hardship, wars and discriminations, all the way till how they achieved nowadays prosperity. The western fantasies towards eastern culture (like Fumanchu and Chung Ling Soo), Chinese restaurants, the new year culture, medicine shop and so on, were also placed accordingly by their time.

The exhibit is full of real documents and photos and a lot of real collections. Family mails during the wars, reconstructed old Chinese restaurant and medicine shop, all feel like some lost memories, so alive and striking.

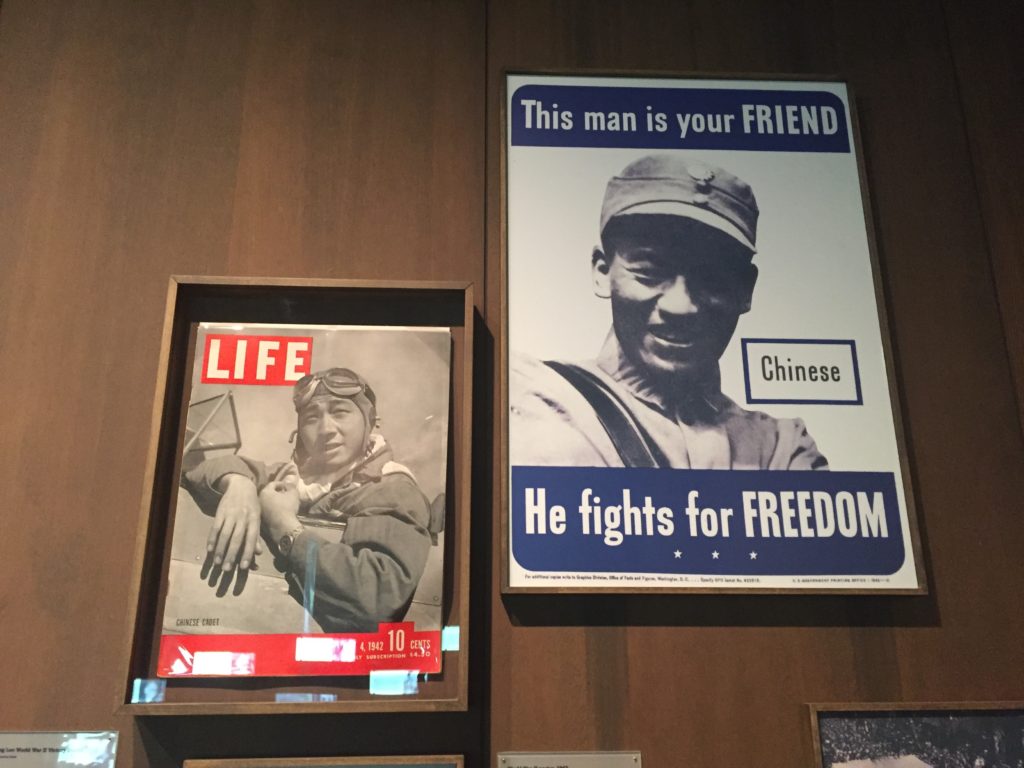
img_0932 img_0986

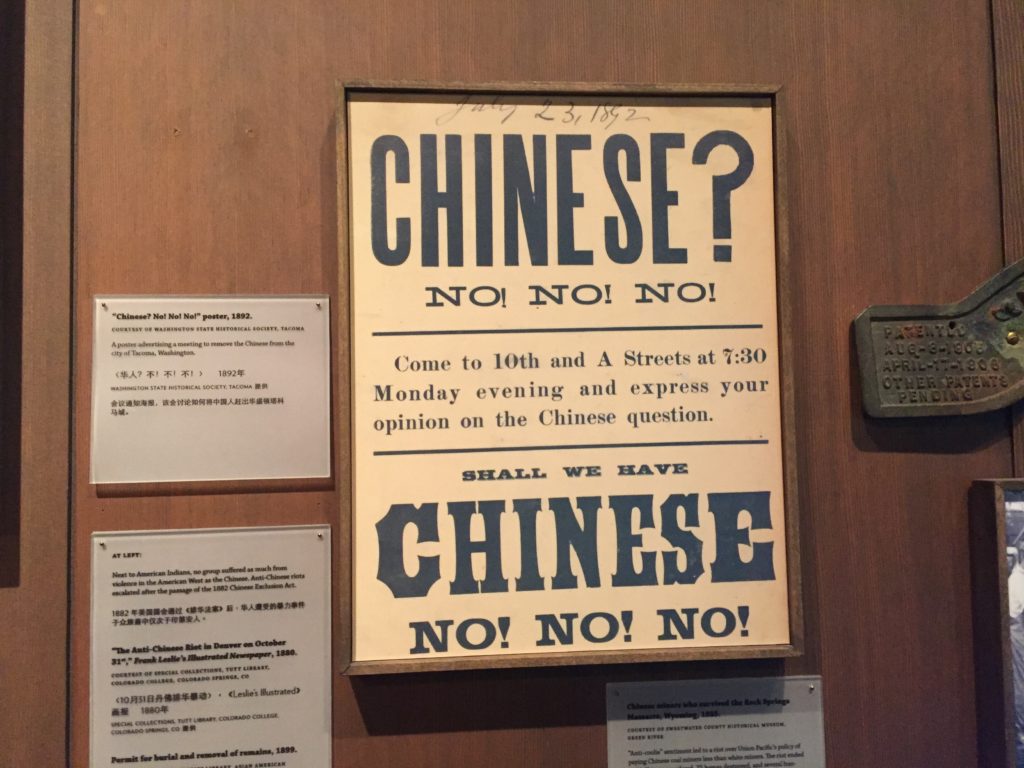
Two pictures showing the different political atmosphere

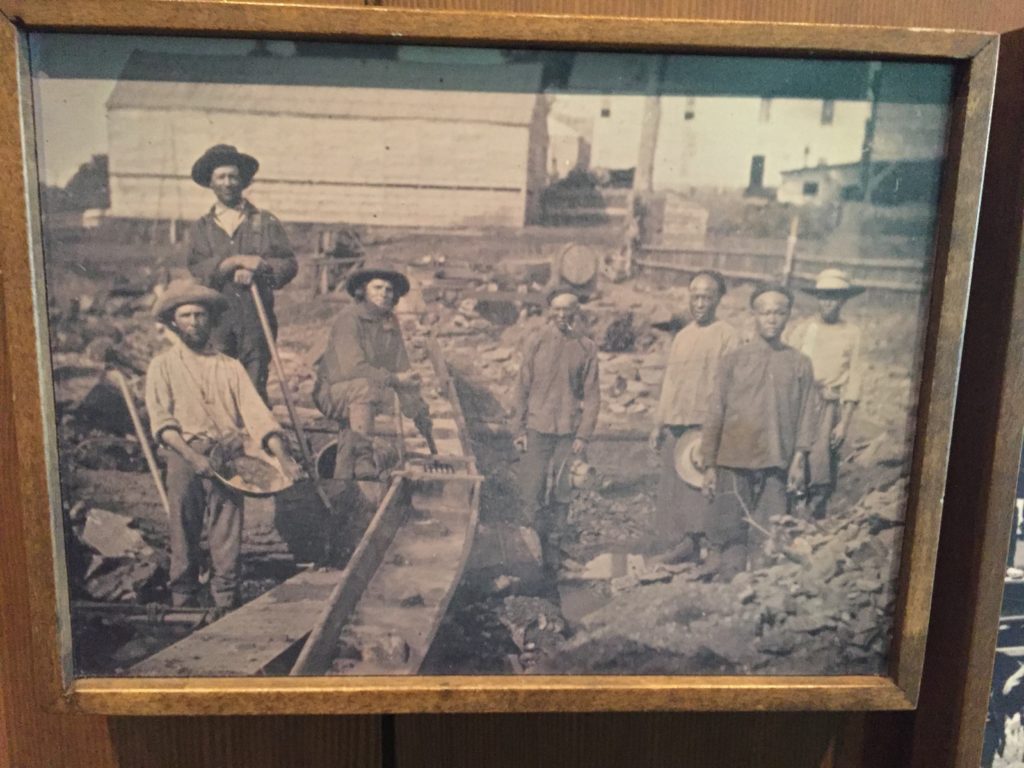
img_0924img_0922

A photo about railroad workers and the related historical event

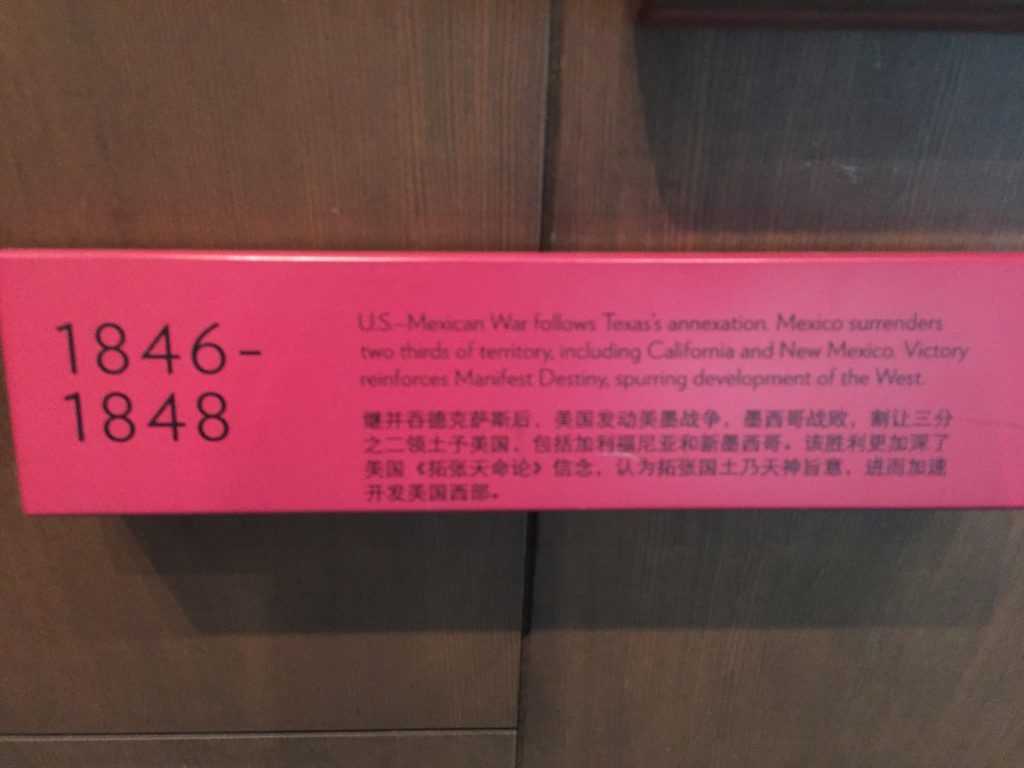
A very good part of show is that historical context is introduced, so that you can understand better what was happening at that time. For the pictures above, it introduces the US-Mexican War so that you understands why the early Chinese immigrants appeared in California building railroads.


Showing the exceptional people living those time was also very good, especially for us Chinese visitors. They all feel like positive role models during the time of hardness, easing the burdening atmosphere.

The multimedia technology plays a good part in the show. Some place features videos and sound recording and they feel more alive than the static pictures.

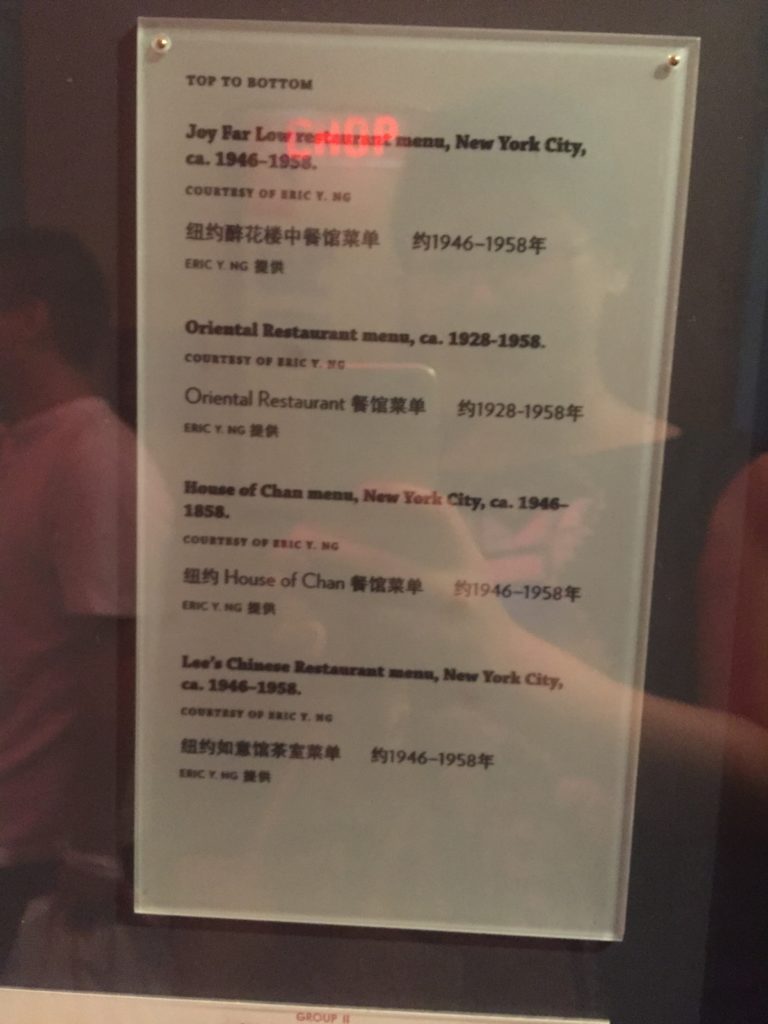
As for the captions, I don’t think the did a very good job. The texts are too small to read. And what’s worse, there is barely any good correspondence between captions and pictures. You can hardly guess which one refers to which.


img_0969

Bad captions with no clues which they refer

Overall the exhibit is ok as for storytelling, it stresses the theme well, and things are well categorized. Only the caption correspondence needs to be improved.

img_0912img_1008

Stage Design by Ming Cho Lee

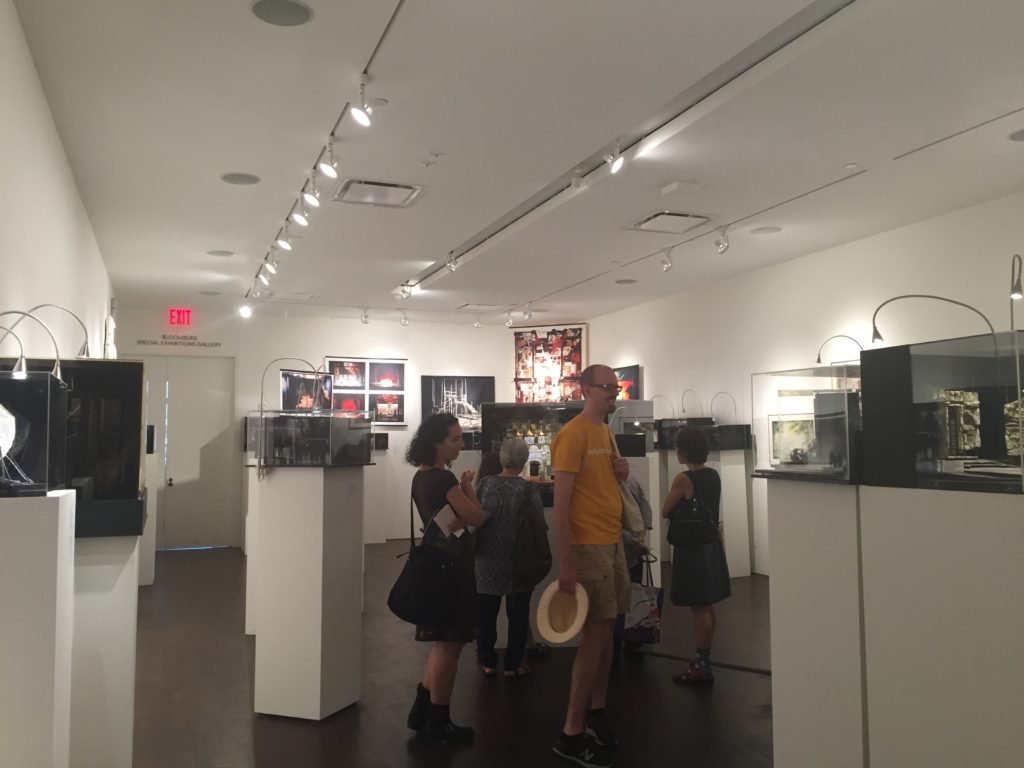
The other exhibit were very good. It’s all about stage design and was surprisingly well organized, much better than the one before. The space feels so clean, open and artistic. All stage designs are either well displayed inside beautiful glass cabinets or hang beautifully on walls with nice spacing that let you breathe freely. Lights are also well designed making the space so bright and clean.

img_1019

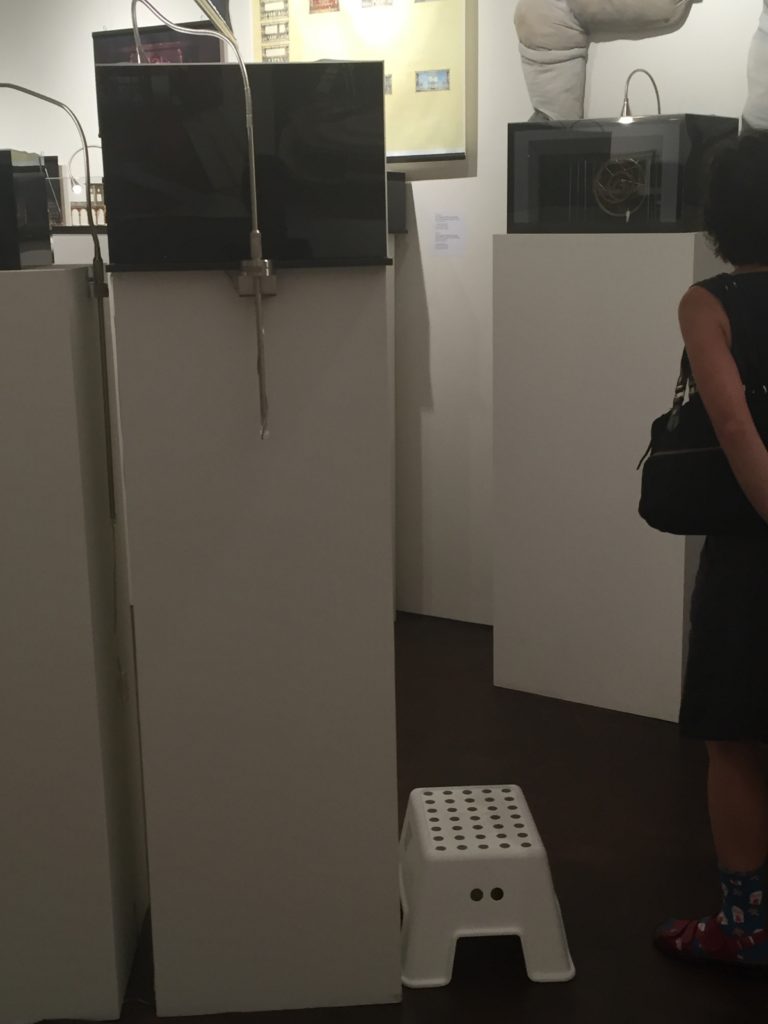
Even children are taken into consideration: there were some small plastic stools for children to step on top, so that they can easily reach the height of cabinets and have a clear view.

Overall feels very good.


Culture and Continuity: The Jewish Journey @ The Jewish Museum

img_1099

This is a fantastic exhibit, well curated and very well displayed.


It tells a very good story of how the jewish culture emerged, and how they sustained within different nations but still maintaining some core values.


The exhibit is unquestionably beautiful. All the space design, lighting, pacing of story, the choice of color and font size, spacing…they all feel very comfortable and well organized, making the information easy to digest.


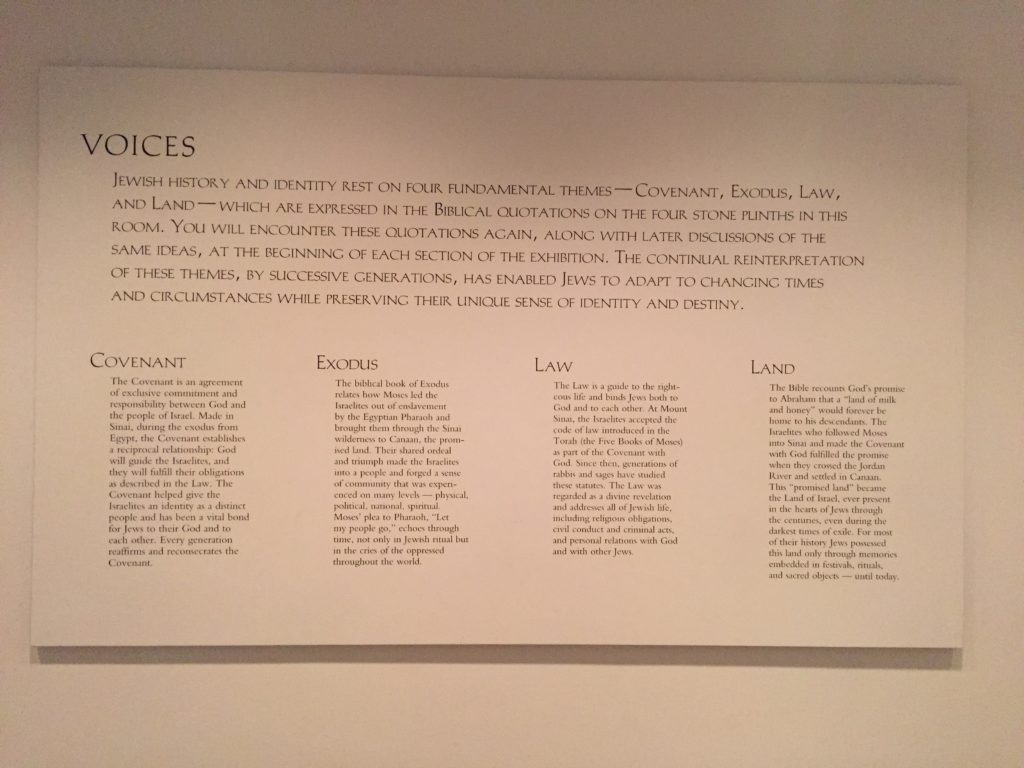
As the show before, it is also organized chronically, but also led by four keywords from the Bible: Covenant, Exodus, Law, Land. They are well chosen so as that the whole history can be concluded in these four words. And they repeat themselves at some key point in the exhibit. Just feels so symmetric as beautiful as the famous symmetric jewish patterns.

img_1115

The four key words

And all of them well grouped by smaller topics, fit in well in that age and the storyline (sabbath, menorah, etc).

Well explained (nice font of captions, nice spacing). Nice length of paragraph easy to absorb. Captions are all placed at the height of knees, led by a bluish quote telling the storyline either from the Bible or from a single person, then all of them are well labeled by numbers so you can easily refrence which is which.

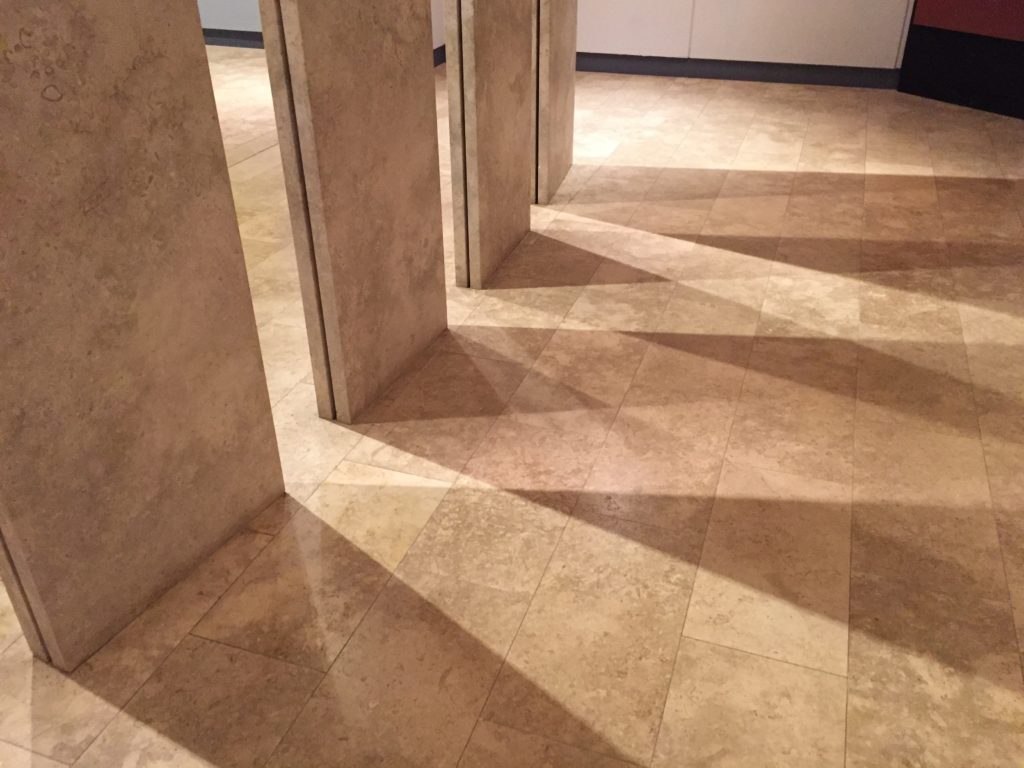
Nice use of color and light to create different emotions. Light reflected through the stones at the entrance feeling sacred. Red light projected to the ruins induces sad feelings about destruction.

img_1116

Elegant lighting

Nice visualizations (geographic maps), nice use of space (four/ six faced cabinets). Colorcoding explanation of a ? Nice size of things to create the grand feelings (high ceilings, big mosaic floor so big and powerful)

Some collections are well placed in related contexts, which means a big photo of the original space as the background, or a replica of a room or an architecture.

Nice chairs for computers (also for resting) Just halfway of the show. Nicely done.

Overall so great. Learned a lot as for design.

Subtraction final project – CNC drawer chest

Proposal:

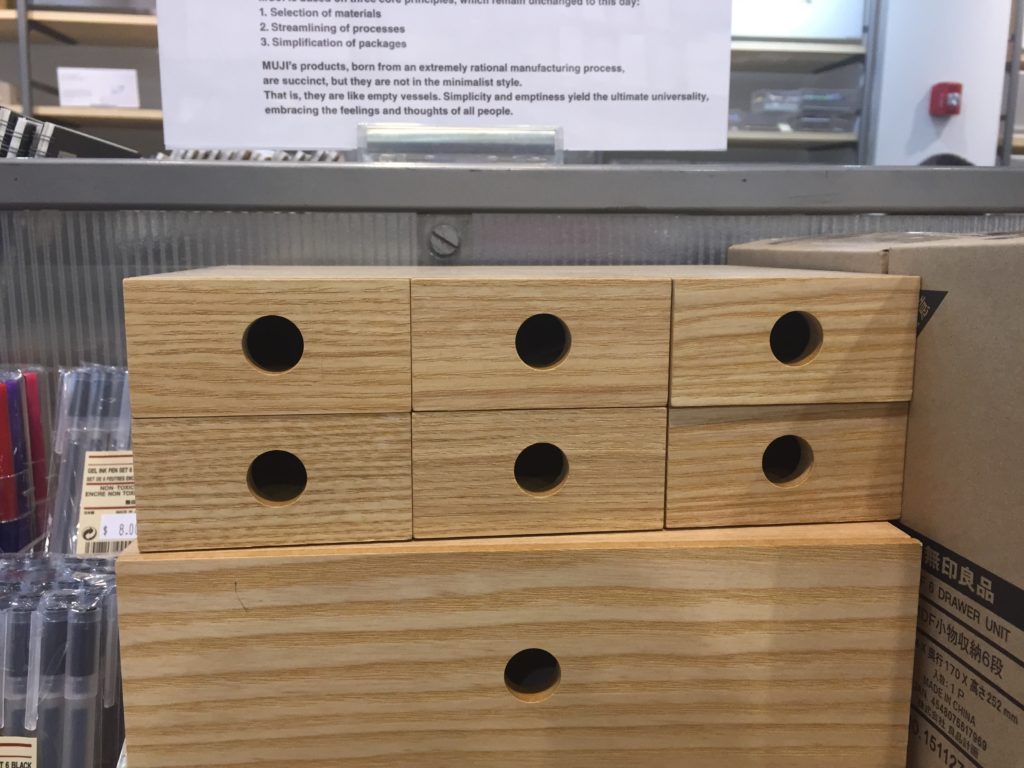
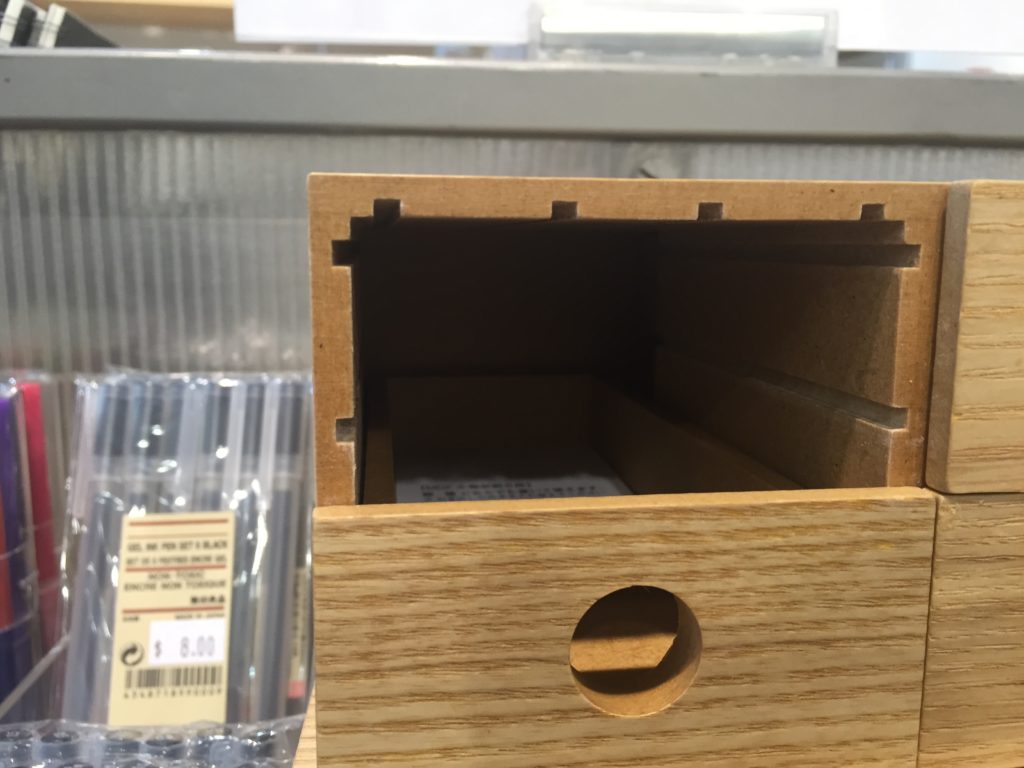
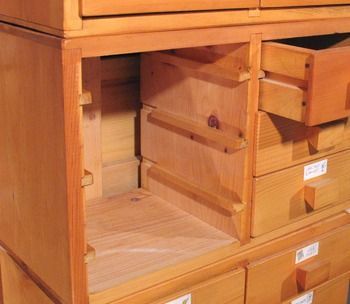
I once saw a really cute drawer chest in Muji, and I was so obsessed with the simplicity and delicacy.

Then I really wanted to design and make one for my own, especially with thin materials, with CNC joinery.

IMG_5354 IMG_5355


————————————————————————–

Week 11: testing joints

#1 basic joinery and wood glue

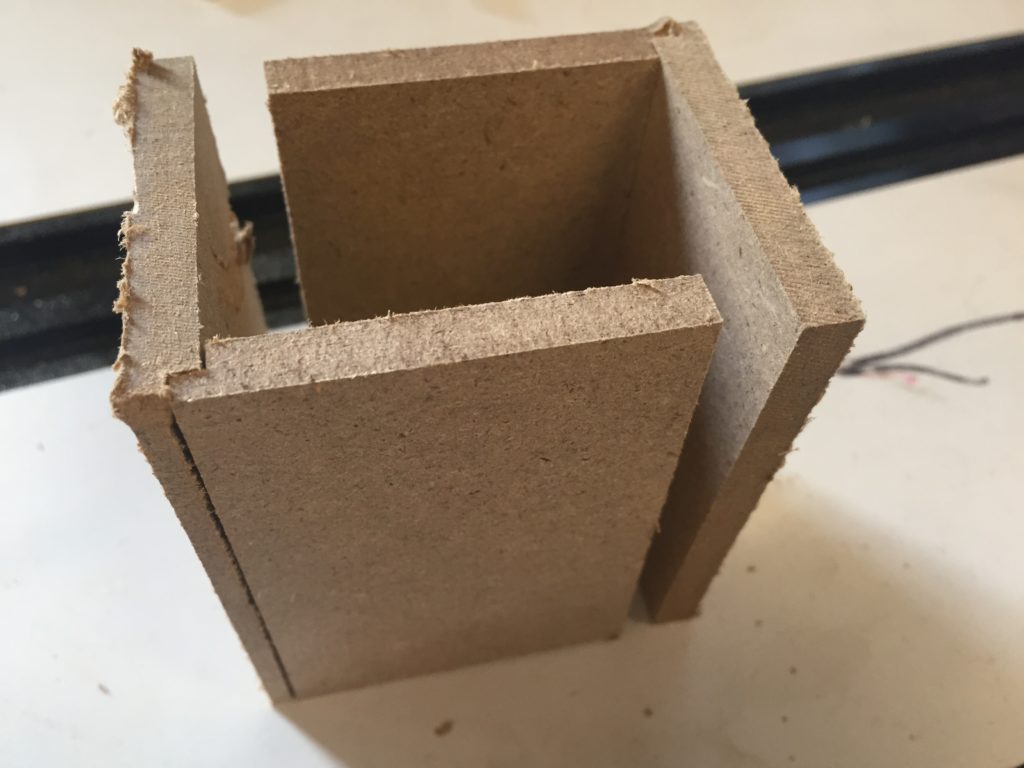
Ordered 1/4″ MDF for I was so envious of that delicacy, and for Ben said MDF is good for CNC.

I started from testing with basic CNC joinery. As before, a 0.005″ tolerance was set whenever two planes touched each other.

IMG_6602

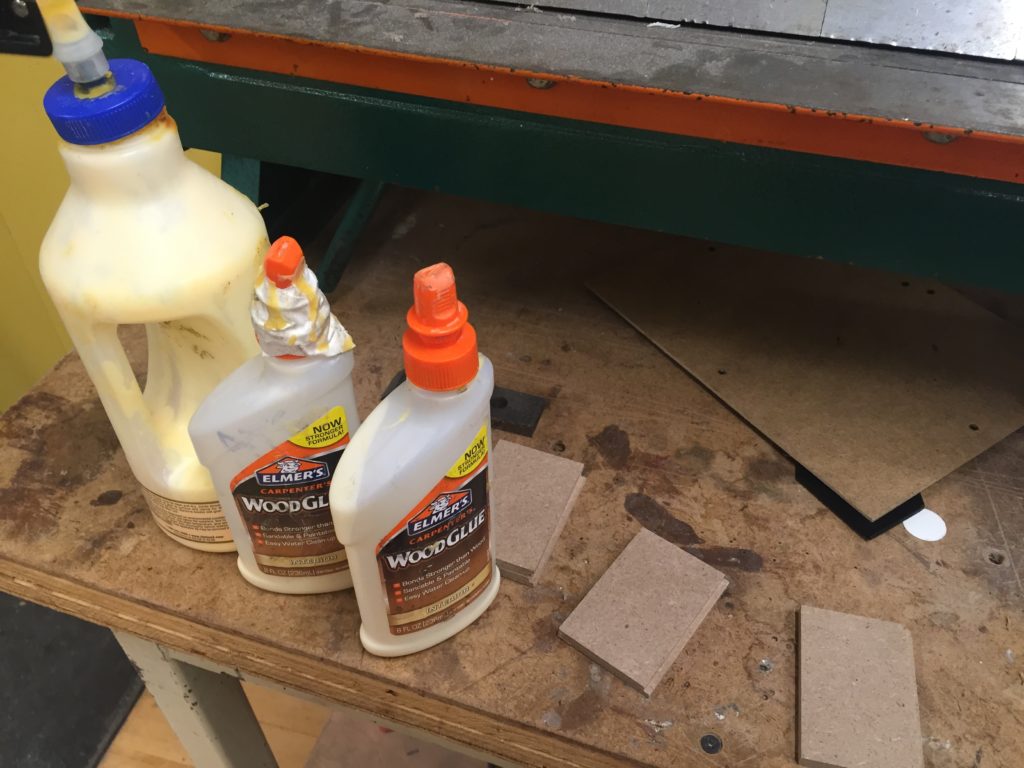
And a first try with wood glues.

IMG_6603

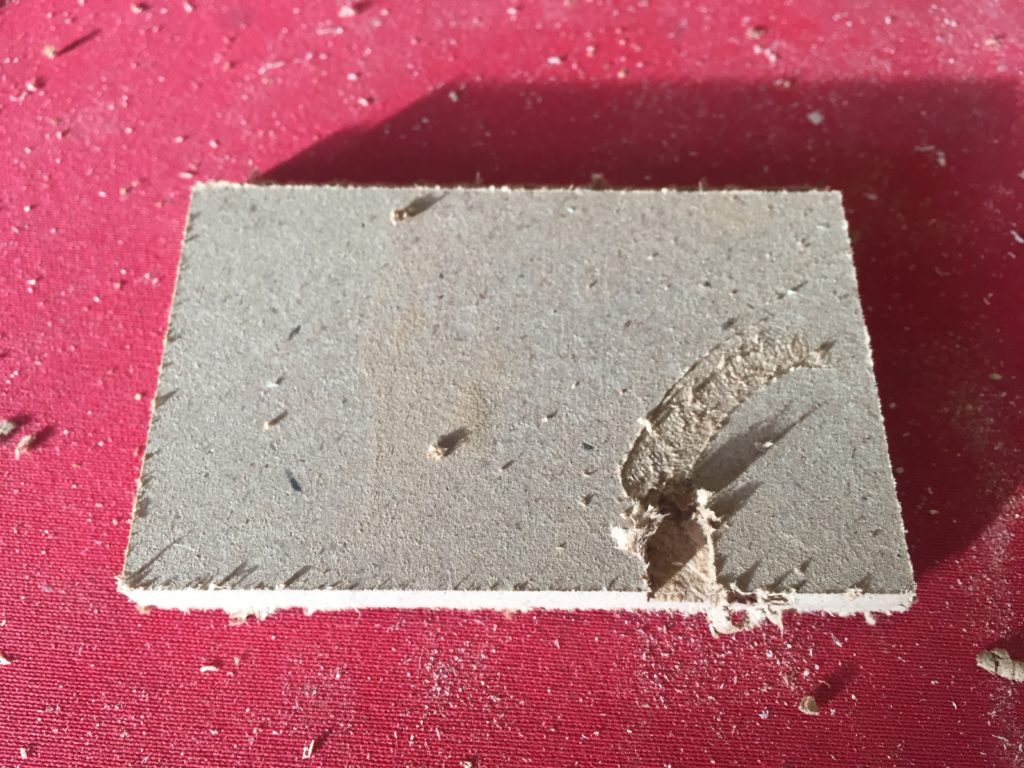
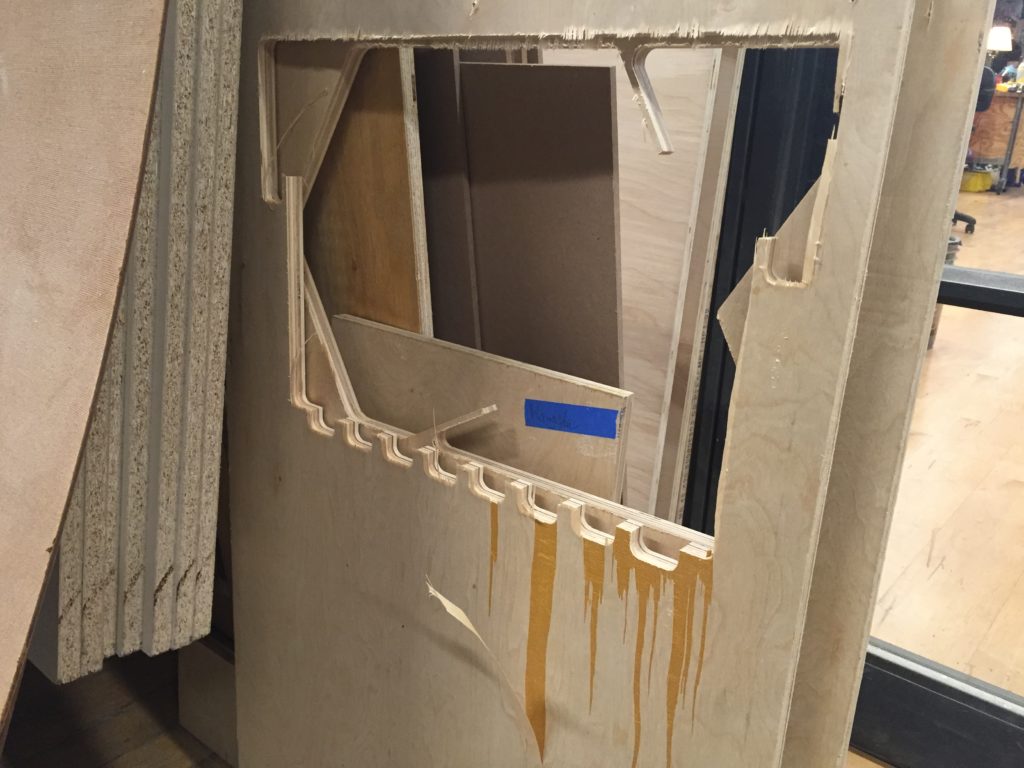
Something to note was, small pieces would pop out from board near totally being cut out.

IMG_6598

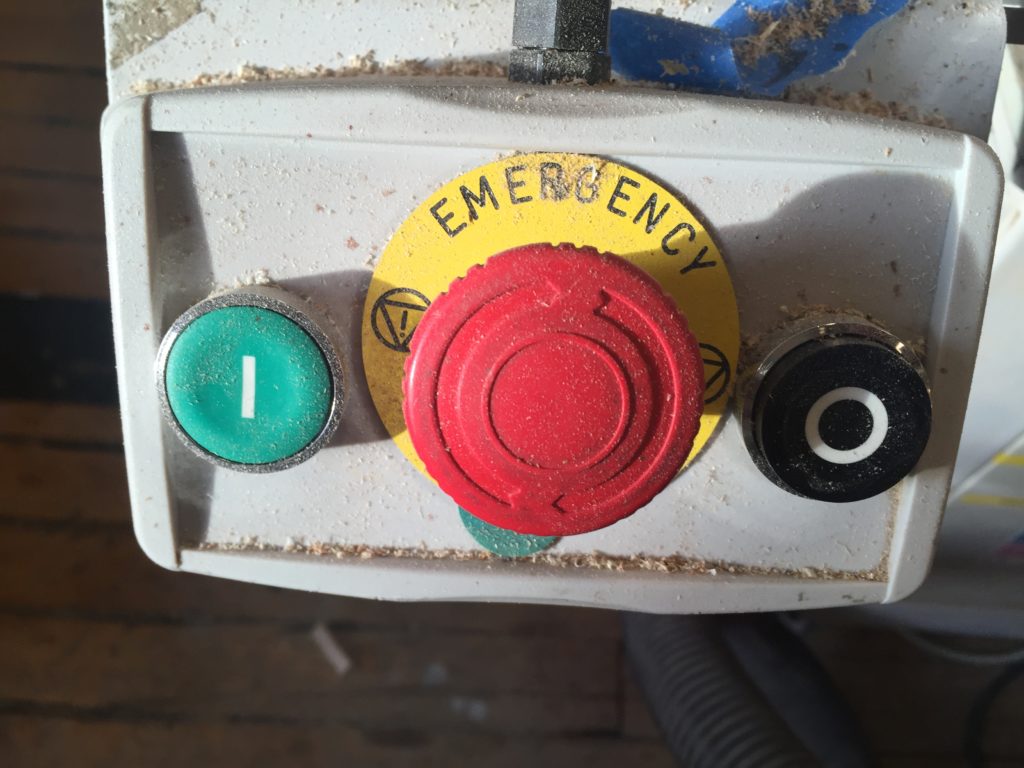
And I found a solution: hit the black stop button as soon as it popped out. It saved a lot of small piece later on.

IMG_6599

#2 slides

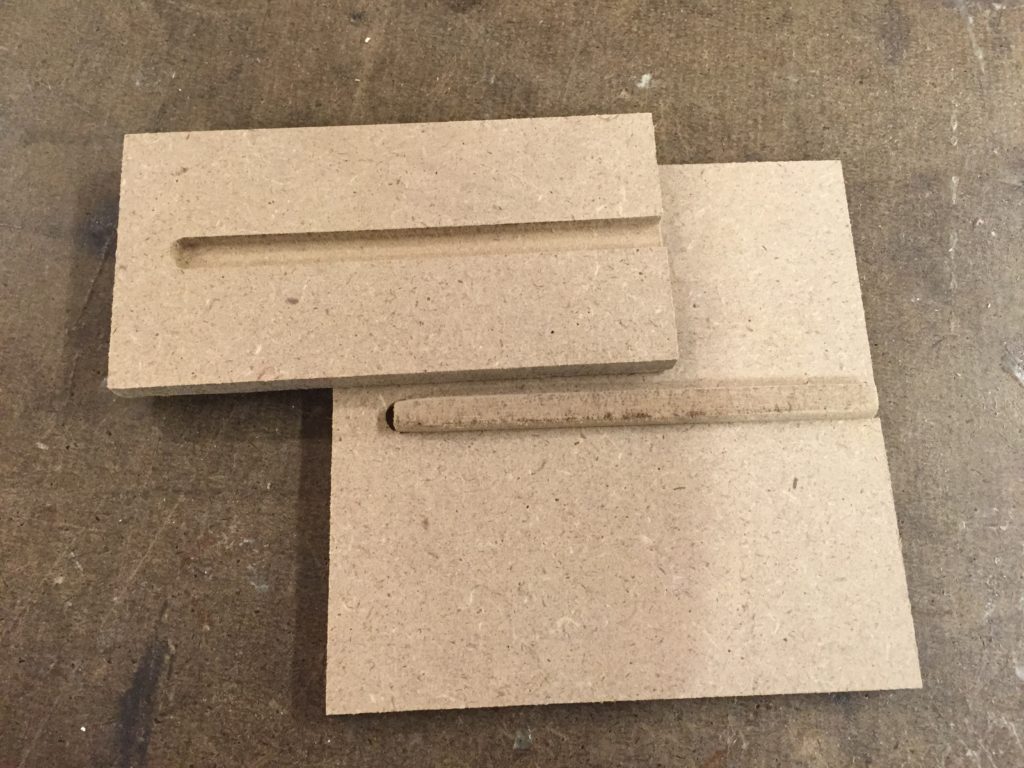
As for the slides this was one design that I thought applicable, putting slides inside the wall of chest with slots on the drawers.

30df3a44dcf17c04065a09561fb620b3

Considering the limitations of CNC, rounded corners were made into the design. Tolerance were set as the same.

IMG_6610

Then I found three things:

  1. my slide was too wide, calculated incorrectly as 1/2″ instead of 1/4″ (my boards are all 1/4″);
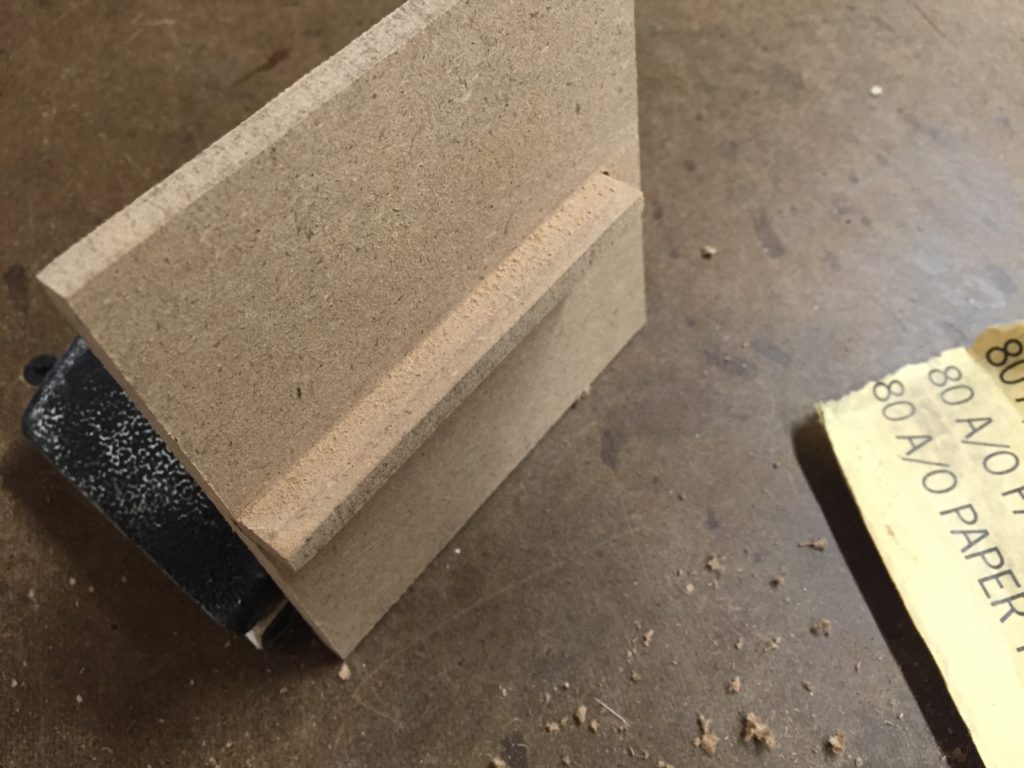
  2. the board was not actually 1/4″ but 0.254″, that was why the slide felt too snug, and I had to sand it hardly.
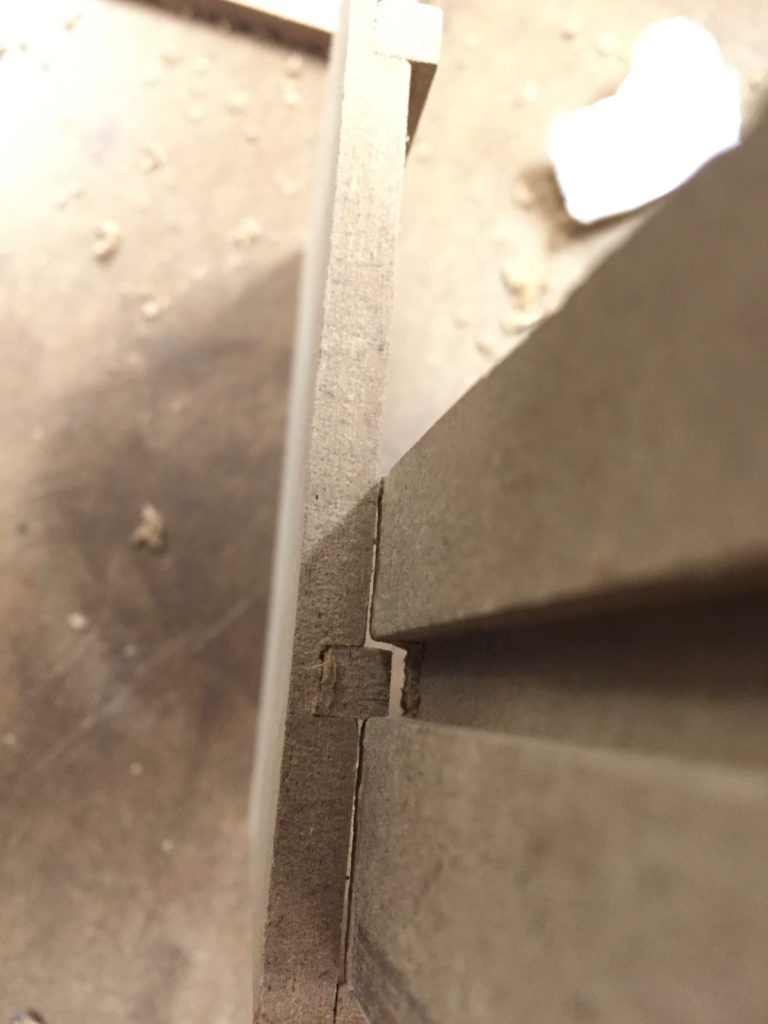
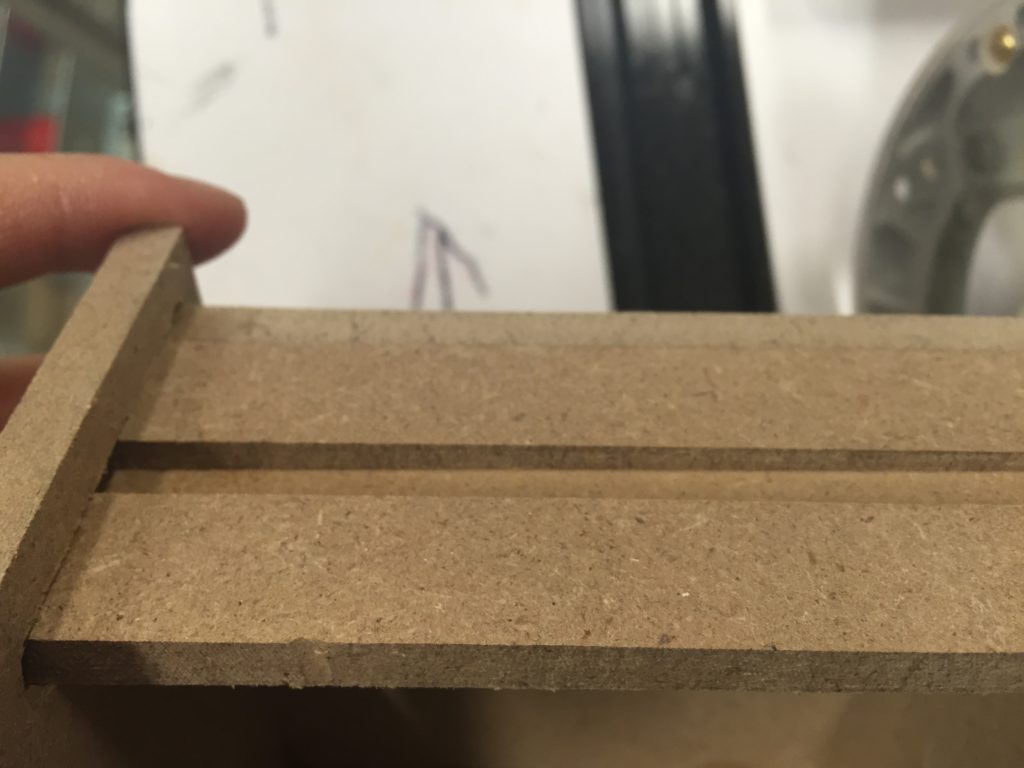
  3. the slide was not meant to be snug in both side. It should be tightly fit inside the wall of the chest, but allowing the slot of drawer passing through easily at the same time.

IMG_6611

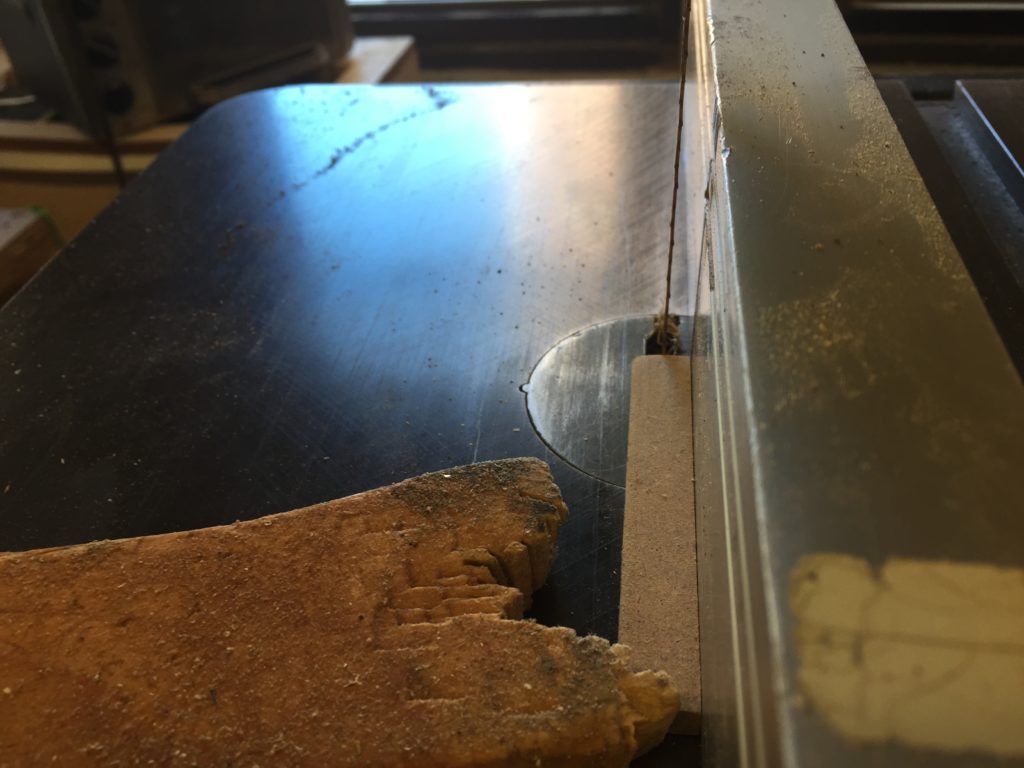
Then I carefully cut it in half to decrease its width.IMG_6614

Then it was perfect.

IMG_6618 IMG_6619


————————————————————————–

Week 12: the drawer

#1 multiple bits in a job

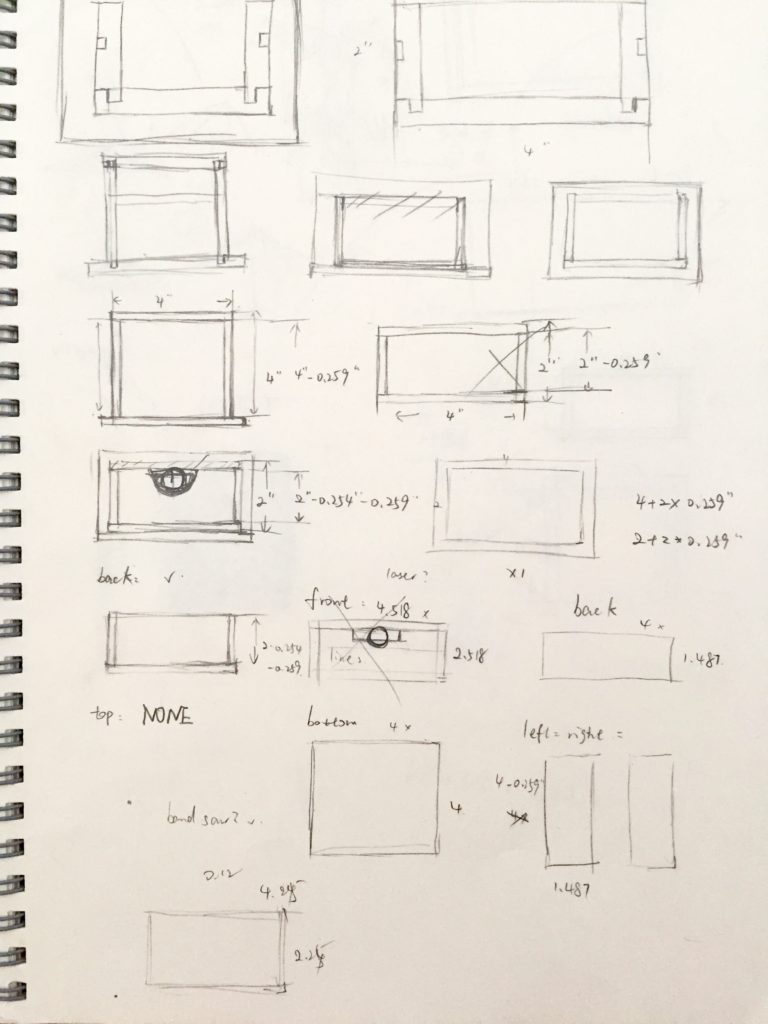
That time I tried to start from designing the drawer, making it 4″ x 2″ and 4″ in depth.

FullSizeRender 6

You can actually see a lot of mistakes in this design. I was designing a box instead of a drawer, and I didn’t have rounded corners for inner pocketing. Went back and forth a lot between CAD and CAM for this sort of trouble shooting.

Screen Shot 2016-04-24 at 6.05.13 PM

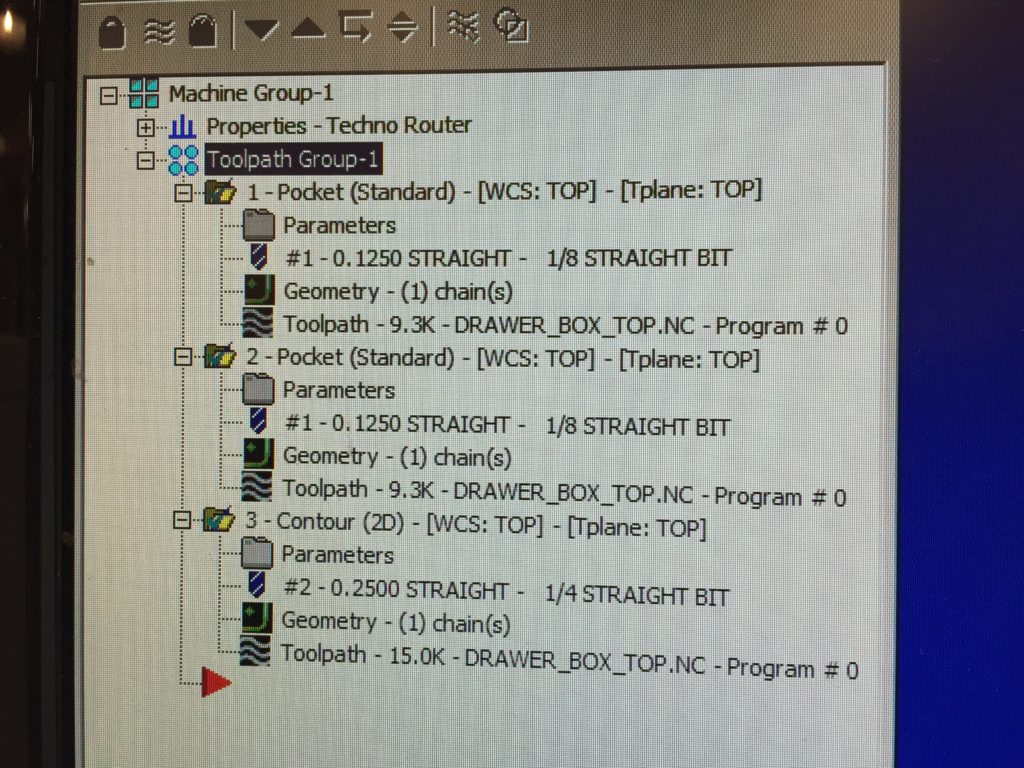
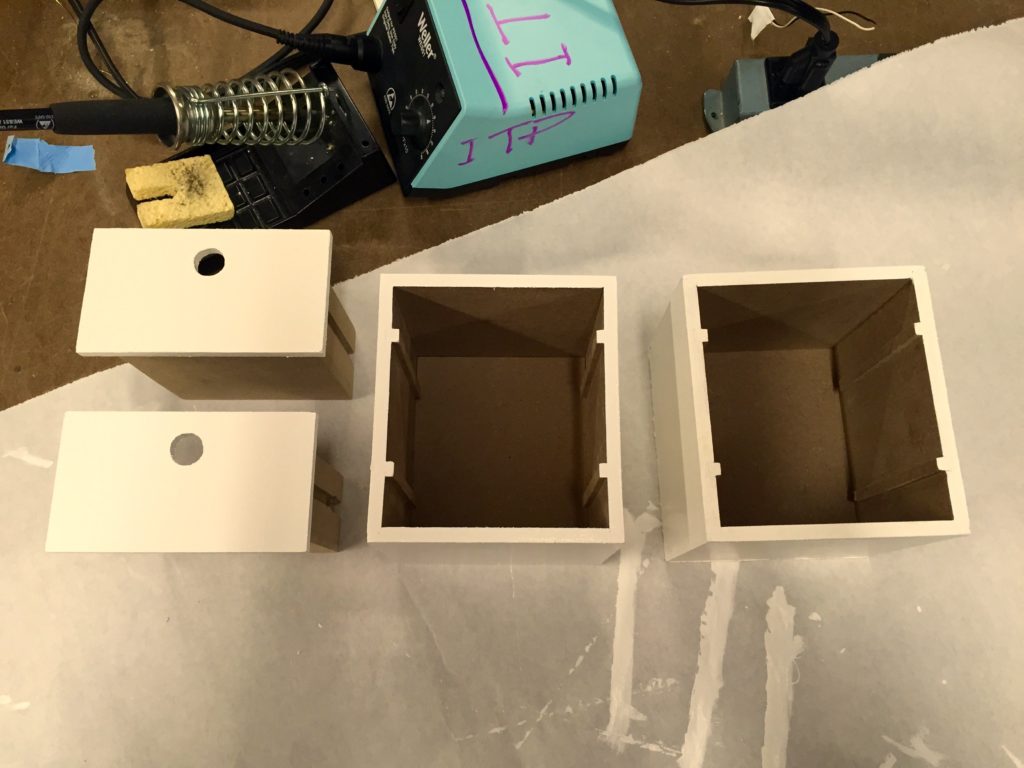
I thought the slot and pocketed joint can only exist on the same side (double side job sounded troublesome), then I’ll need two 1/8″ slots on the bottom piece for this kind of design.

IMG_6753

And MasterCAM gladly accepted my request.

IMG_6667

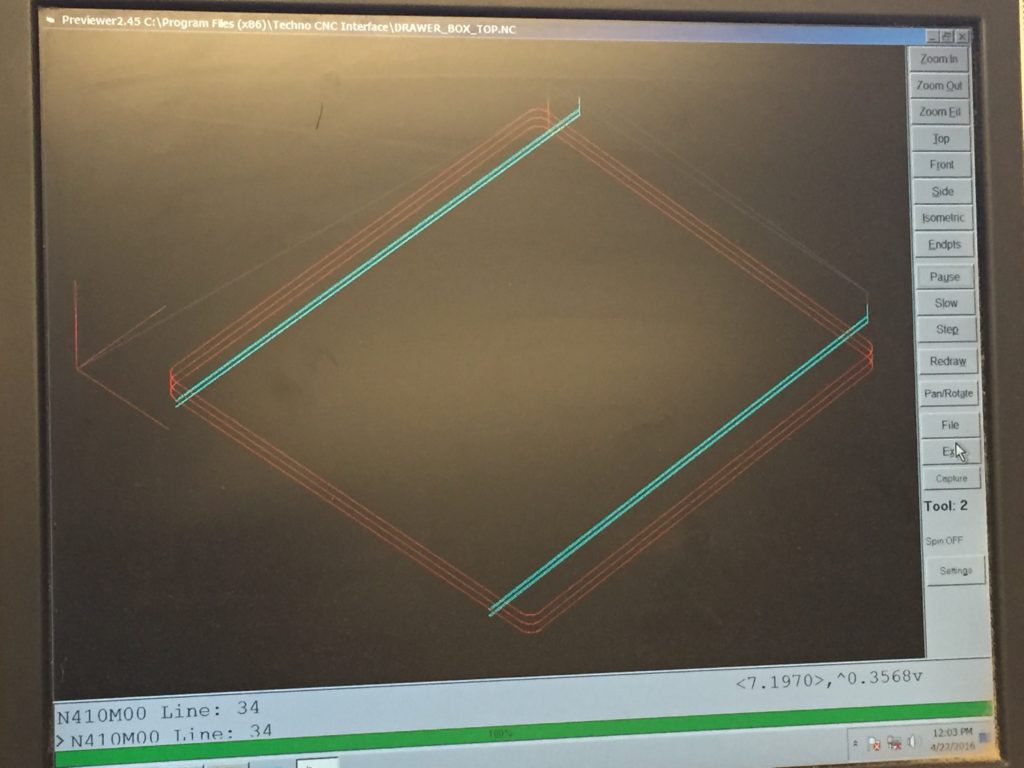
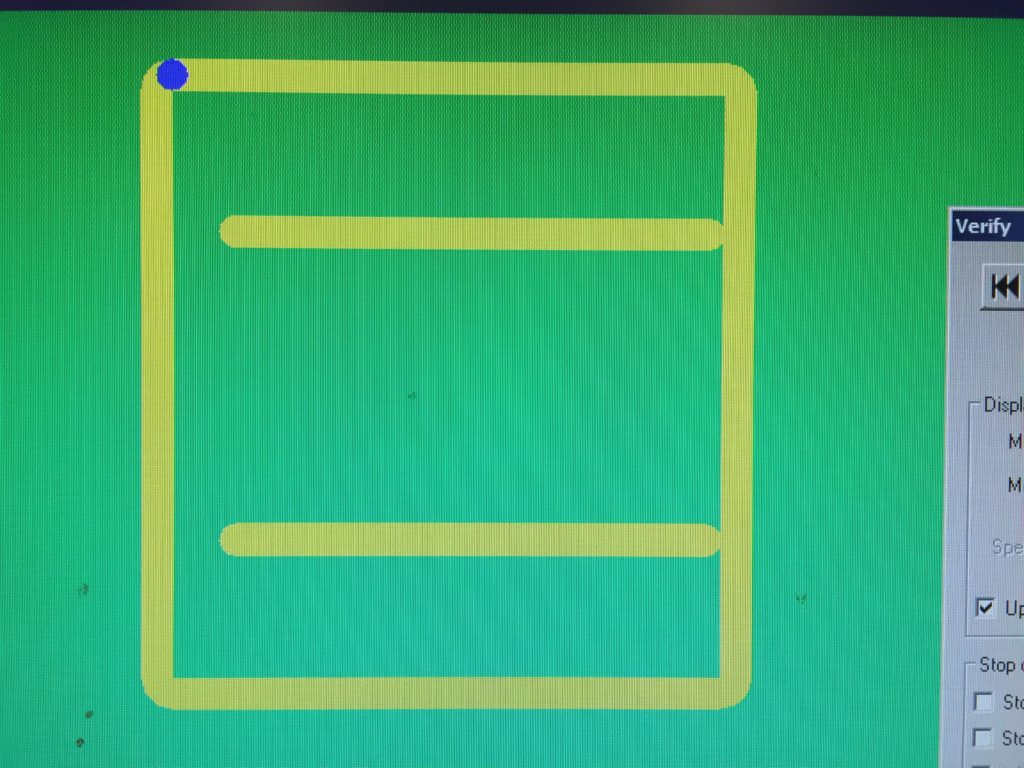
It seemed good in Techno Router as well, displaying different tools using different colors.

IMG_6673

I was careful to lower the cutting parameters.

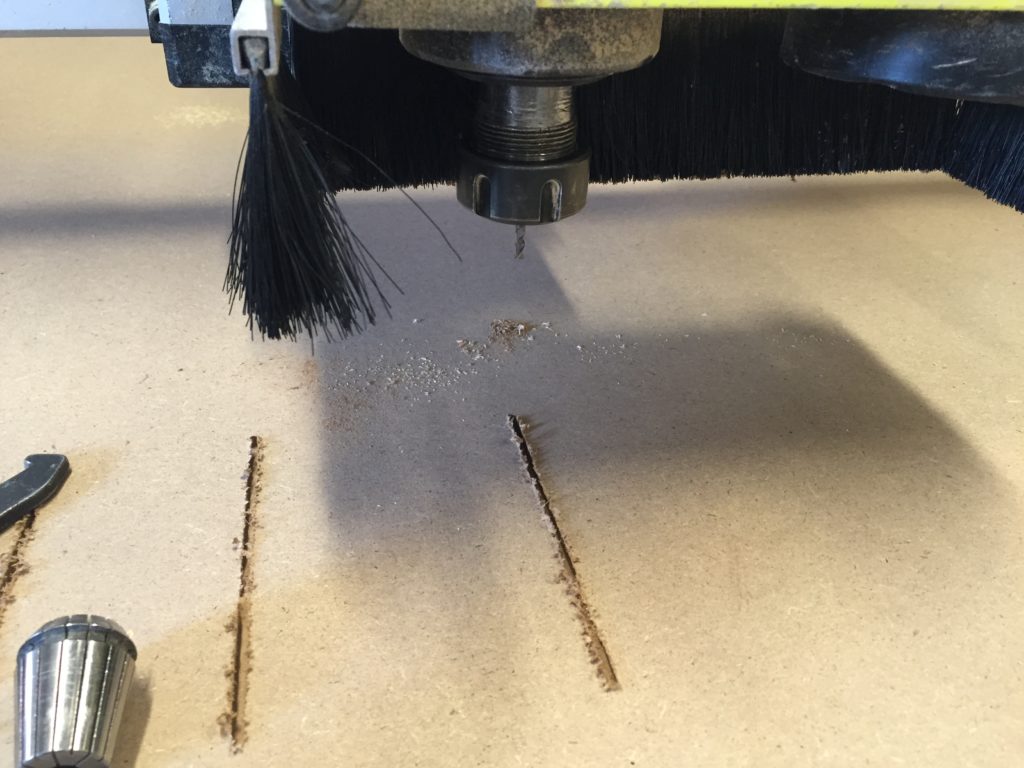
IMG_6675

Seemed just good.

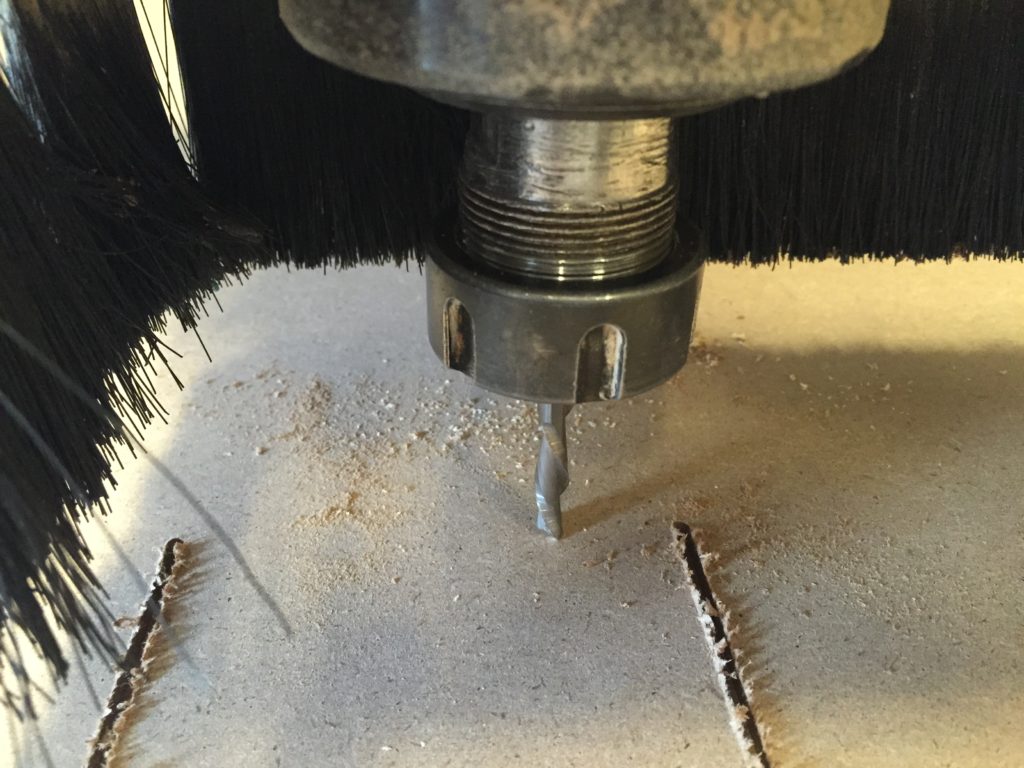
IMG_6678

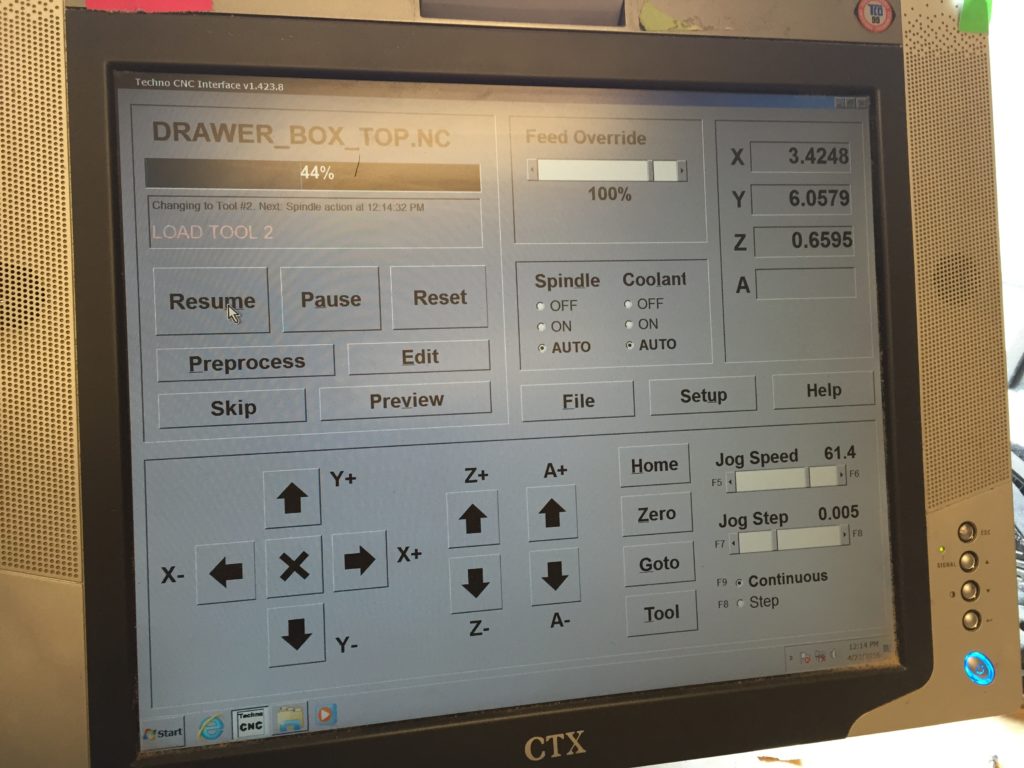
Gladly it automatically paused and prompted me to switch tool when finishing the first job.

IMG_6682

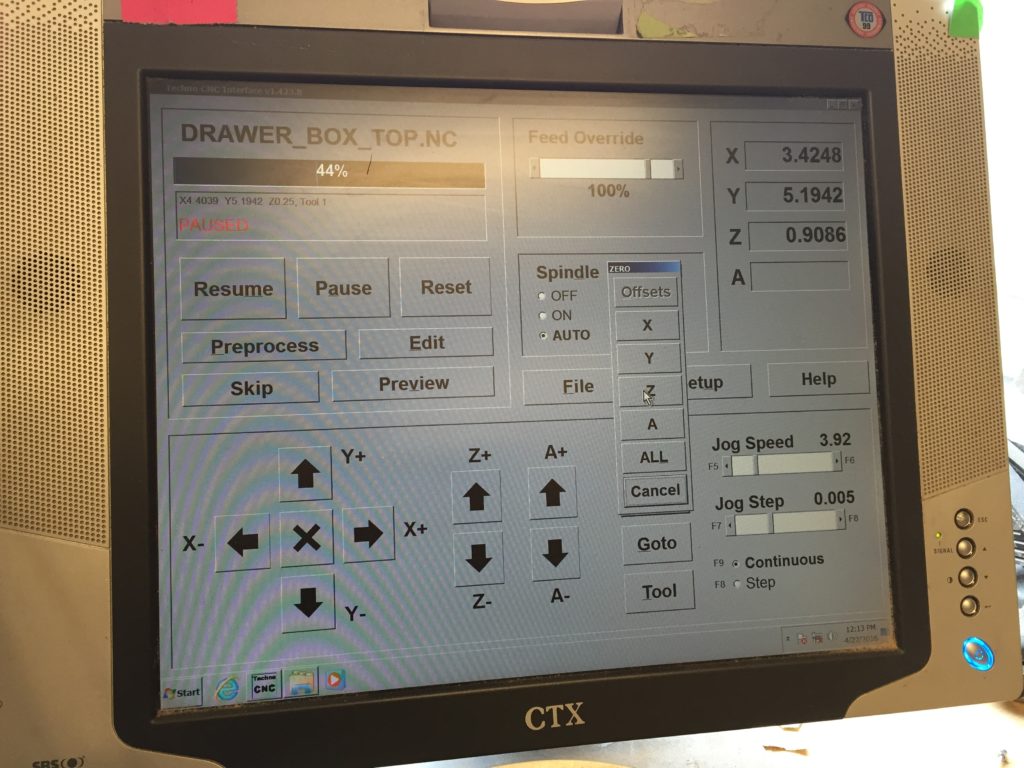
Then I changed my bit and wanted to Zero All in the origin. I tried Homing X, but surprisingly it moved all the way to the extreme reach of machine instead of the zero points I set. (What I needed was actually Goto rather than Homing.)

Then I thought about trying to only reset zero on Z without zeroing X and Y.

IMG_6680

IMG_6681

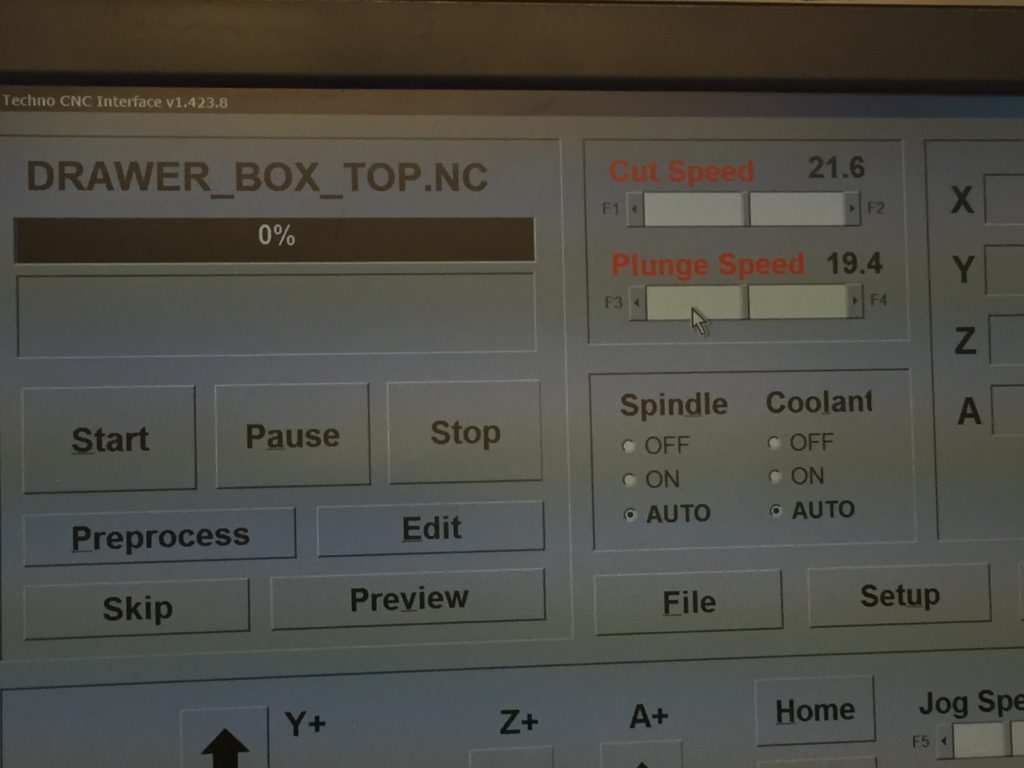
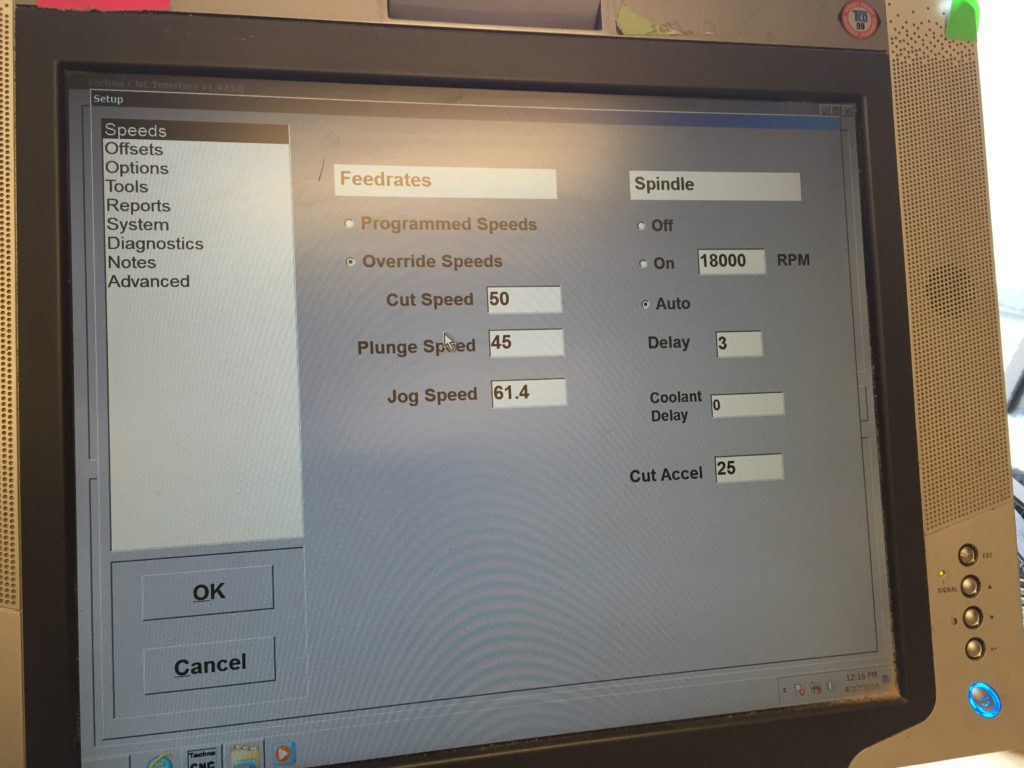
Then I found the bit moving very slow…and realized I didn’t change cut and plunge speeds after switching bit. It seemed the only place to change them was in this Setup dialog.

IMG_6684

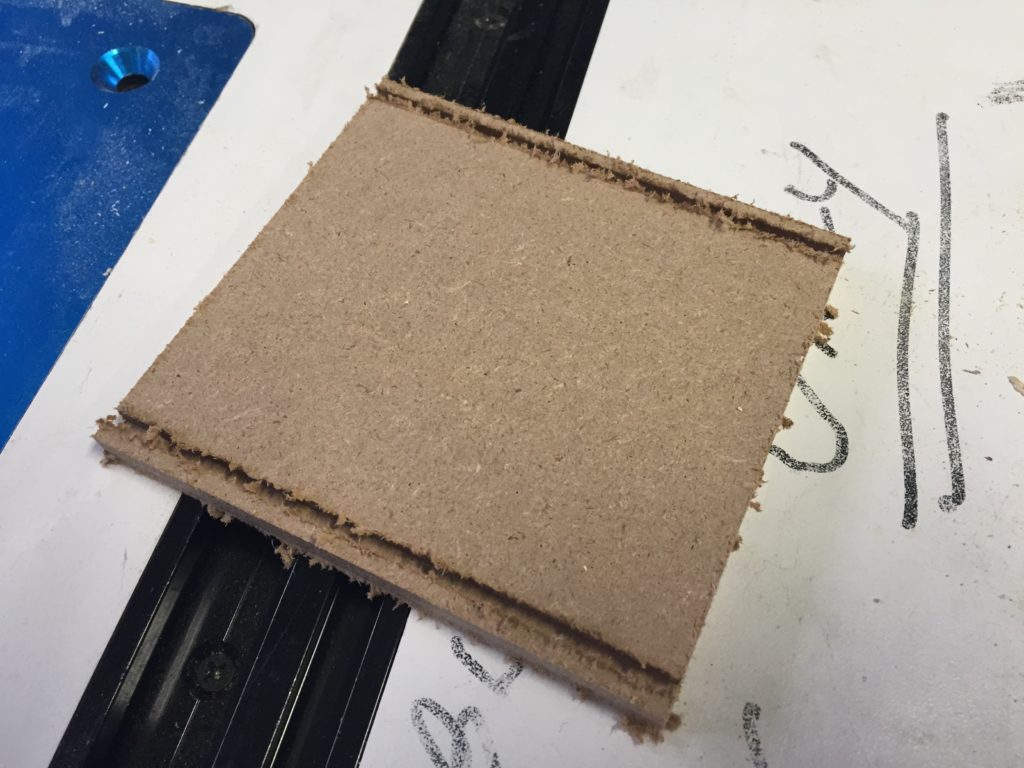
Nicely finished.

IMG_6685

#2 second design and full cutout

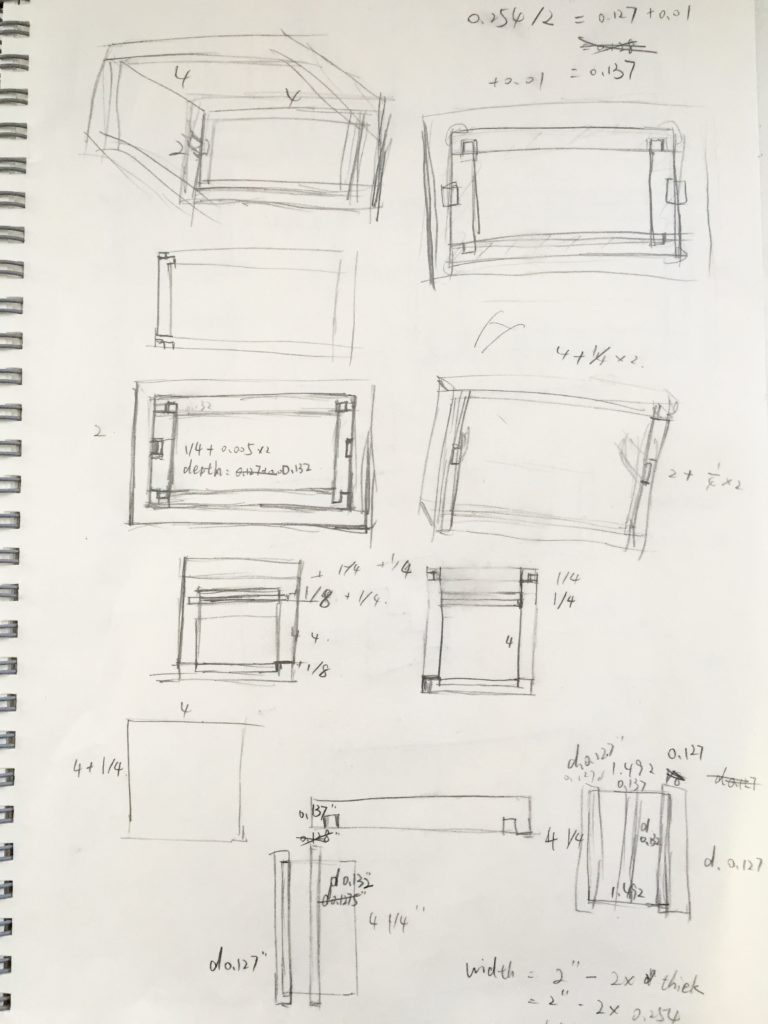
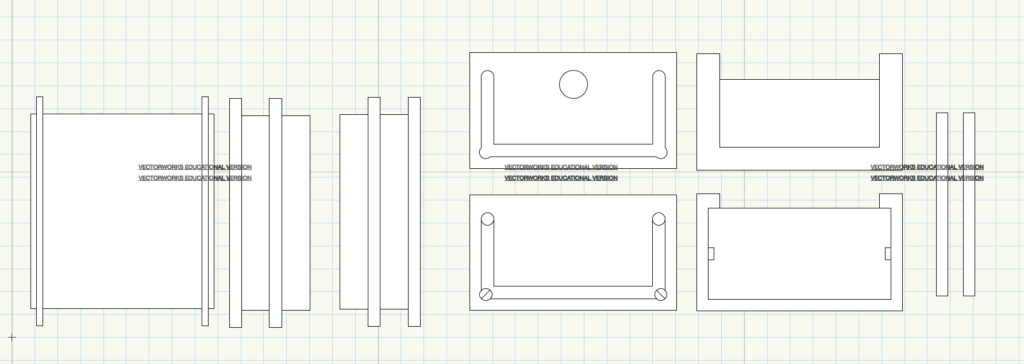
The other day I suddenly realized that I don’t need six faces for a drawer 😛 And I needed rounded corners, two sliders, and a hole in front piece to open the drawer, etc.

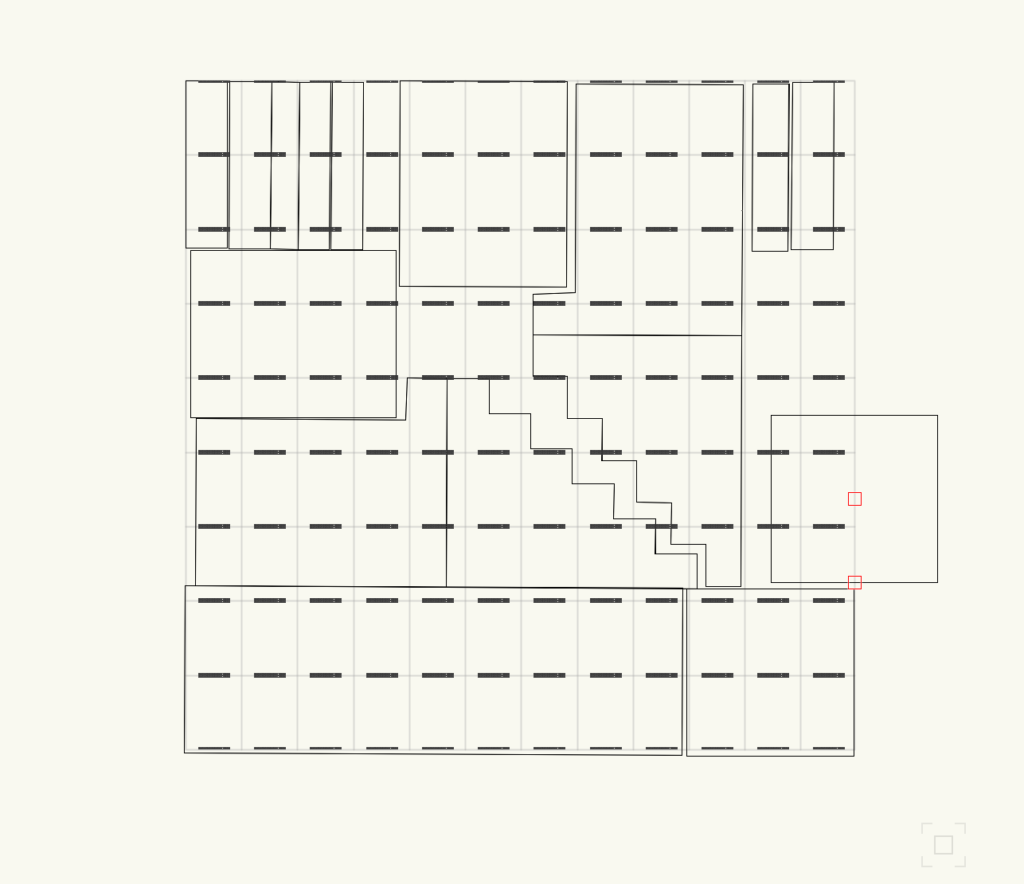
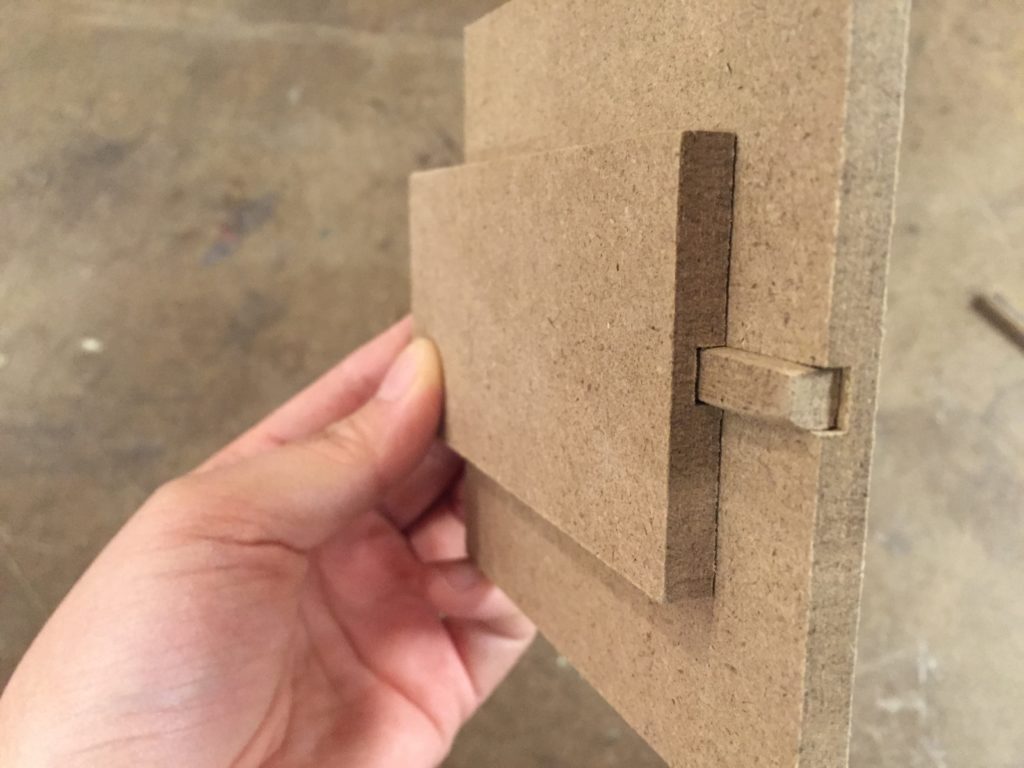
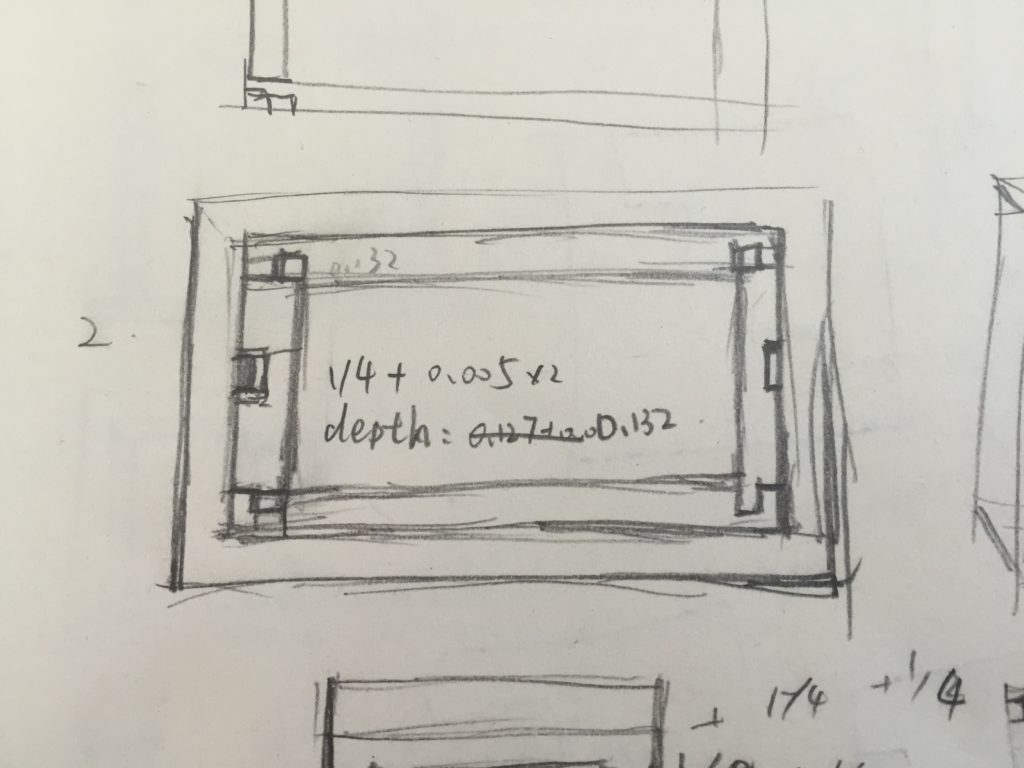
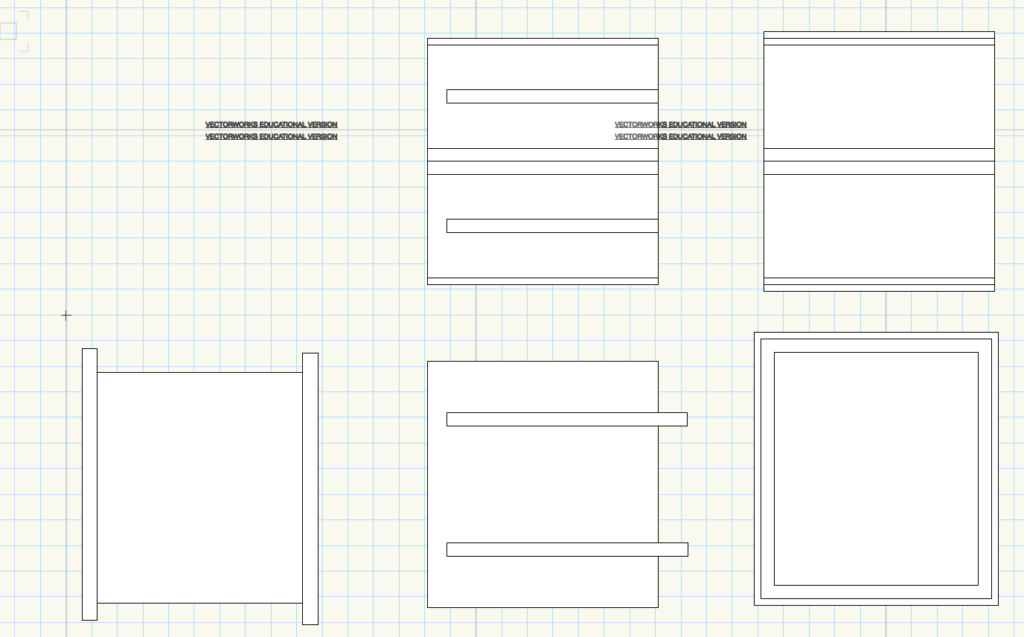
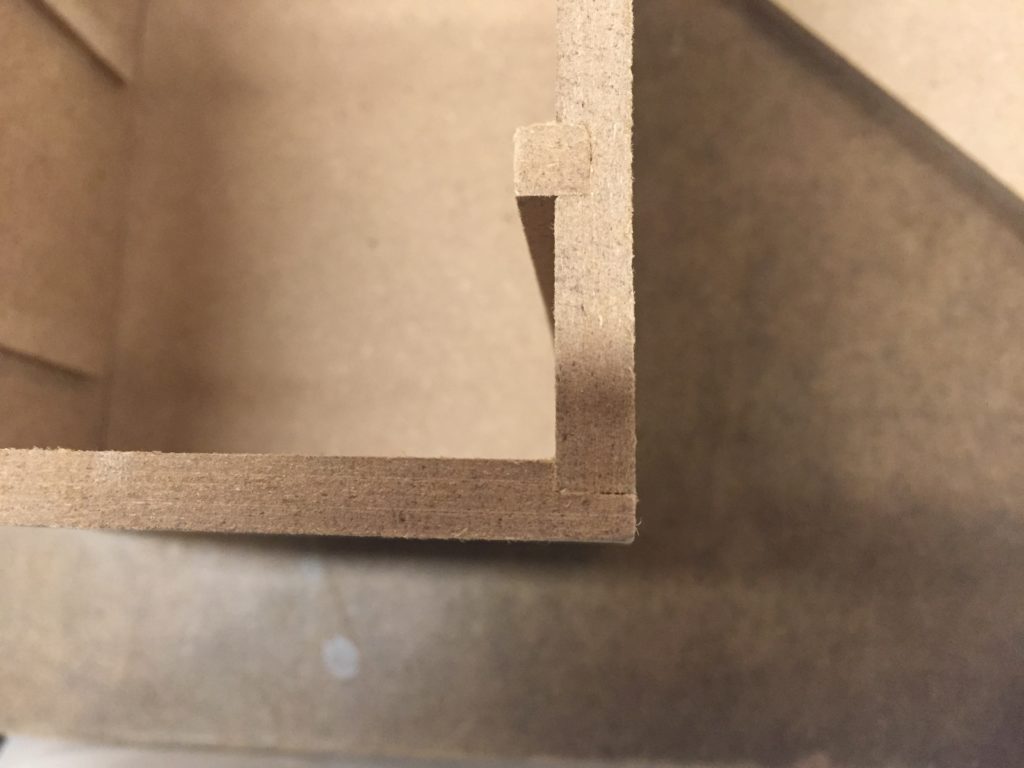
And this was the second design, with a lot of settings in tolerance. If my piece measures 0.254″ in average, then the pocketed concave in front piece should be as wide as 0.254″ + 2 x 0.005″ to make it snug, and the side slot should be 0.254″ + 2 x 0.01″  to let it slide easily, things like that.

FullSizeRender 4

2nd design in Vectorworks.

Screen Shot 2016-04-24 at 6.04.49 PM


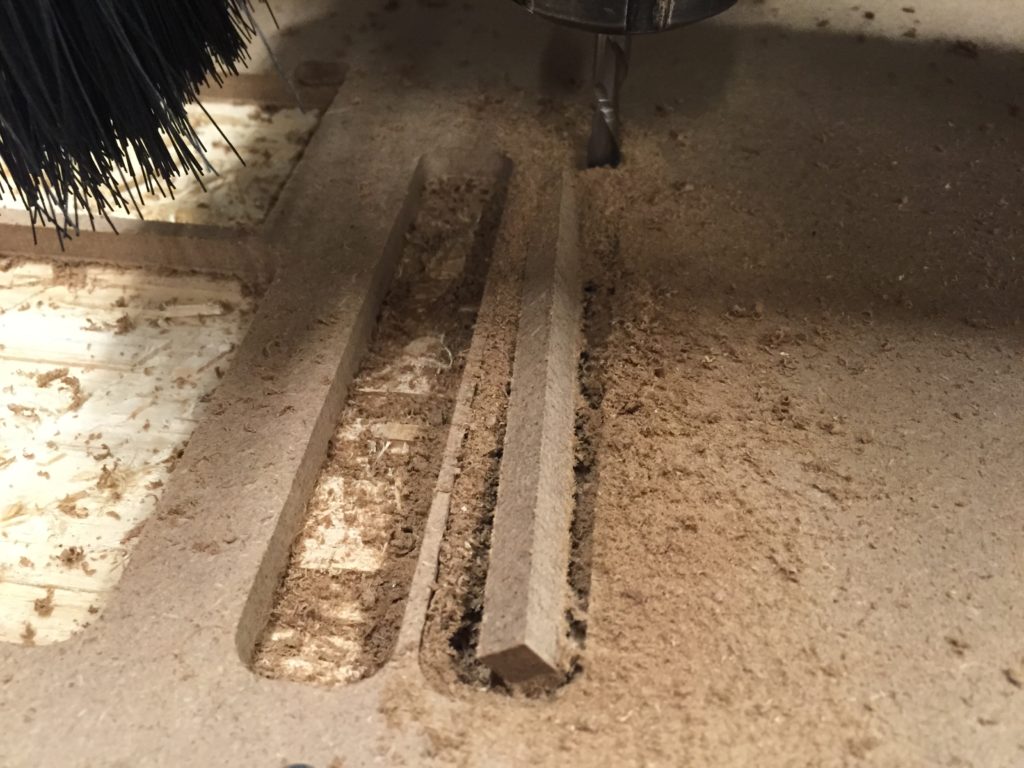
Hit pause whenever it popped.

IMG_6724

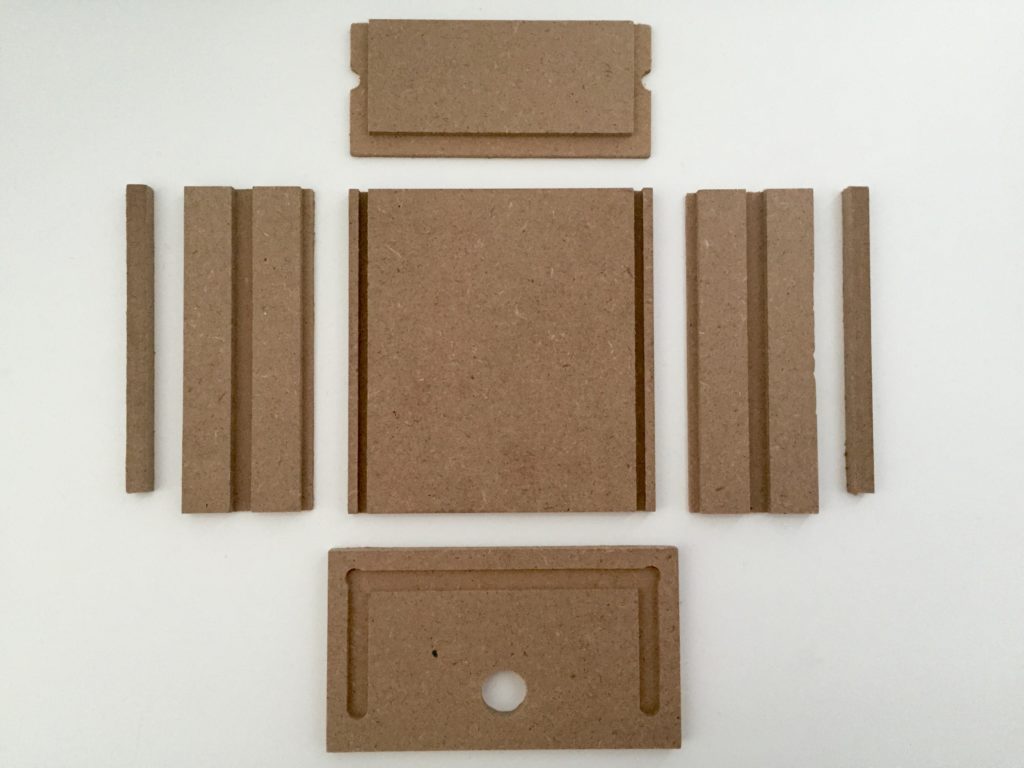
Finally.

FullSizeRender 5

Finish.

FullSizeRender 14

FullSizeRender 7FullSizeRender 9

FullSizeRender 10

Just when I glued them together everything seemed fine except that the face is not very perpendicular to the slide. Should have laid it down like what I did later:

IMG_6888


————————————————————————–

Week 13: the drawer chest

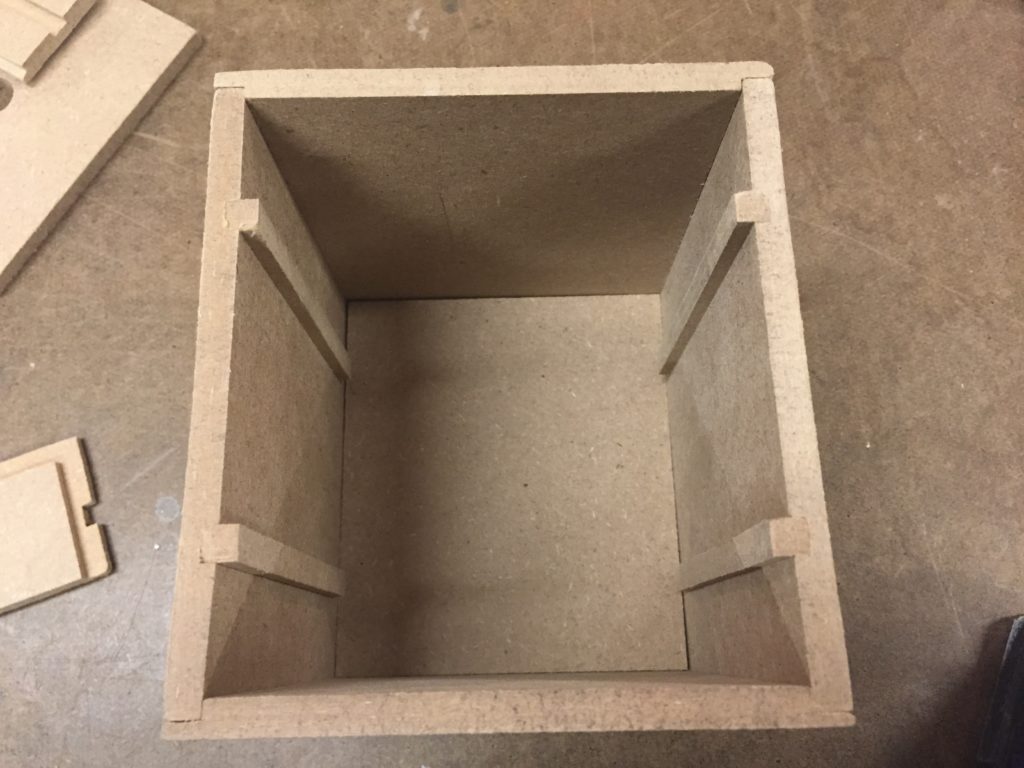
I designed the chest based on my drawer, with two slots on each side of the wall to hold two drawers. (below is 2nd draft)

IMG_6875

It still includes a lot of back and forth trouble shooting like incomplete pocketing.

IMG_6791

1st draft

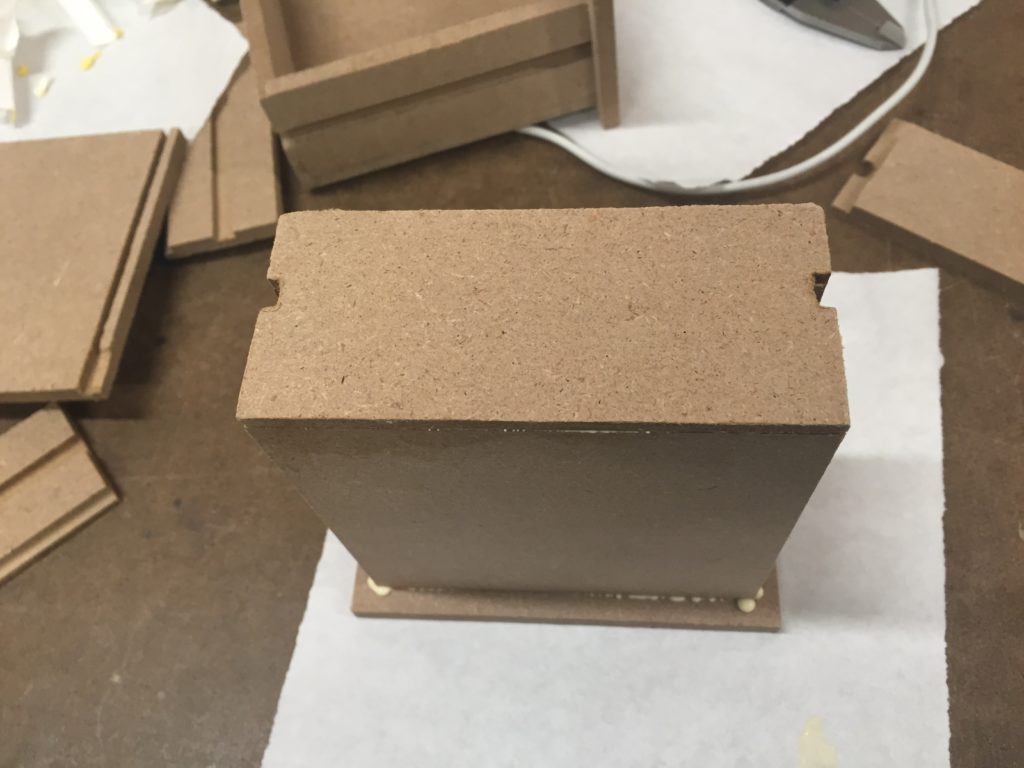
My first draft turn out to be good, but when I put my drawer to the bottom slots, I found that it didn’t fit well to the bottom layer, because the tolerance inside of chest is not set nicely.

And the pocketing turned out to be not very precise as well, that why the size of my chest even shrank after gluing.

IMG_6792

2nd draft

I tried another design with more tolerance inside.

Screen Shot 2016-05-05 at 11.21.45 AM

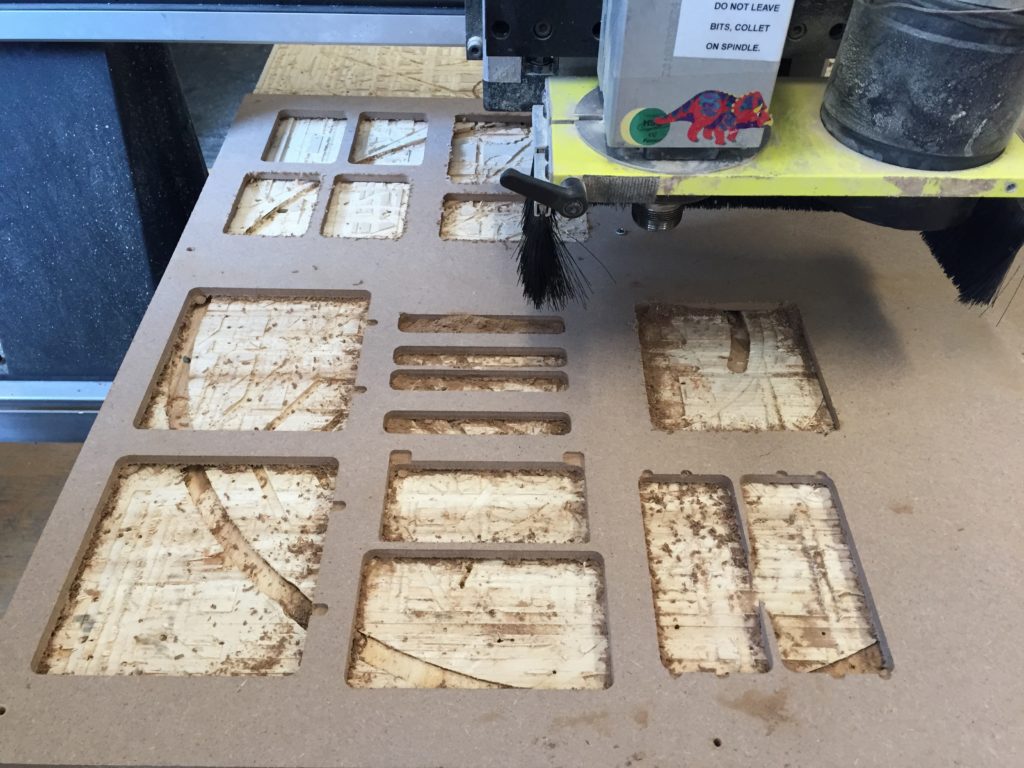
It turned out that the pocketing is not as precise as routing. The same design resulted in pieces with different depth, and it also seems that the tolerance set in machine is not as dominant as how good you set the zero of Z axis on the machine.

Luckily I think this shallow-pocketed piece in the bottom is actually good for allowing more tolerance for the drawer.

IMG_6879

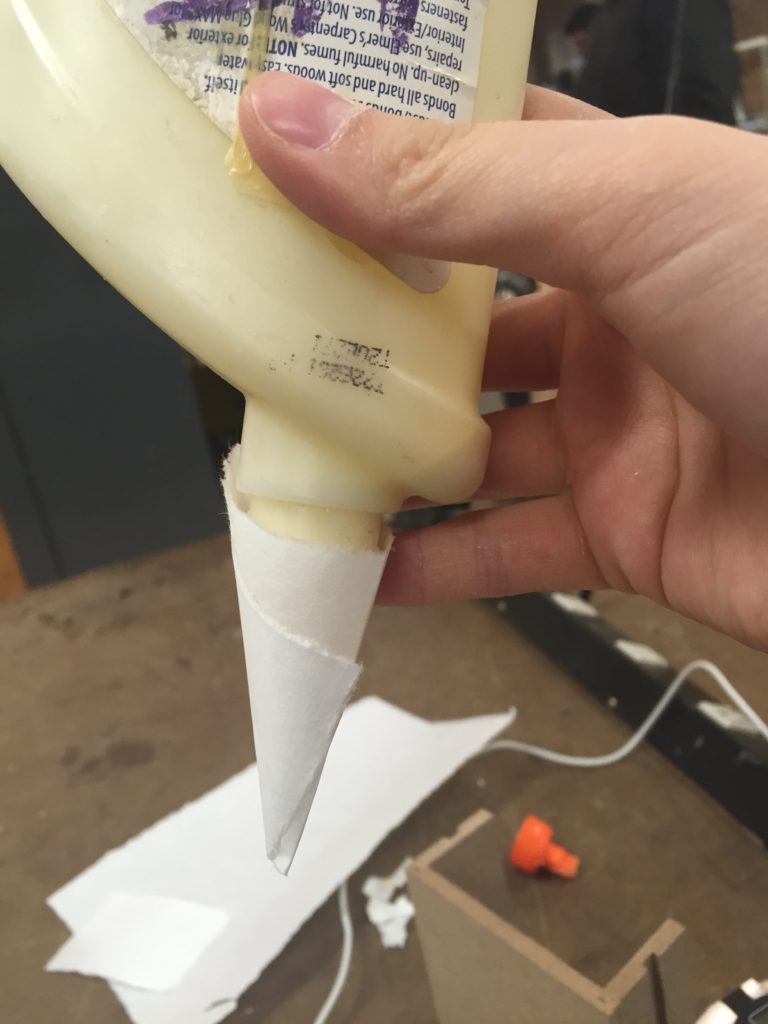
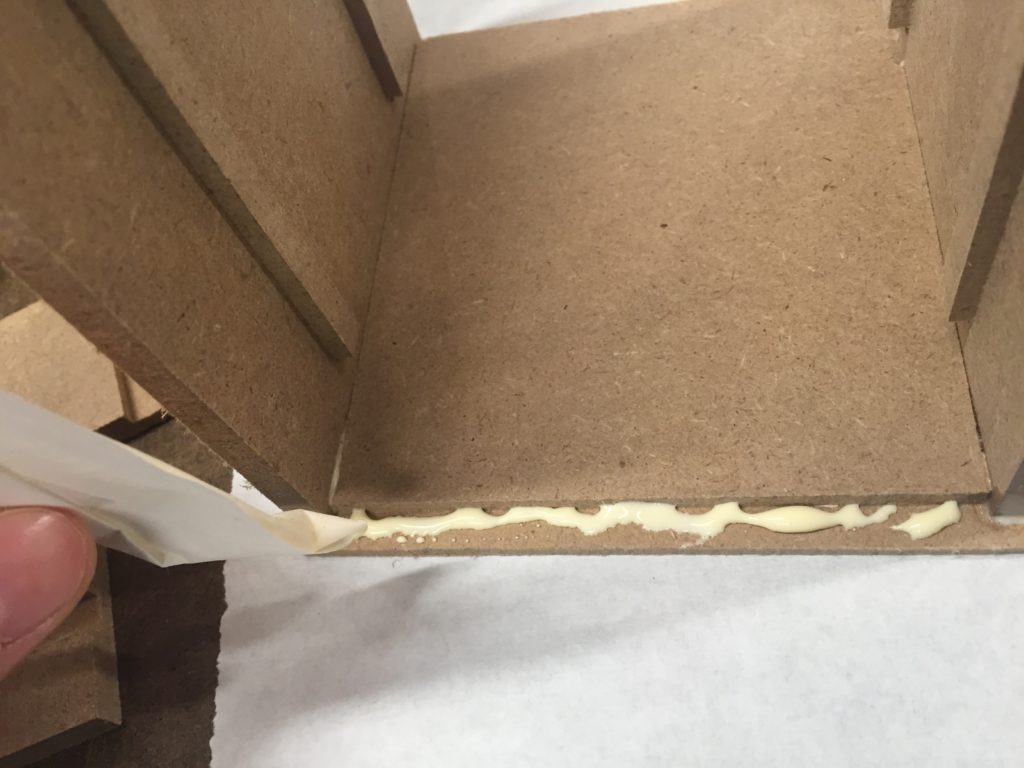
This time I use this technique to get it glued more precisely and clean.

IMG_6882IMG_6880

But it turned out that since I used less glue, the tolerance set for gluing was wasted so the inner size of chest shrank even more…

Screen Shot 2016-05-05 at 11.27.15 AM Screen Shot 2016-05-05 at 11.27.22 AM

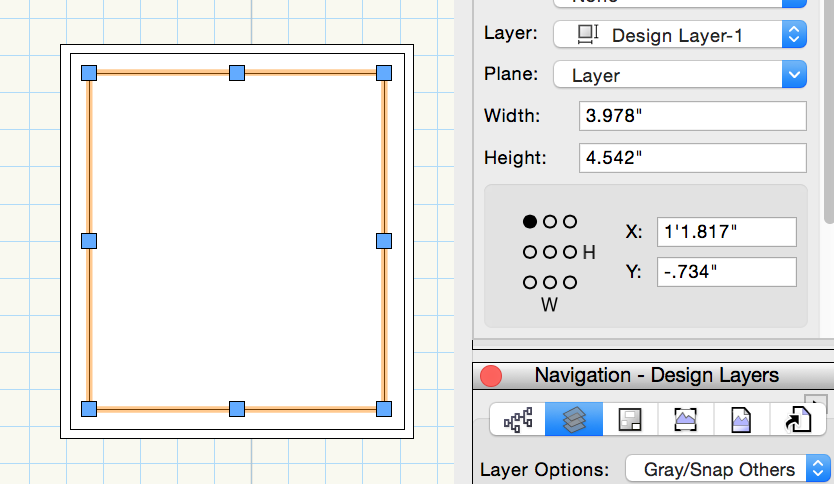
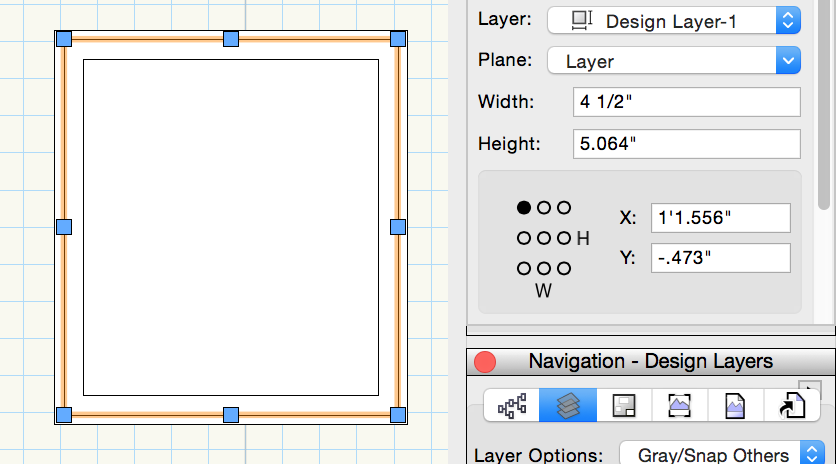
outer width = 4.5″

inner width = 3.978″

board thickness = 0.254″ ~ 0.256″

each side has (4.5-3.978)/2 – 0.255 = 0.006″ tolerance

And the tolerance was not filled by glue.

IMG_6800

IMG_6799

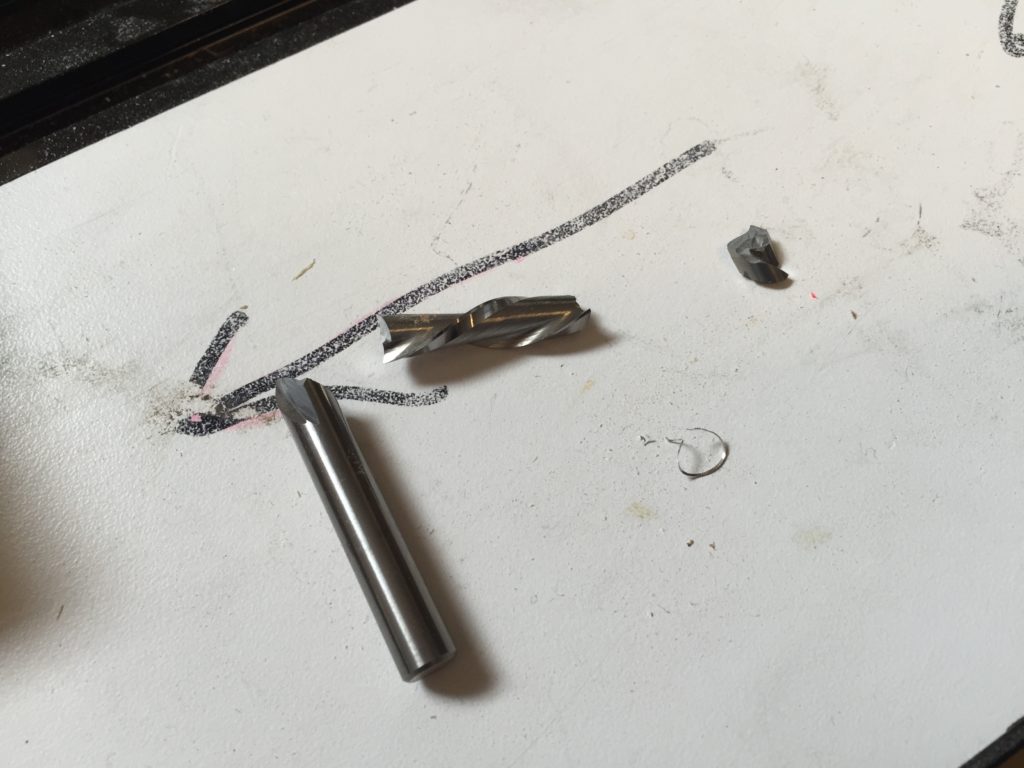
Bit broke for I paused, moved it somewhere unexpected, and hit resume. Then it goes wildly and broke.


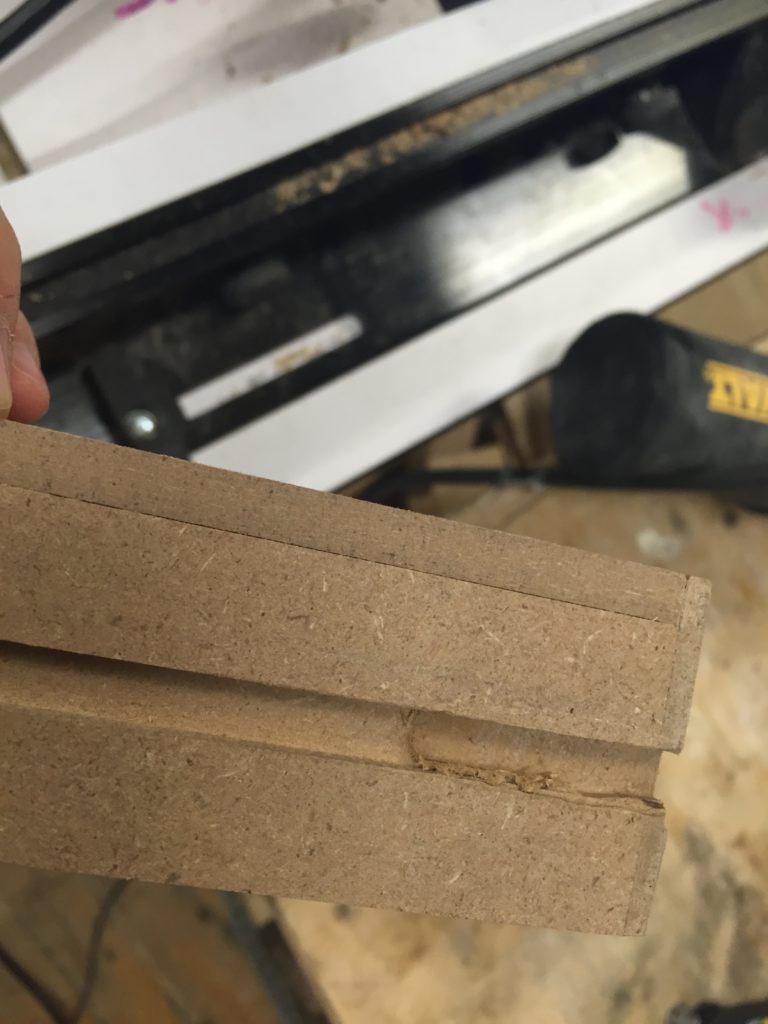
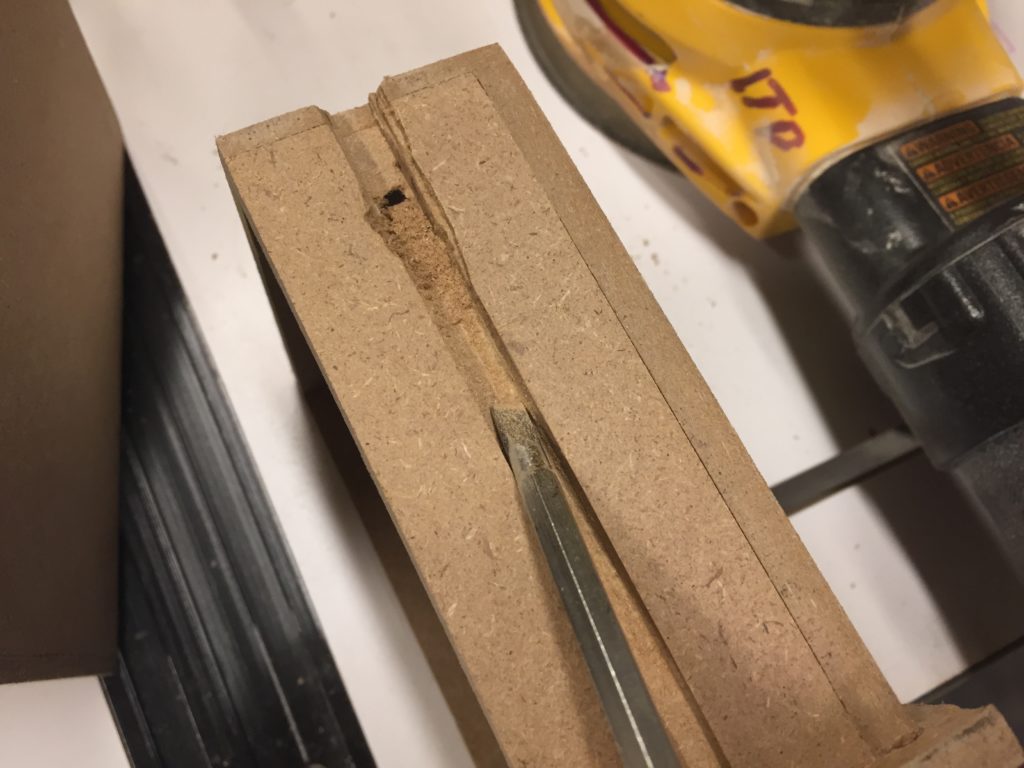
The other drawer was just bad for this unexpected uneveness of pocketing.

IMG_6894

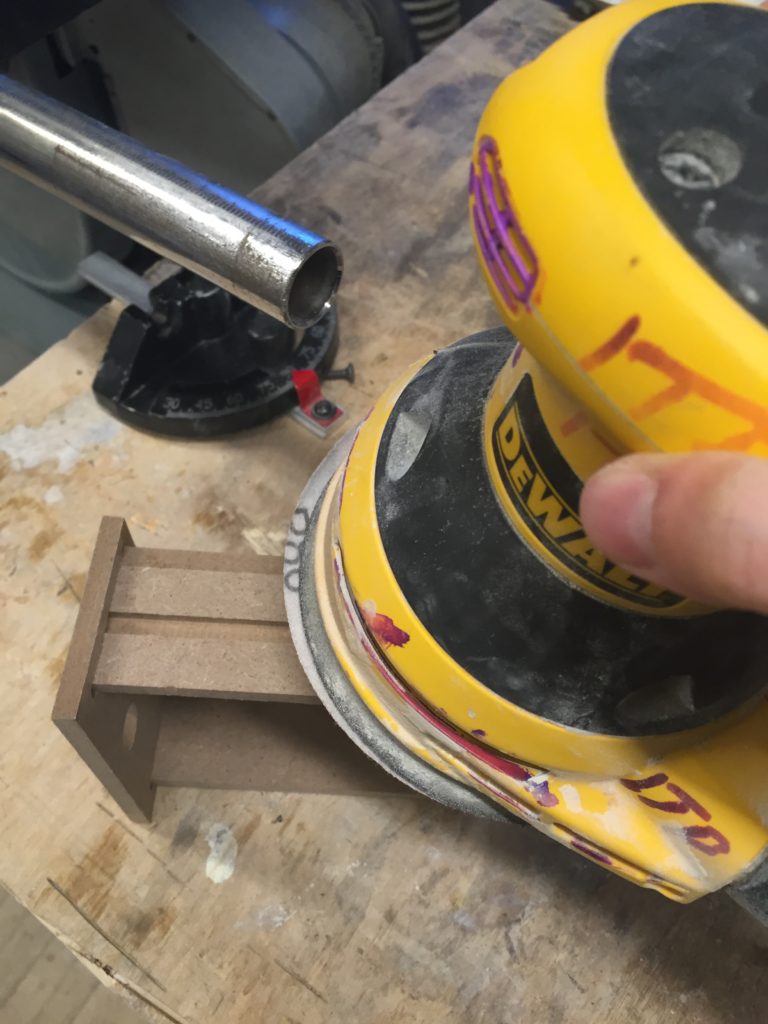
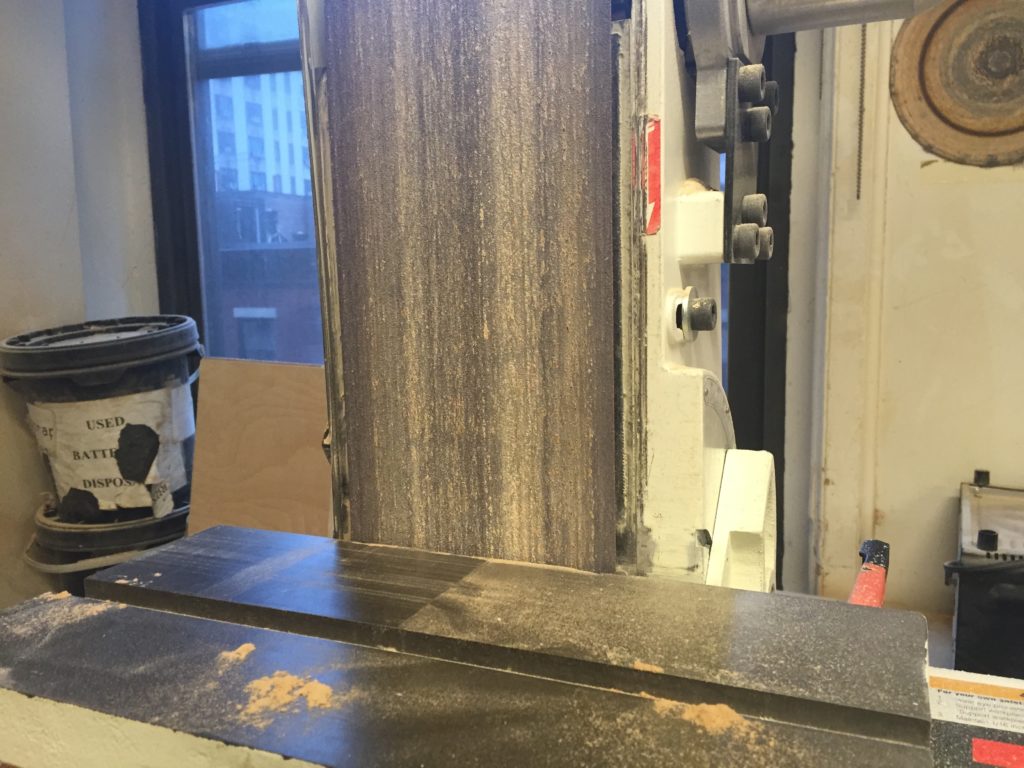
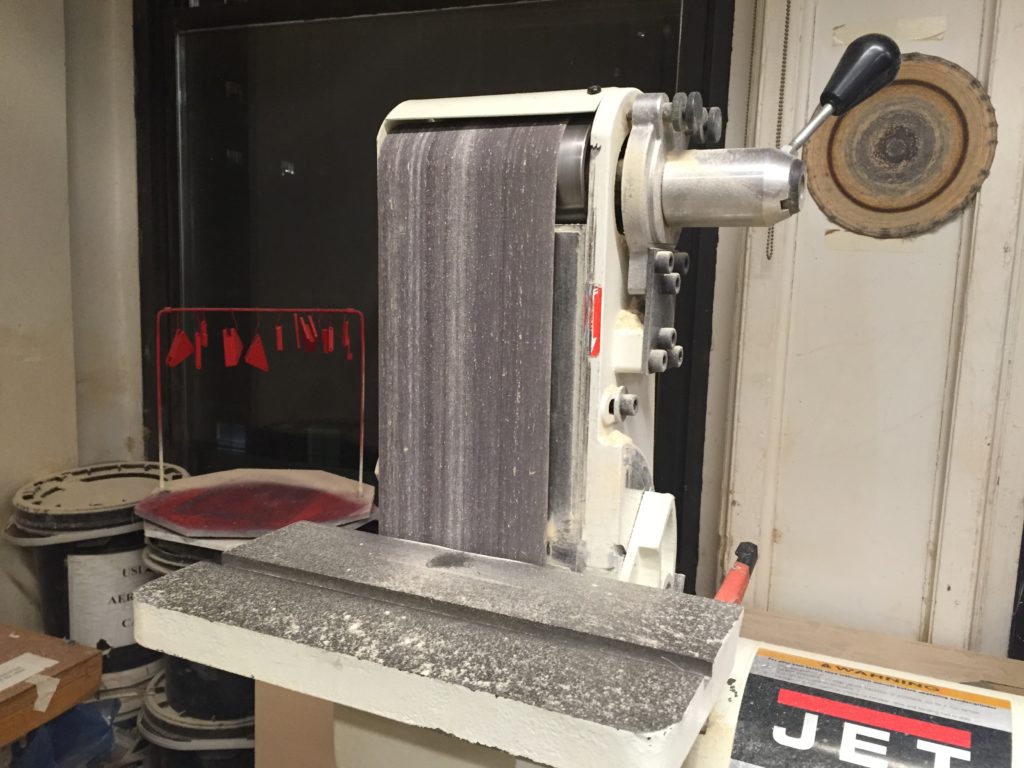
I tried sanding and it just took forever.

IMG_6897

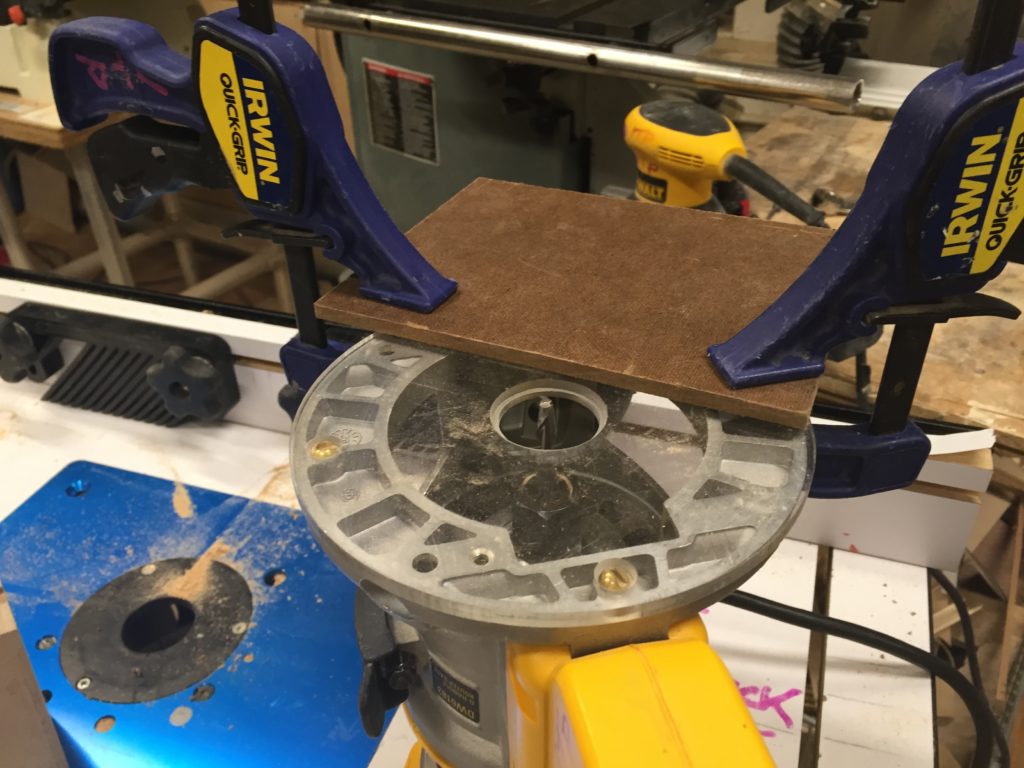
Then I tried hand router and just not that good.IMG_6898

IMG_6901

It turned out that the best solution is screw driver.

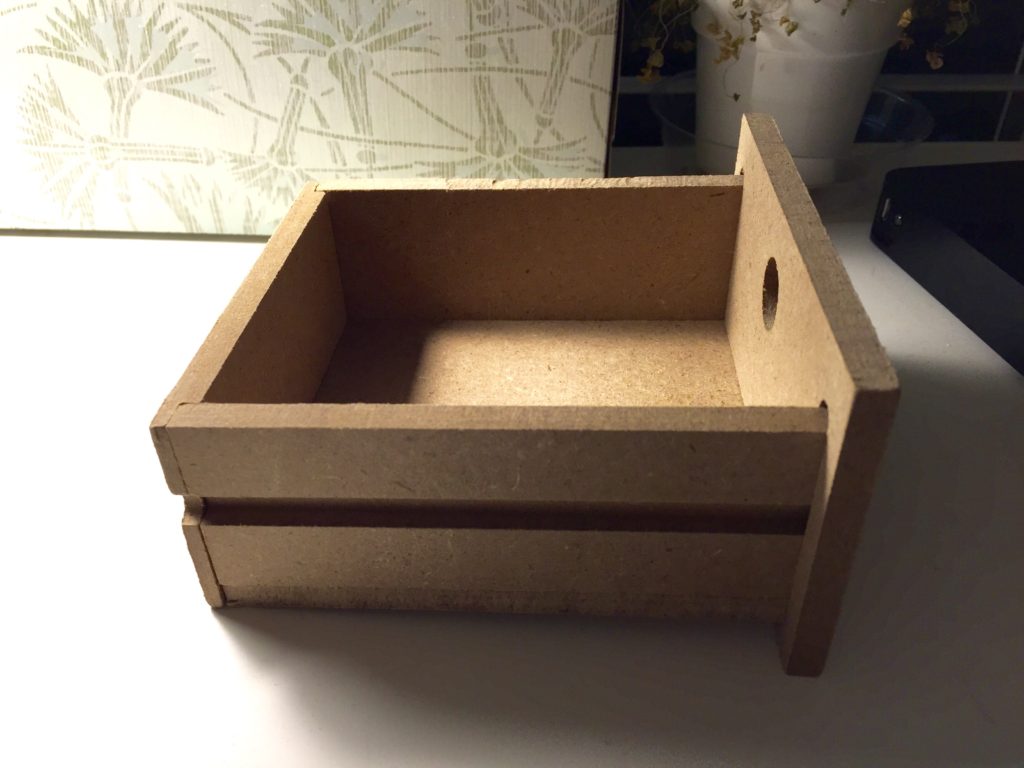
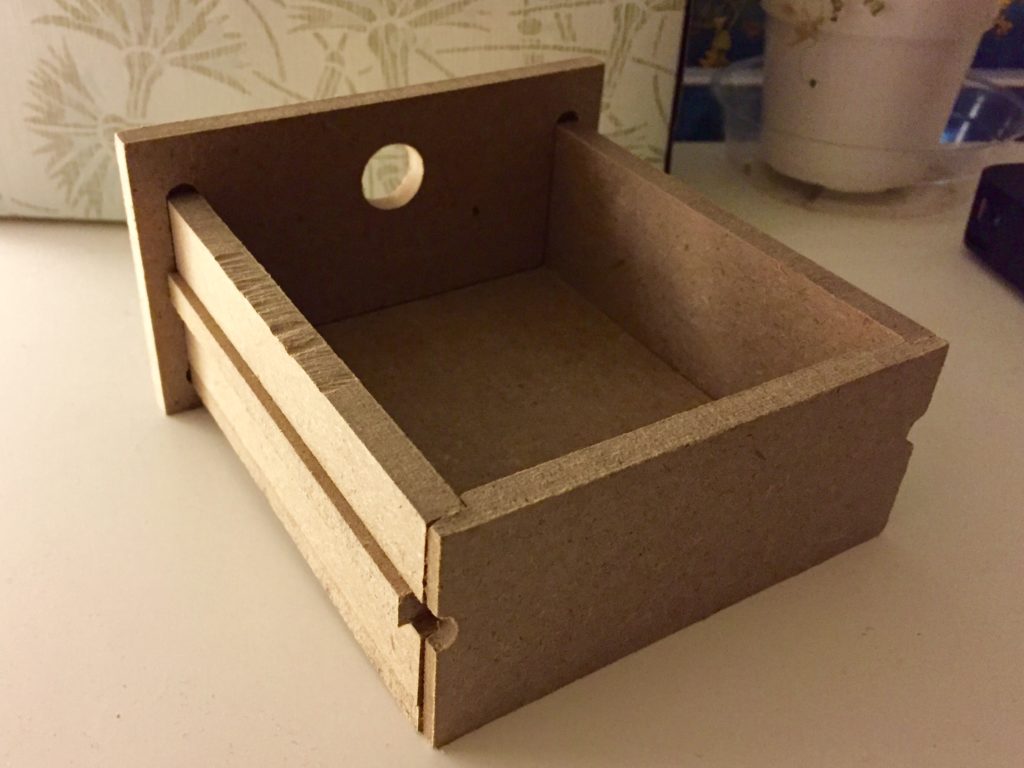
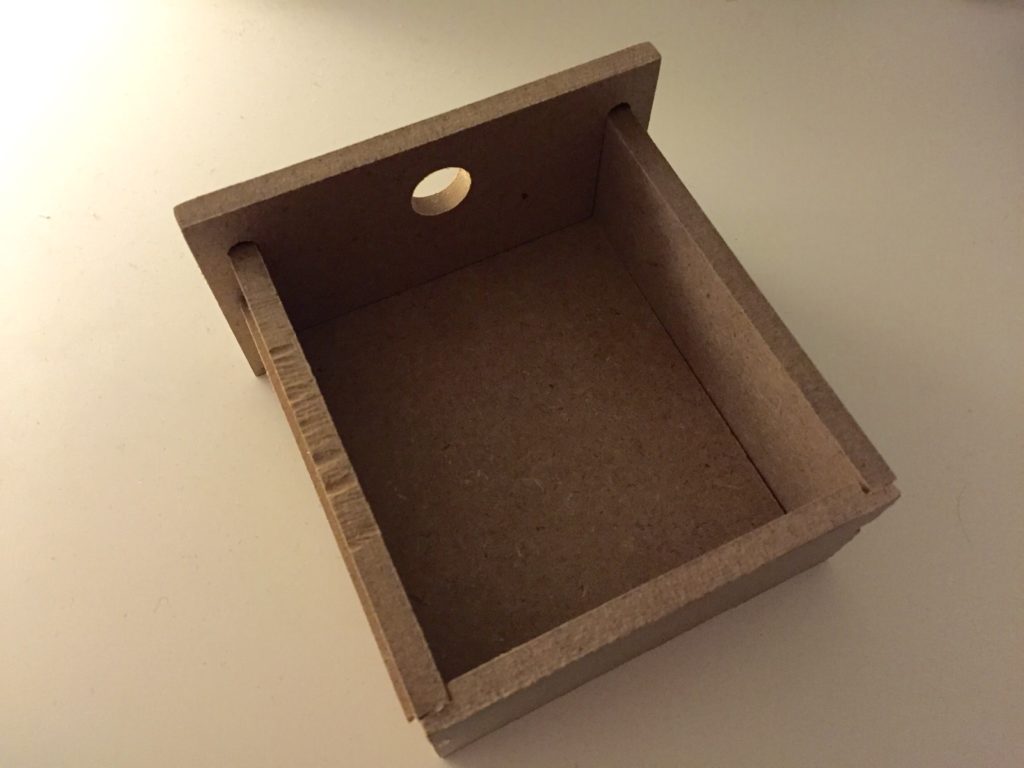
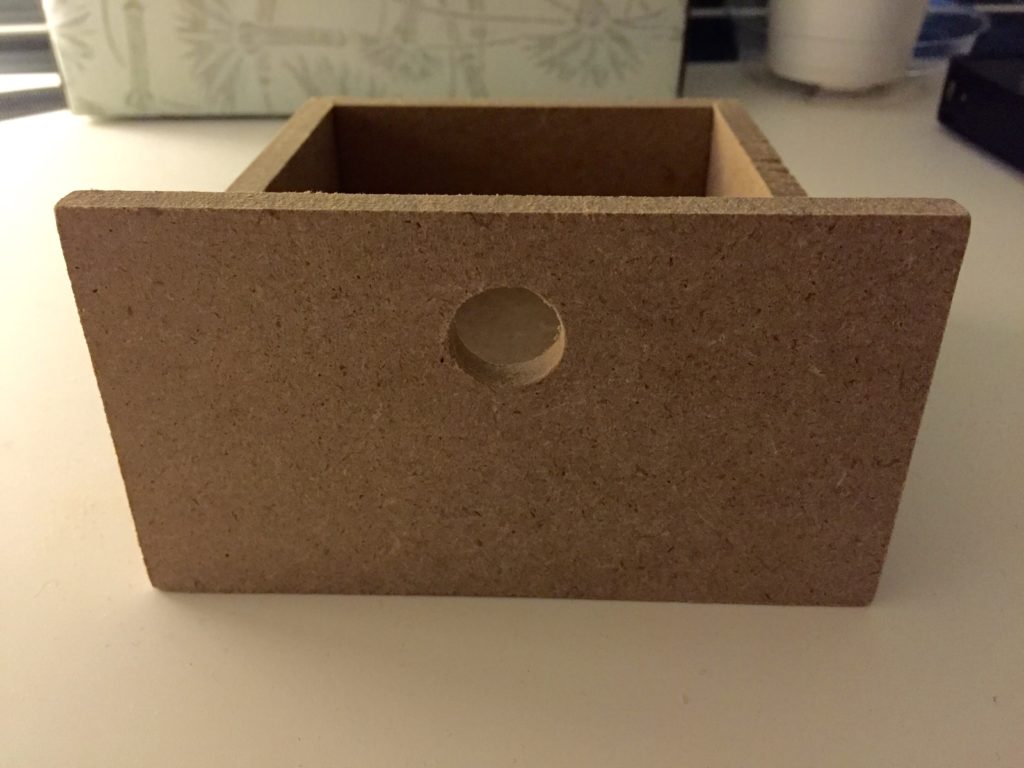
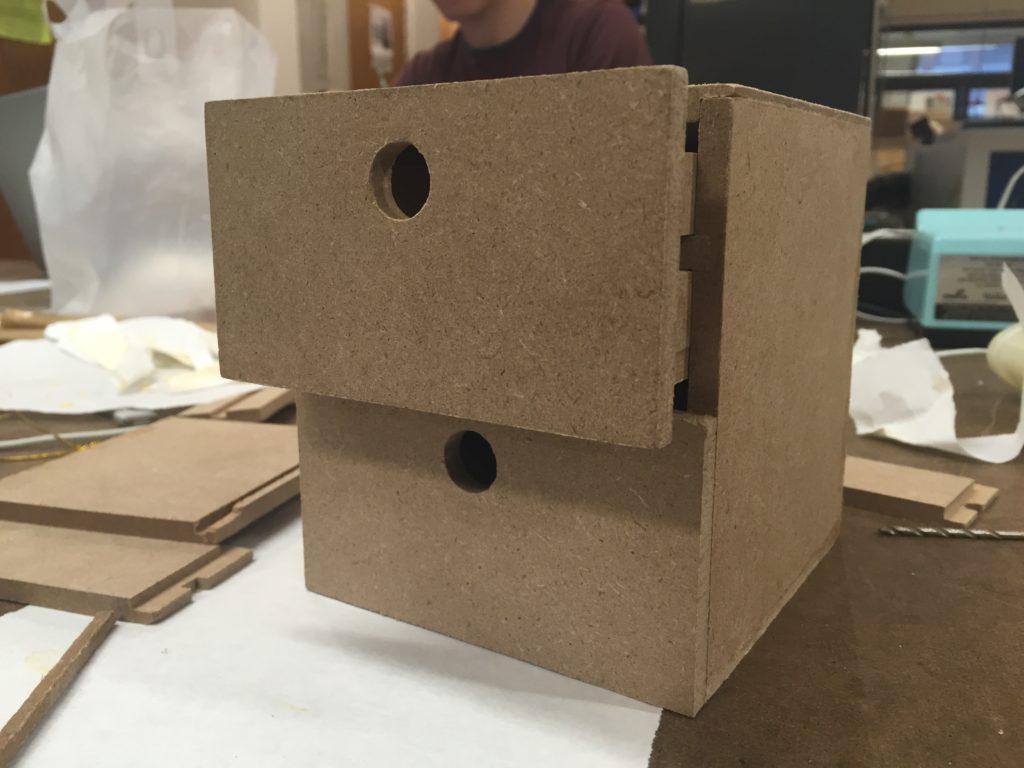
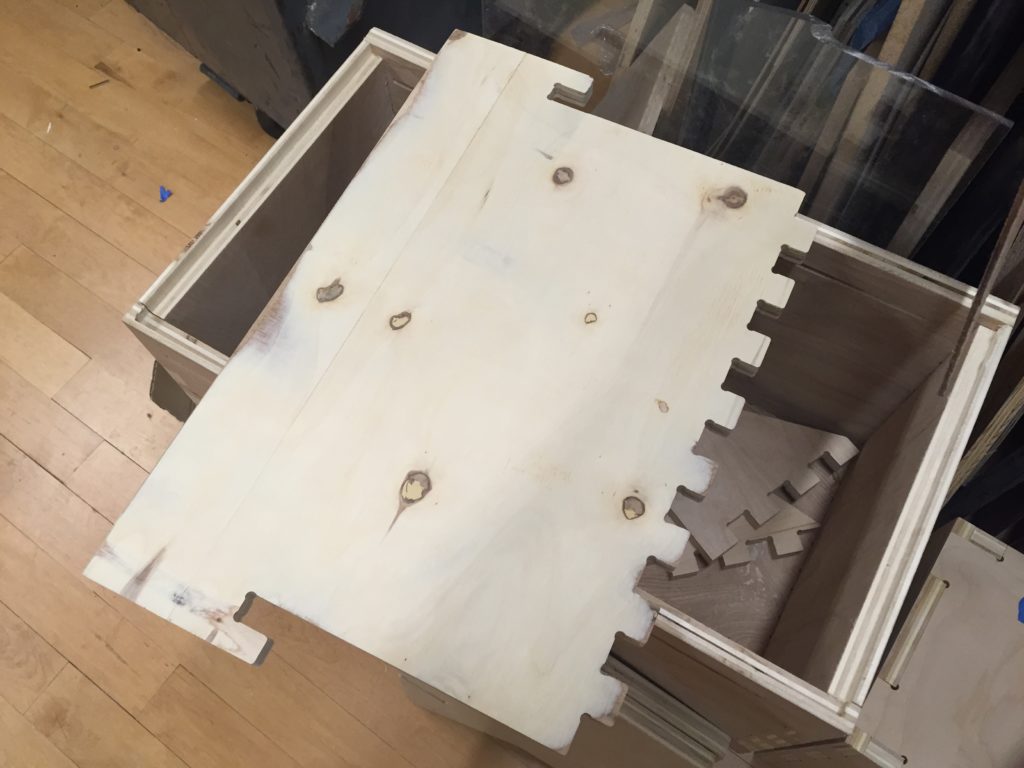
And since they are super snug for 2nd draft I had to sand them super hard.

IMG_6889 IMG_6890

Eventually they fit nicely.

IMG_6886

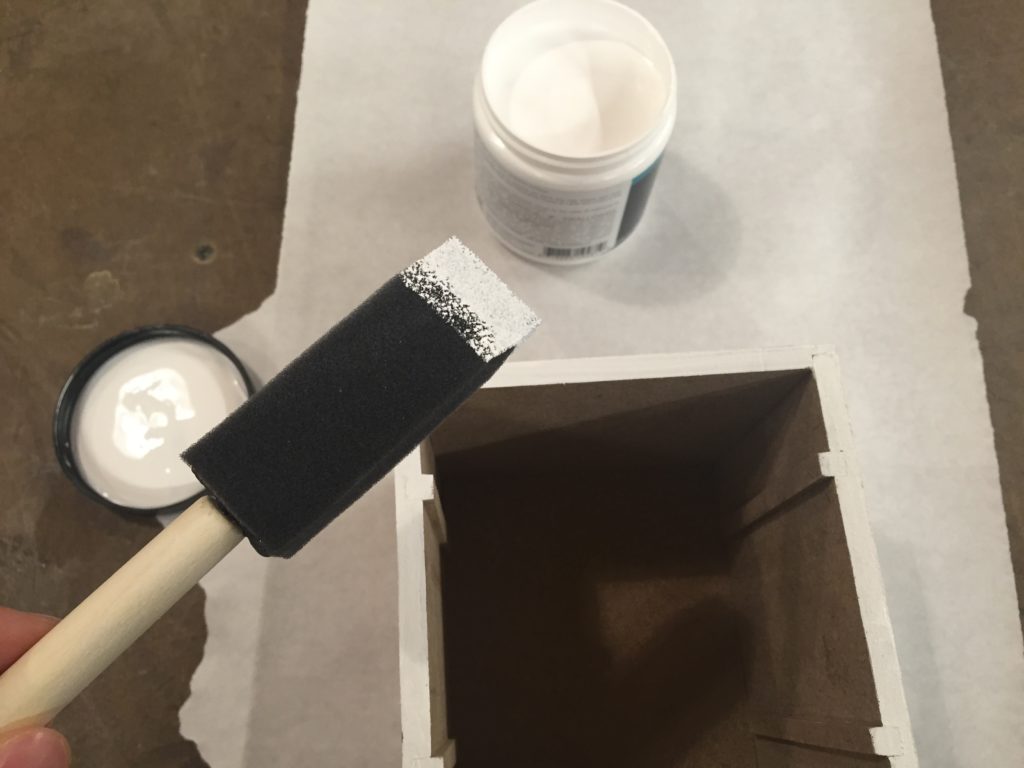
And then paint it.

IMG_6885

IMG_6918

[week12] Brainwave listening

https://drive.google.com/file/d/0B57YUpLXmyszWlVkWnRjR1pwaEE/view?usp=sharing

OpenBCI_GUI.pde

uncommented “import ddf.minim.*;” in line 19

declared Minim, AudioOutput and Oscil objects

stop data streaming button can also stop sound

MenuList.pde

change into “public class MenuList extends controlP5.Controller { “ in line 18

to solve ambiguity of class Controller between controlP5 and Minim library

reference: https://processing.org/discourse/beta/num_1210518638.html

EEG_processing.pde

It calculates the average alpha and beta wave level from the first two channels (0,1). 

Then it maps the average alpha level to sine wave sound, and beta level to square wave sound.

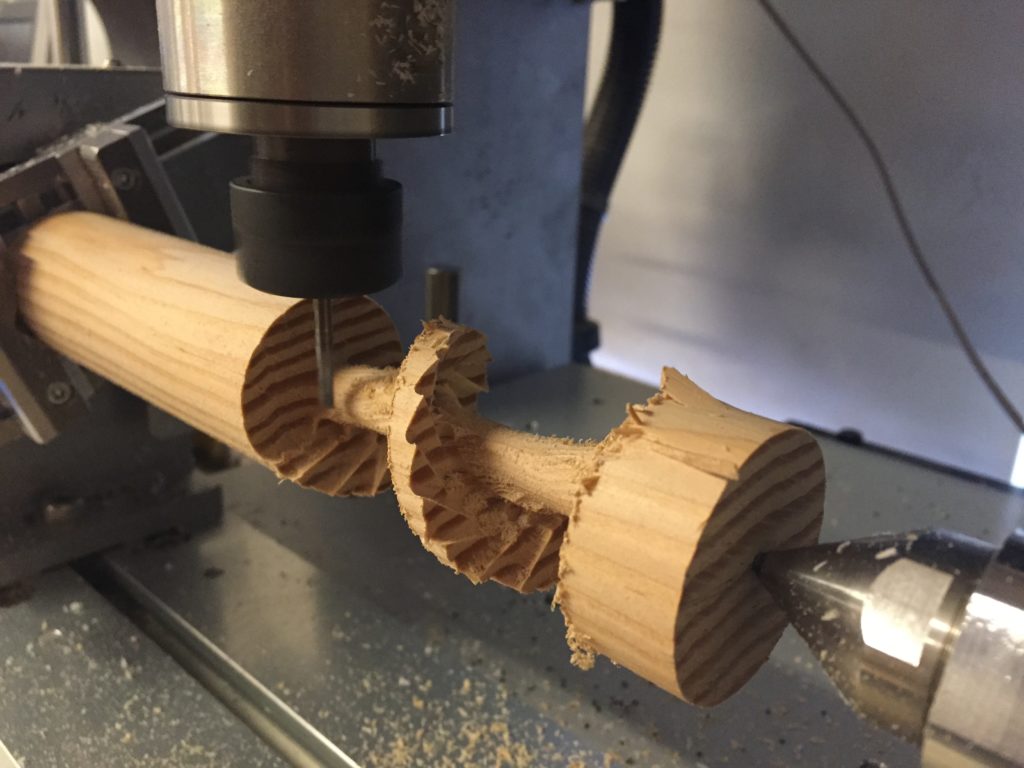
[week10] 4 Axis practice v2

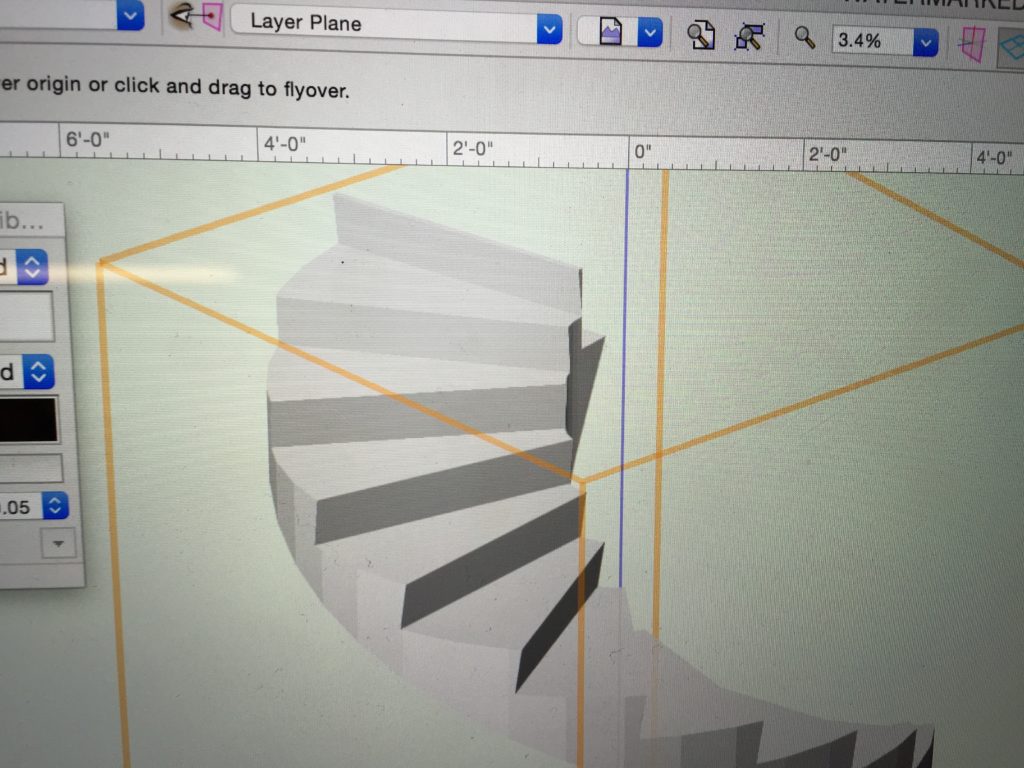
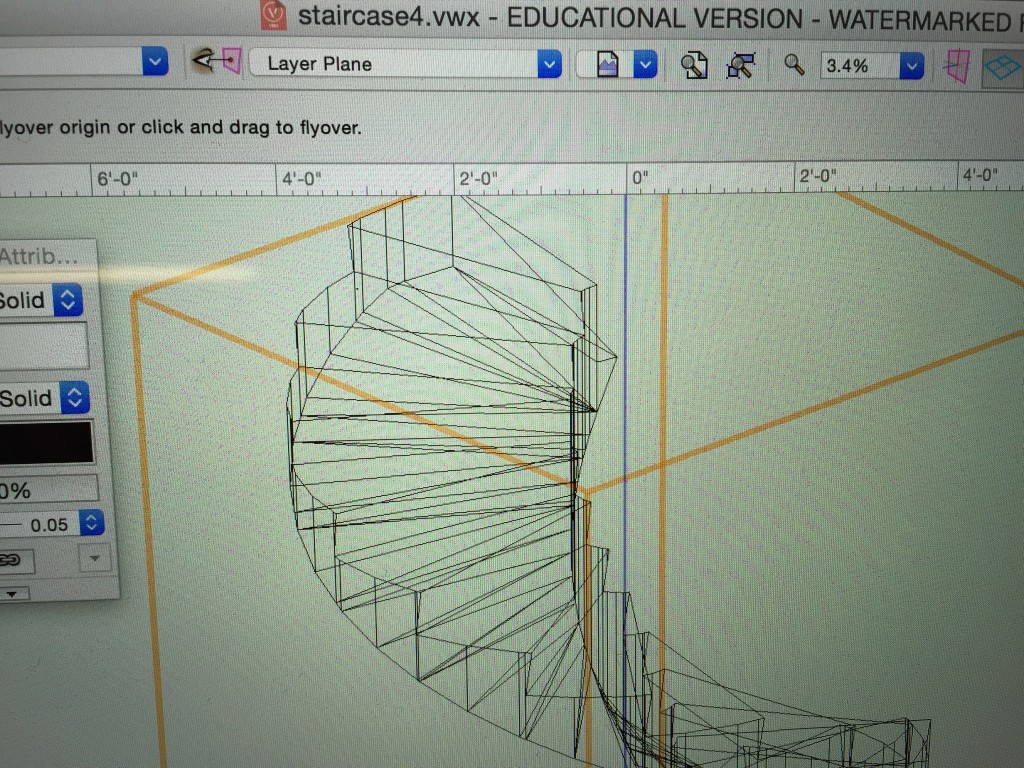
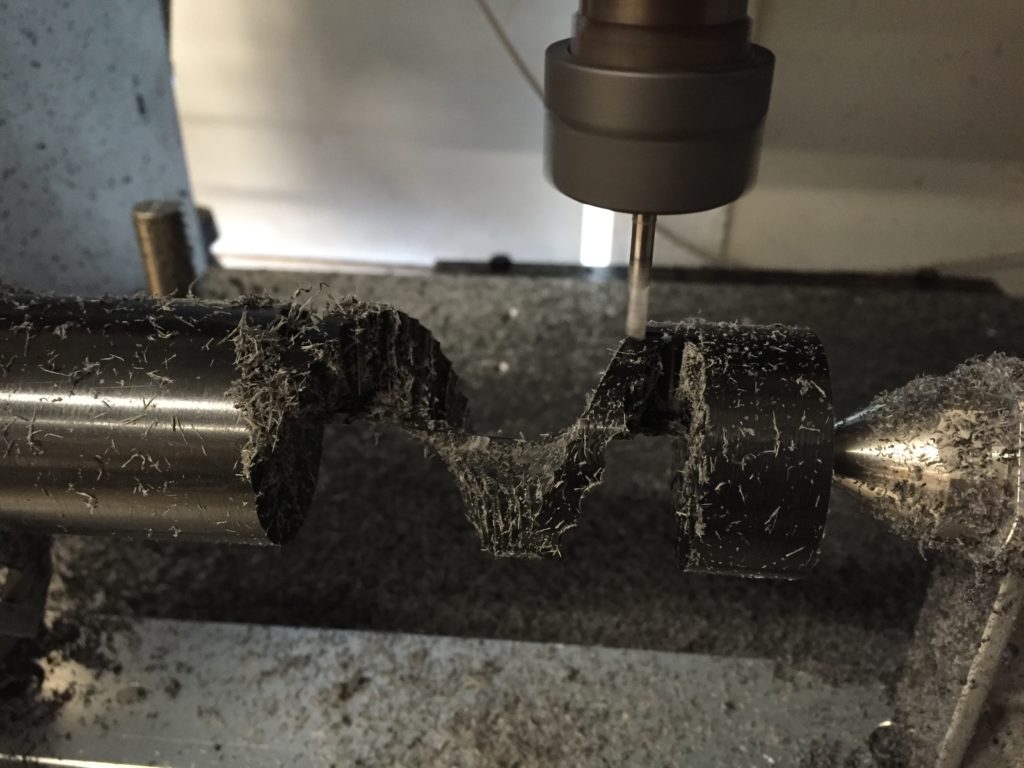
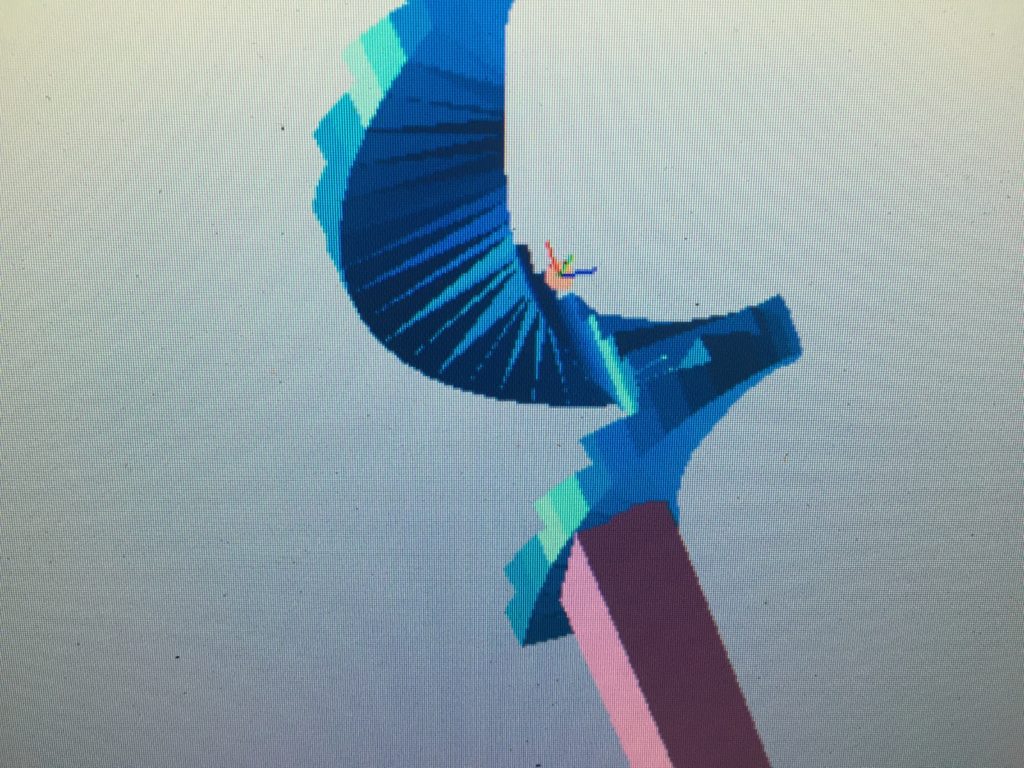
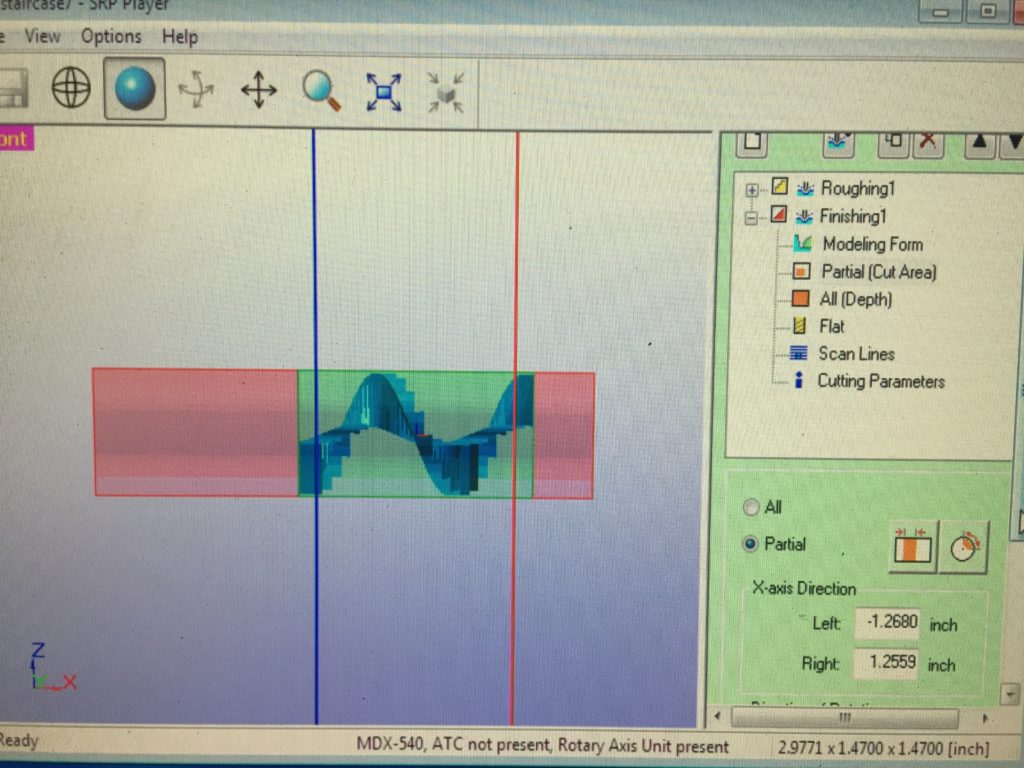
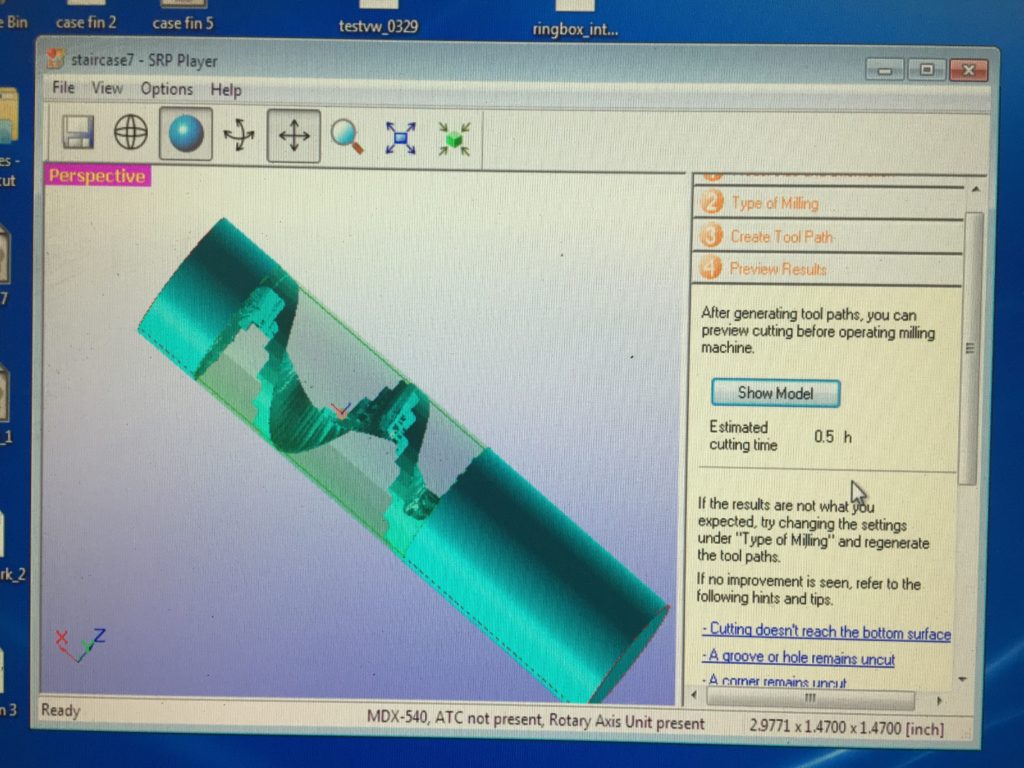
I really wanted to do something fancy and spiral, and I think stairs would be great. And when I search online I found a built-in stair tool inside Vectorworks, so I created the model with the tool easily.

It’s all about try and fail and learn and try again.

First try

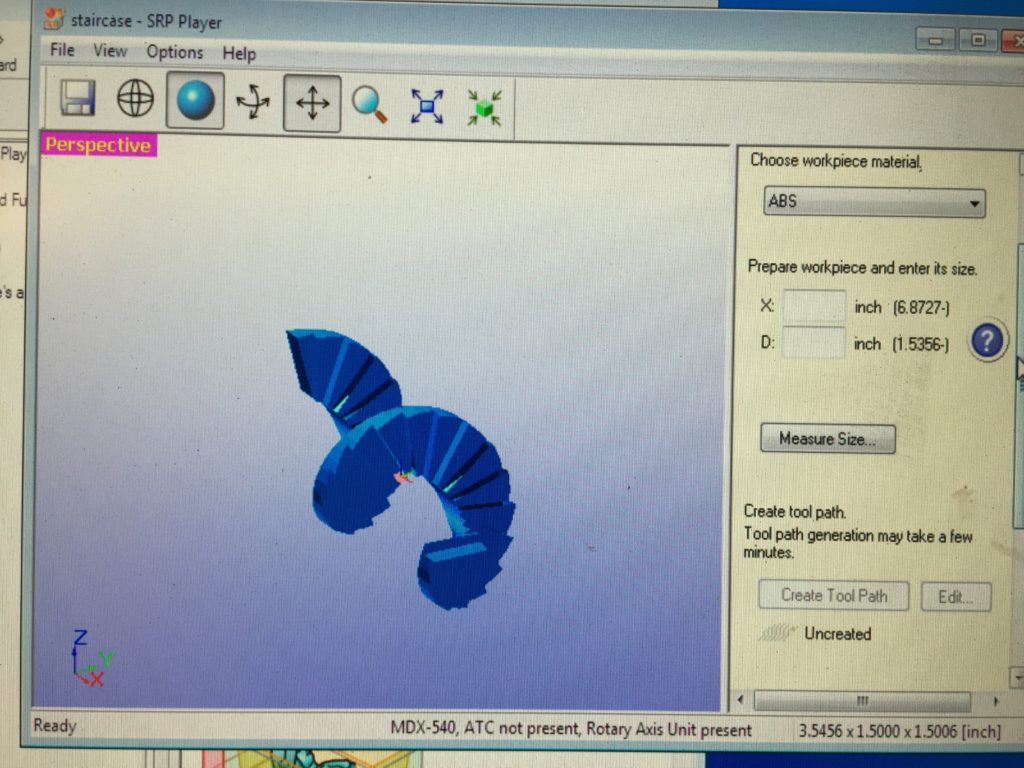
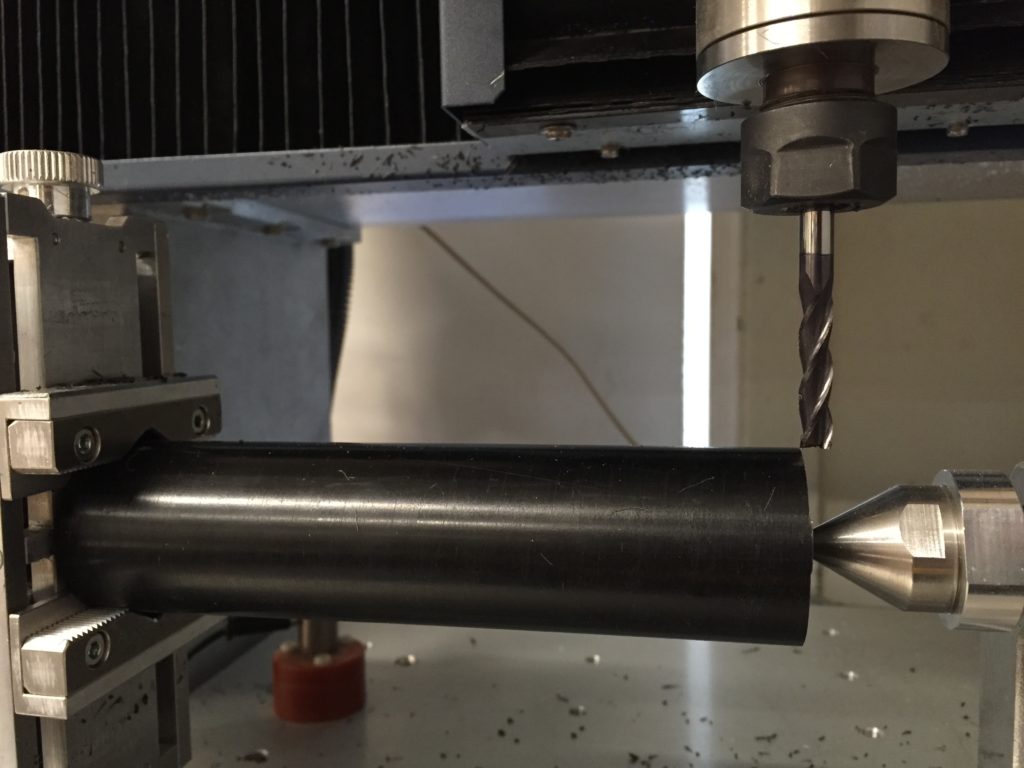
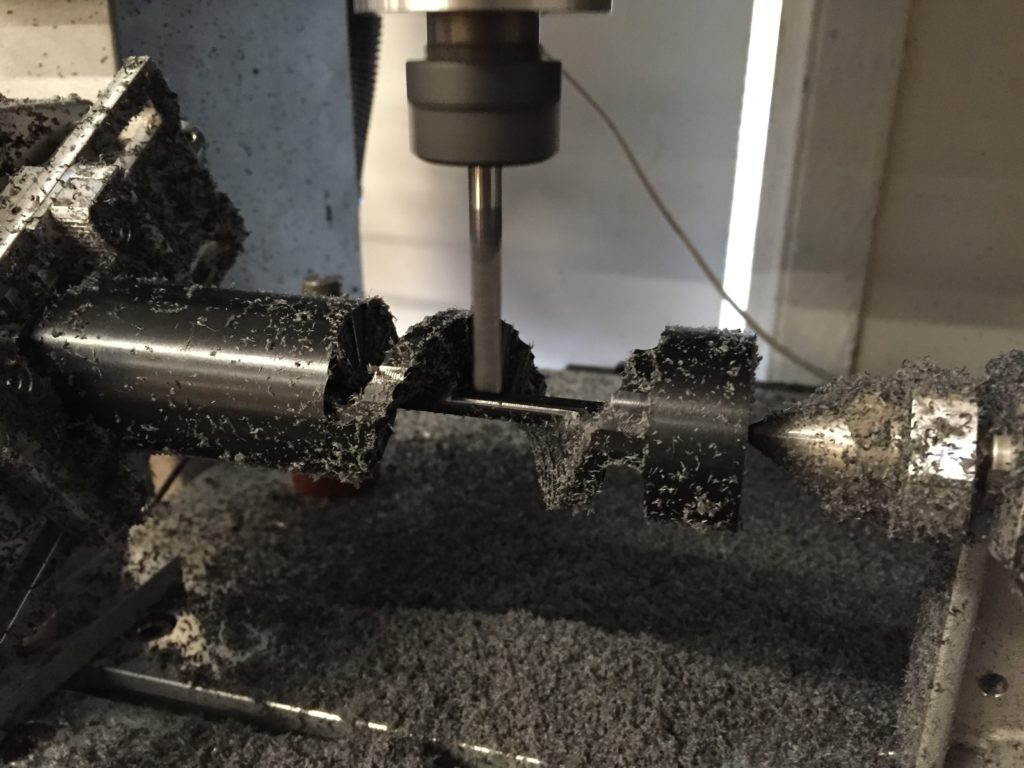
First time when I set everything up, it says x should be at least 6.87″, but my delrin rod is 6″, so I need to decrease the number of stairs.

IMG_6416

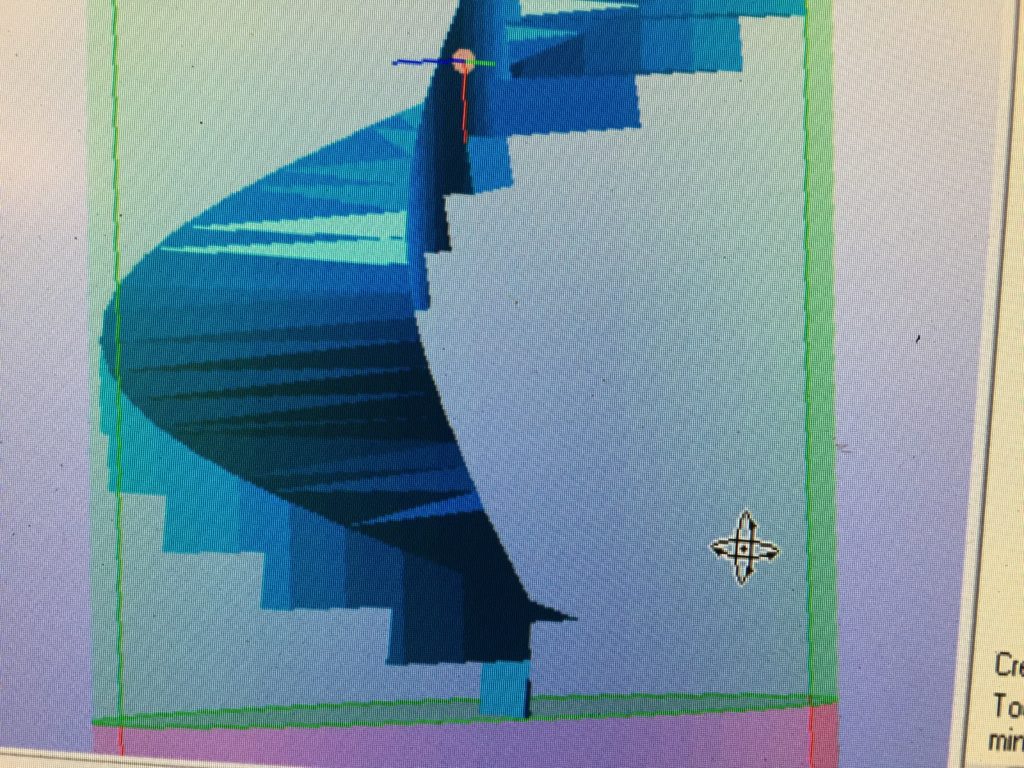
Then I suddenly realized that the end of staircase is so fragile.IMG_6418

IMG_6421

So it was “fixed” with some “flooring” settings. (Not completely fixed, actually.)IMG_6422

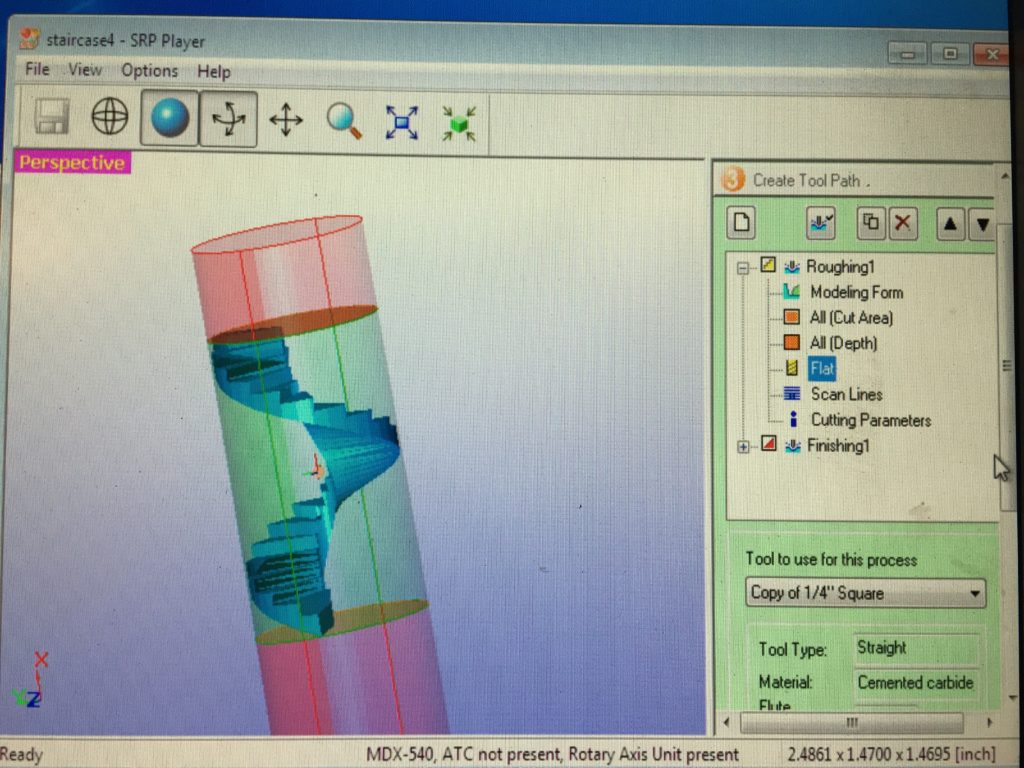
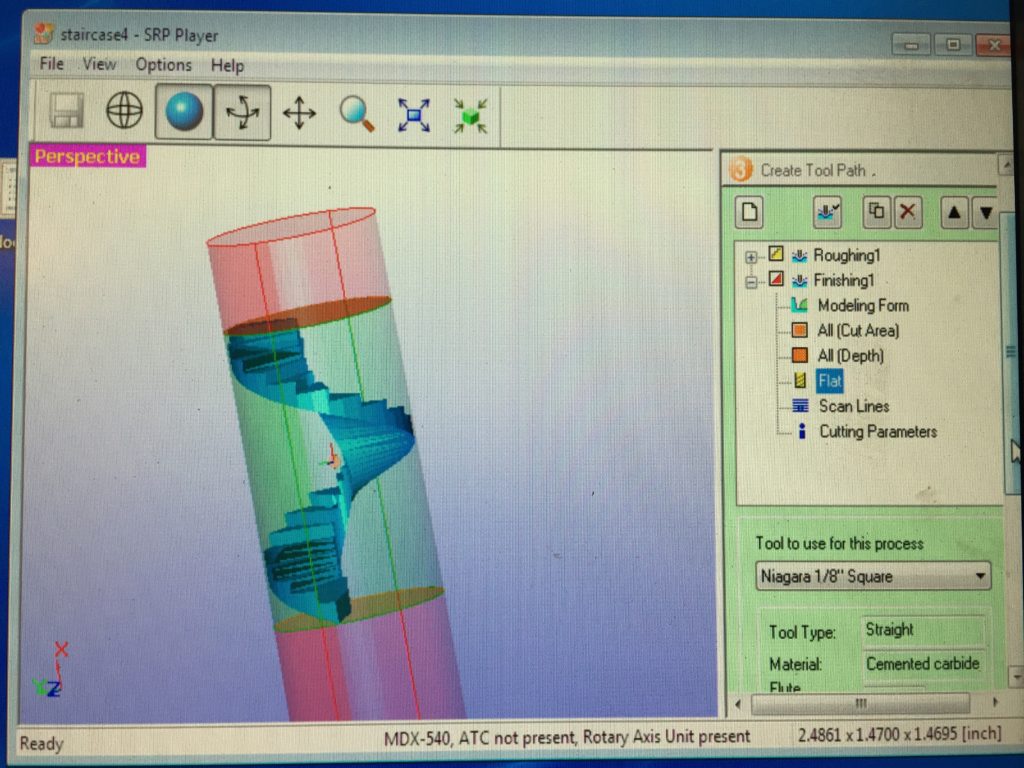
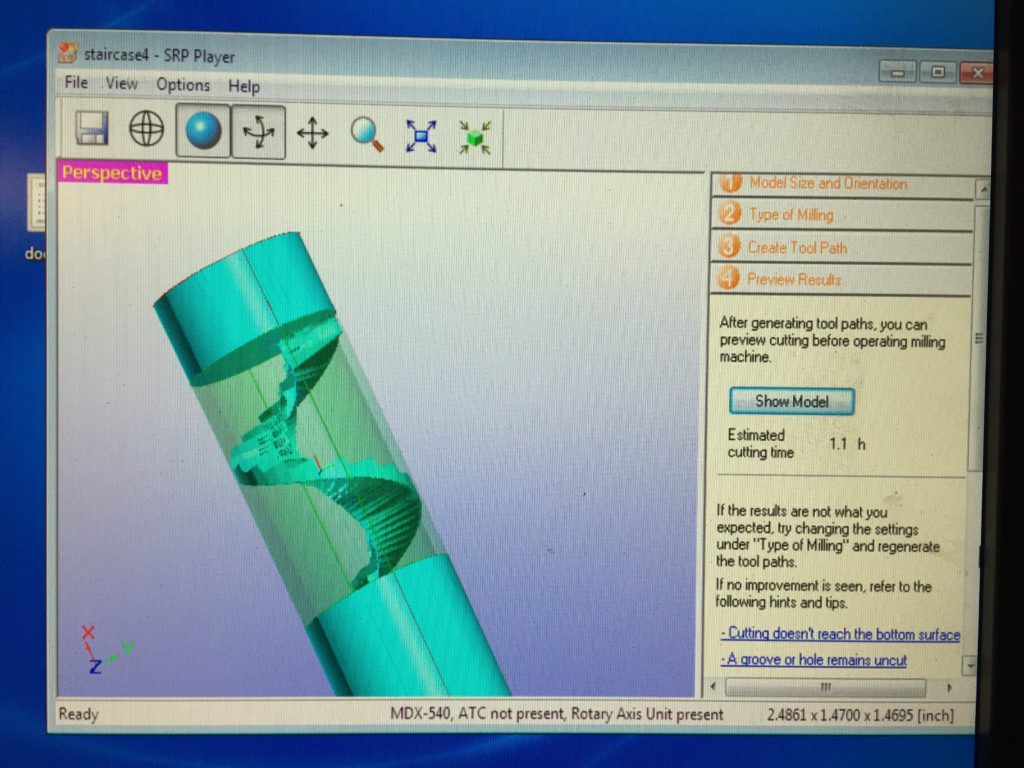
When I first select to only use 1/8″, it says I need 3.3 hours! Then I try to register a new 1/4″ bit and use it in the roughing path, and still use the 1/8″ bit for finishing, then the time magically shrinks to 1.1 hours. Truly a life saver.IMG_6427 IMG_6428

Finally everything looked great. (It seems the bit diameter do much more than ball-end-or-not in terms of the finishing quality. Using 1/8″ straight in finishing path looks much better than 1/4″ ball end.

IMG_6431

So everything looked good.

IMG_6434

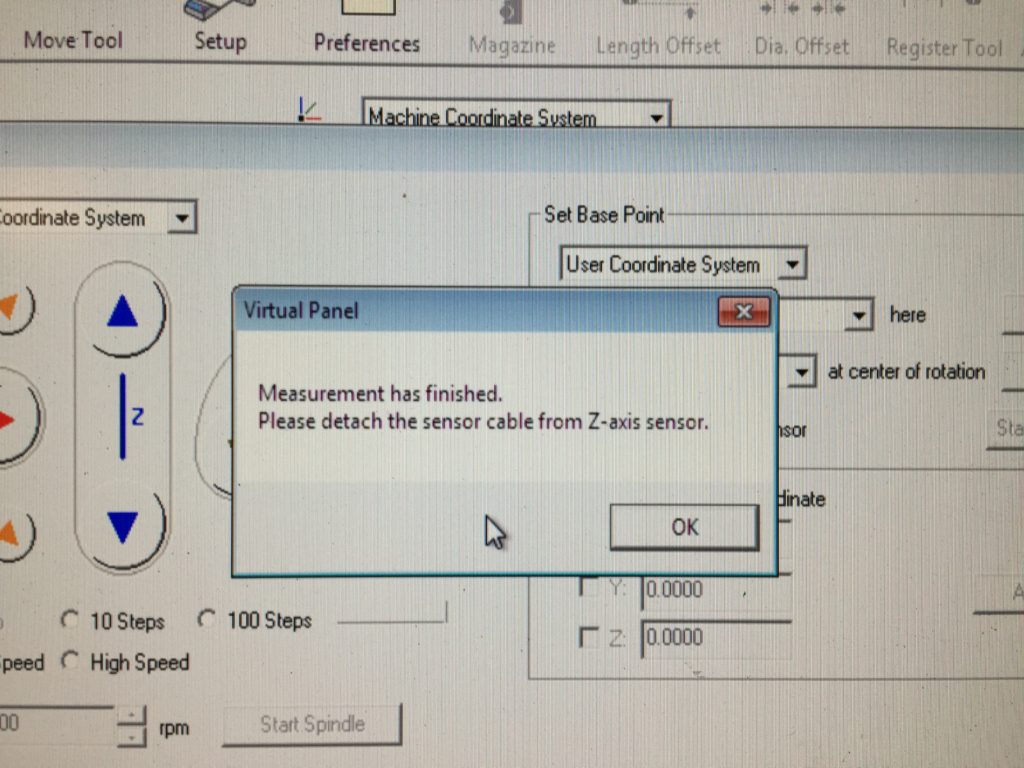
Saw that bad “detach” message again. Won’t be fooled again 🙂IMG_6435

Roughing looked fast and good.

IMG_6440

IMG_6445

Near the end I heard a little cracking but thought it fine (what did it mean? Seemed just good).

IMG_6449

1/4″ bit fell on my piece when I unload it with wrenches. Bad start. (Maybe that also contributed to the cracking)IMG_6454

Switched bit, just looked good.

IMG_6458

Looked just nice.

IMG_6460

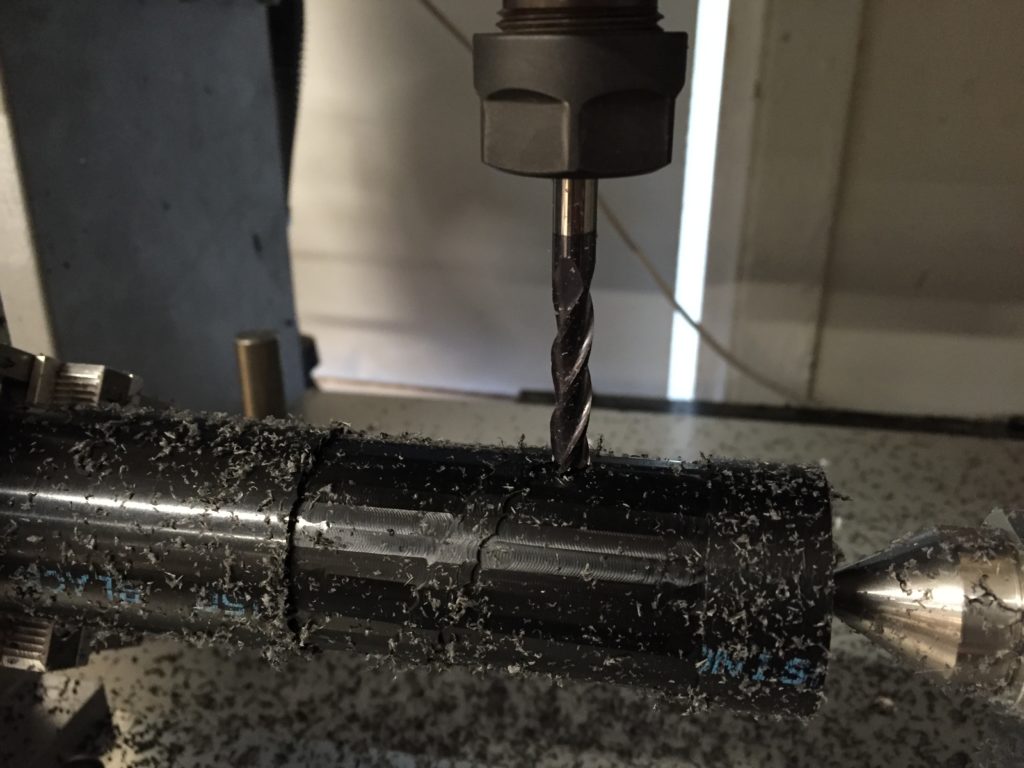
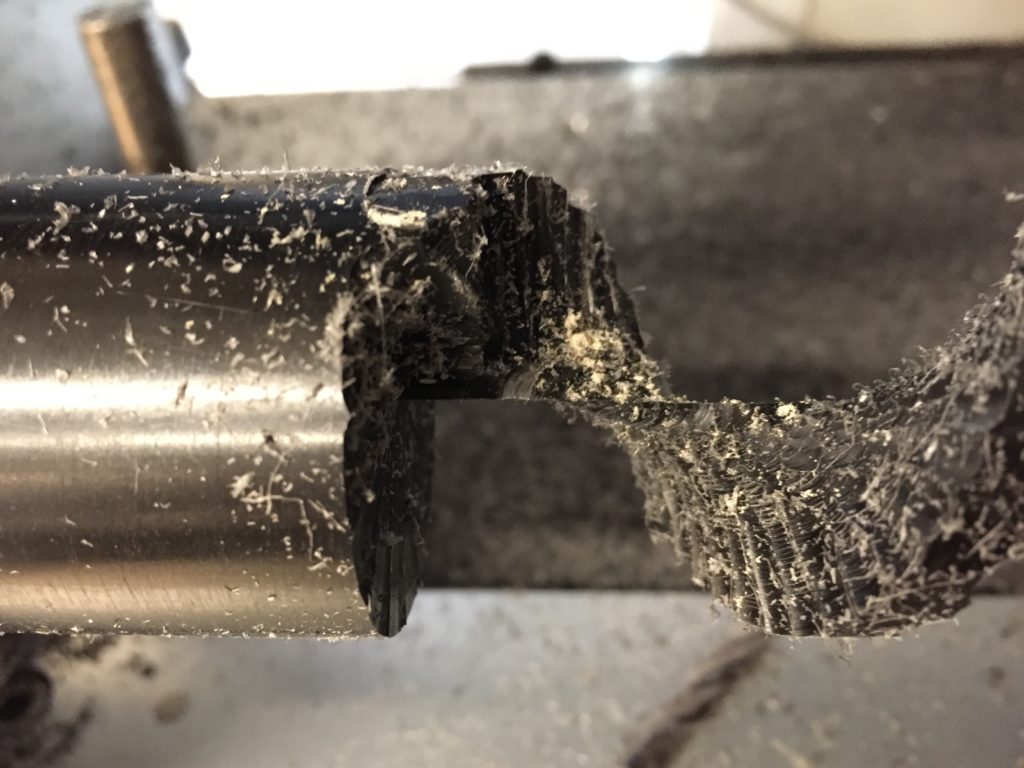
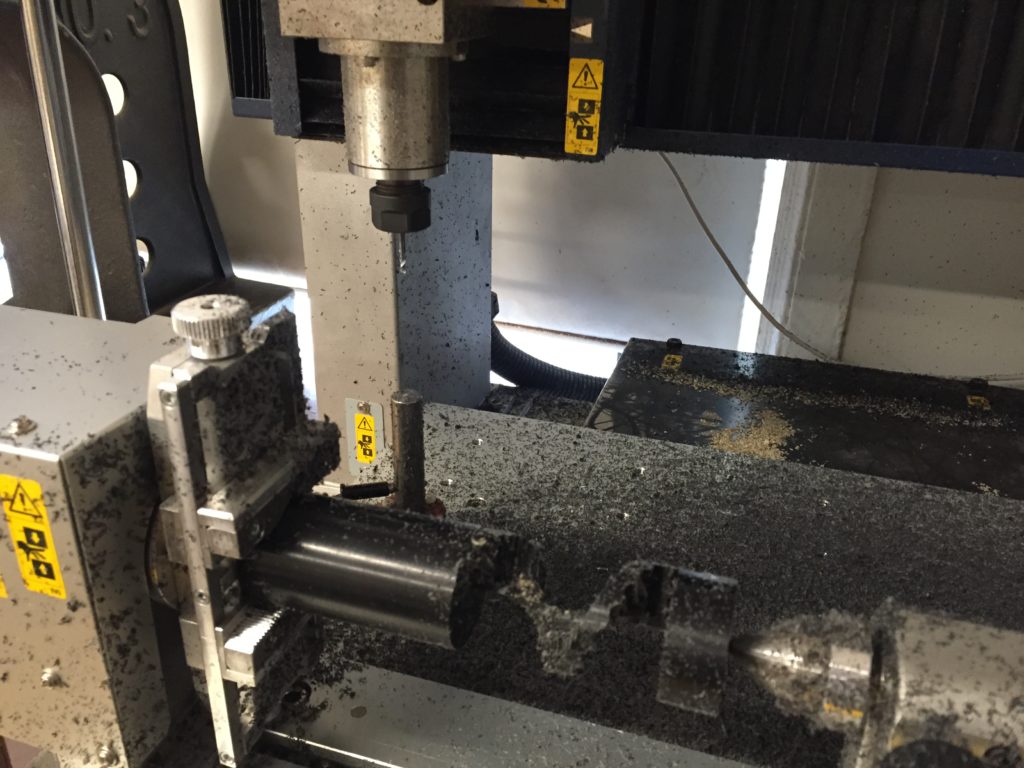
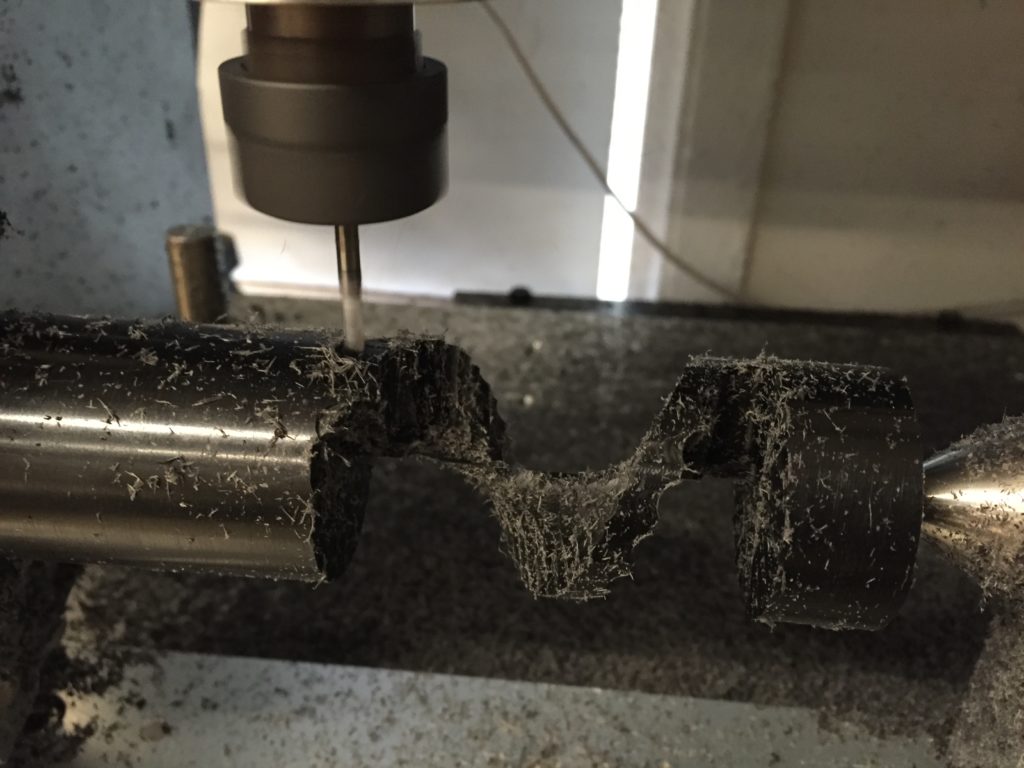
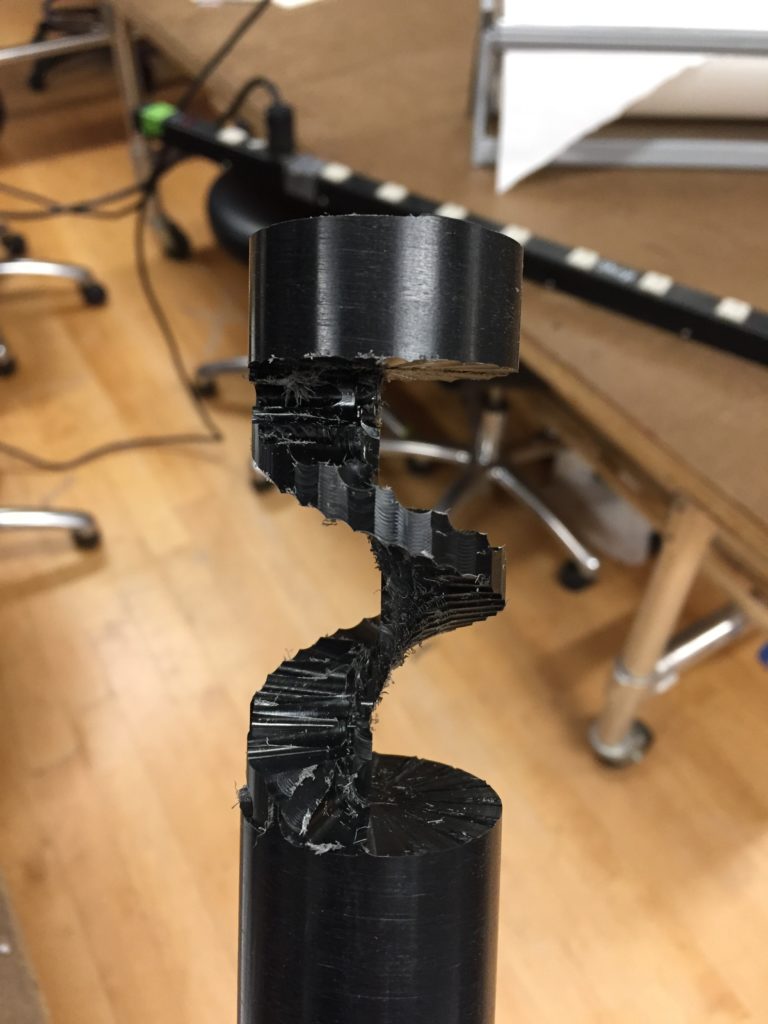
Suddenly I realized there was a lot of cracking noise. When I got closer, it seemed the machine tried to turn the left piece harshly. Yet, the left junction was somewhat cracked, and refuse to turn so much degree as the block did.

(The machine was also turning clockwise as seen from right, but the stair runs in different direction, making it susceptible for harsh turning as well? Or could it be that my piece was just too snug on the right to turn easily?)

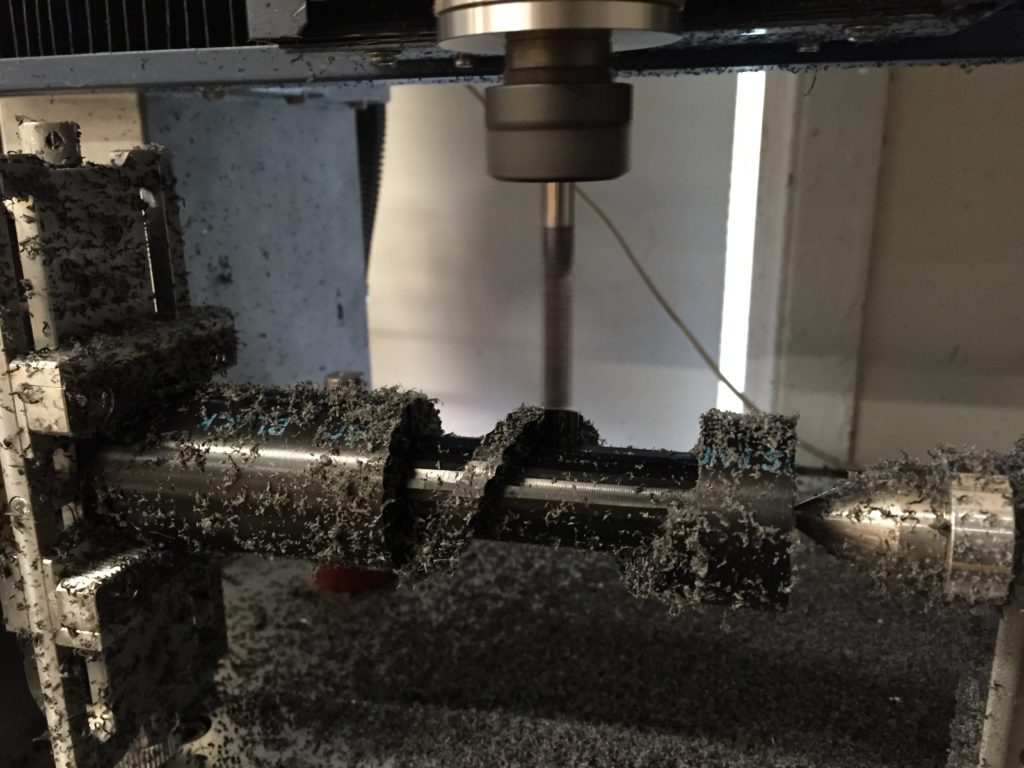
So I saw the bit go wildly on my piece. I had to stop the machine since I already lost my precision.

IMG_6461

Sadly it looked so rough. And I lost my stock of delrin.

Luckily I went around Canal Street and got some fresh wood now. Hope it will be better tomorrow.

IMG_6464


Second try

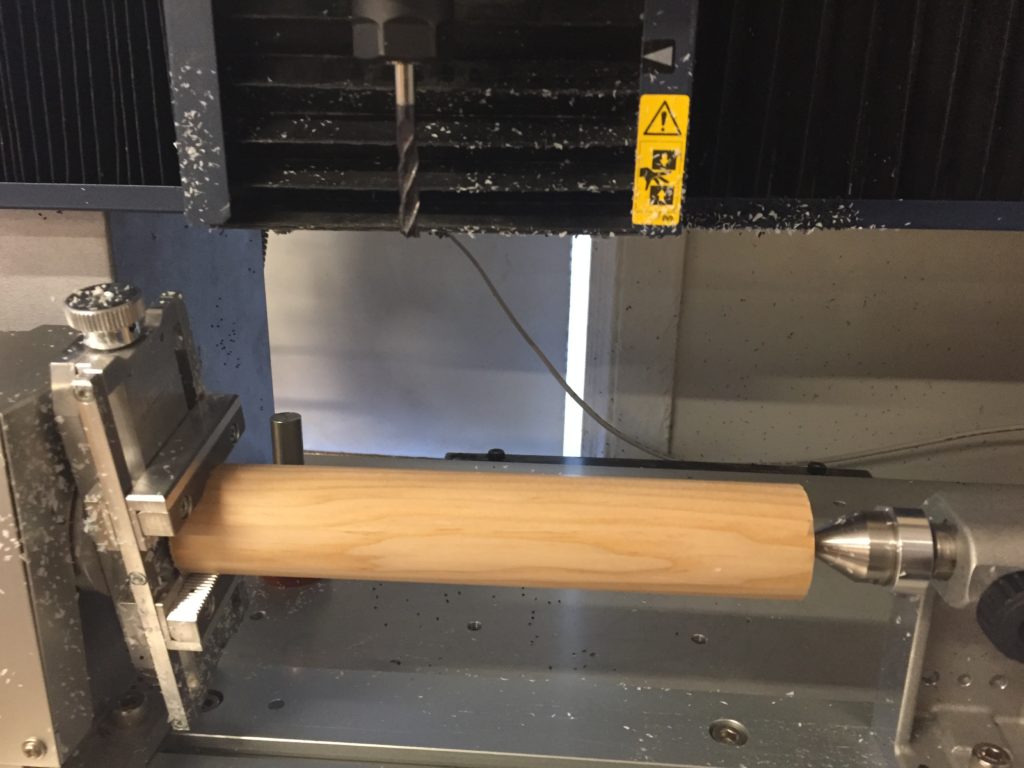
This time I got some wood. And this time I didn’t get it too snug.

IMG_6477

Tried to add support, but then the stairs will not be directly touching the floor and ceiling.

IMG_6479

Then I tried another solution: yesterday, it seemed the first roughing pass was strong enough for support. So I choose not to do the finishing path at the start and end, thus the two ends will stay rough but strong, while the stairs in between will remain with full detail.

IMG_6481

So it should look like this, and wood is fast.

IMG_6482

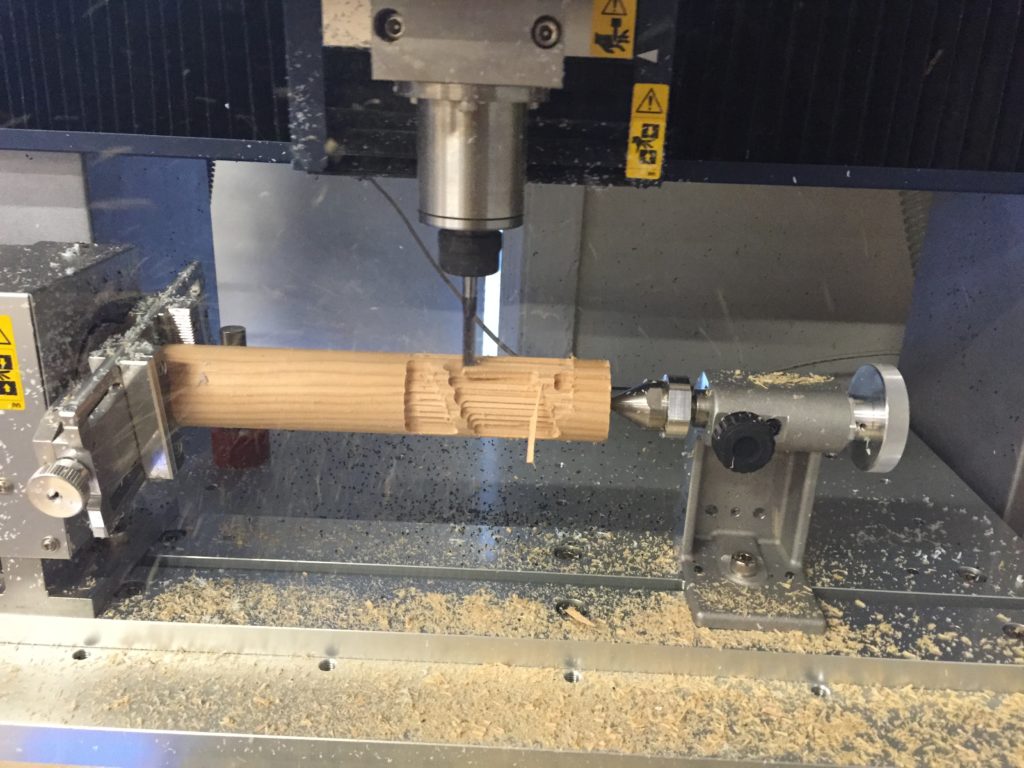
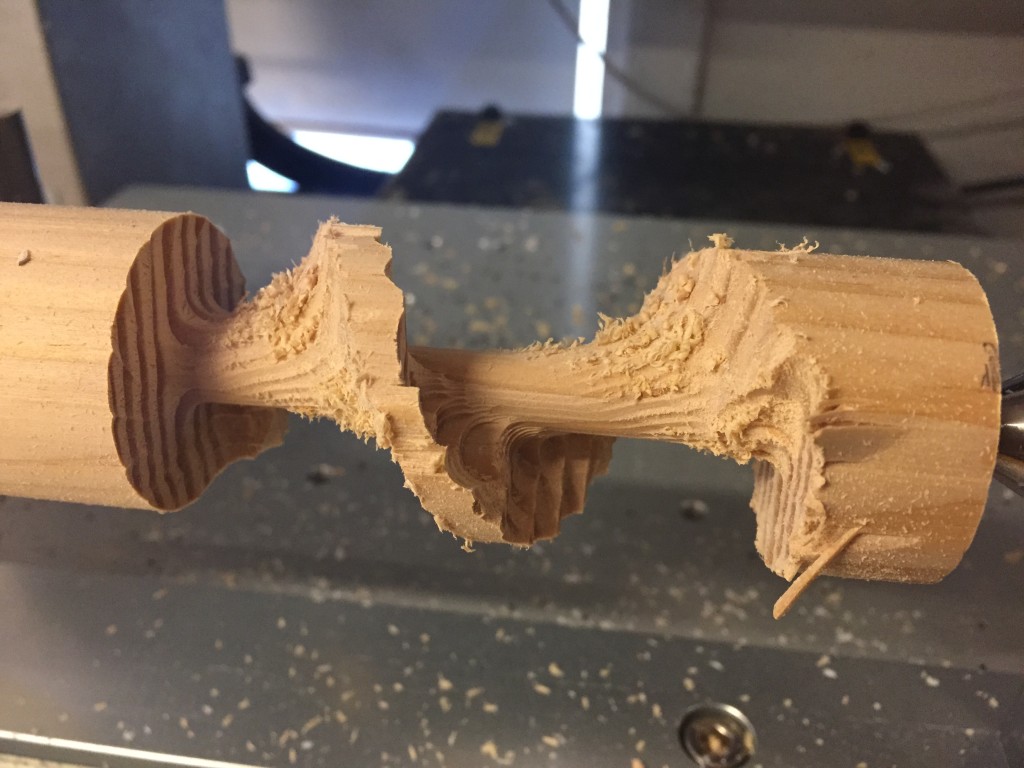
I was not sure if my wood is hard-wood or not…I chose soft wood for I feel it kind of soft and less heavy than some of the wood I know. It sounded scary yet looked just ok. Splinters were expected yet I was still surprised how they damaged the surface all along.

IMG_6485

The roughing path only took 5 minutes and looked good, yet I was unsure why there was a cylinder inside, and thought it could be removed after the finishing path.

IMG_6490

Finishing was fast and good, but eventually I realized that I didn’t set the Y axis close to the center, so the machine always moved eccentrically and leave the center cylinder intact.

IMG_6499

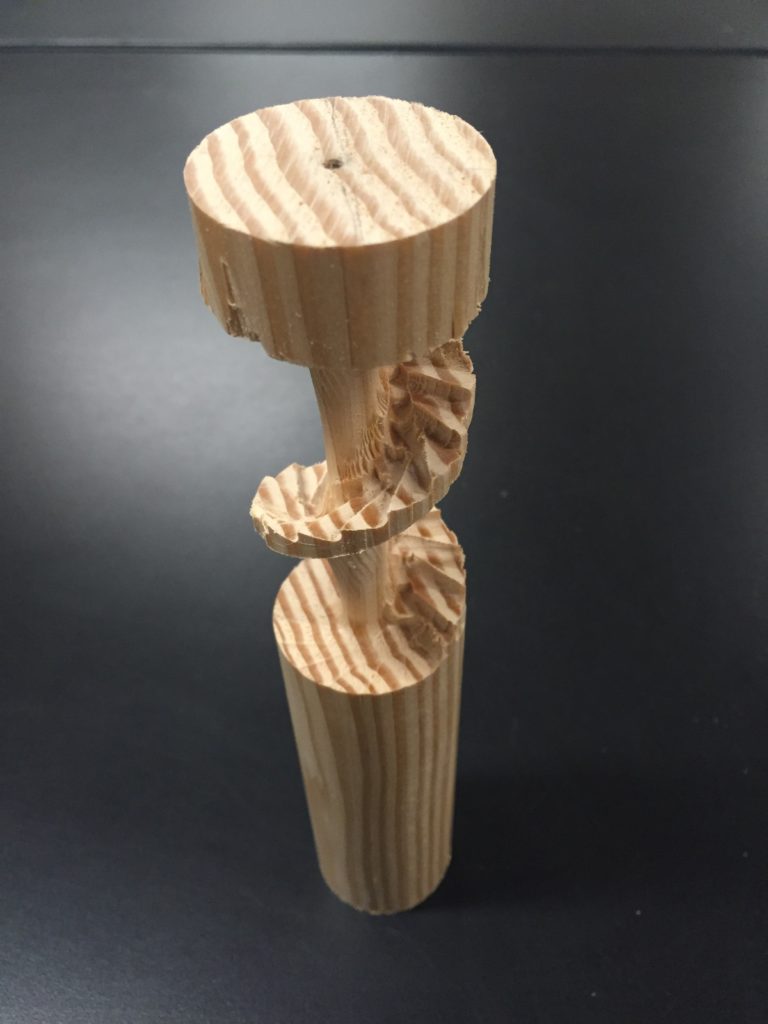
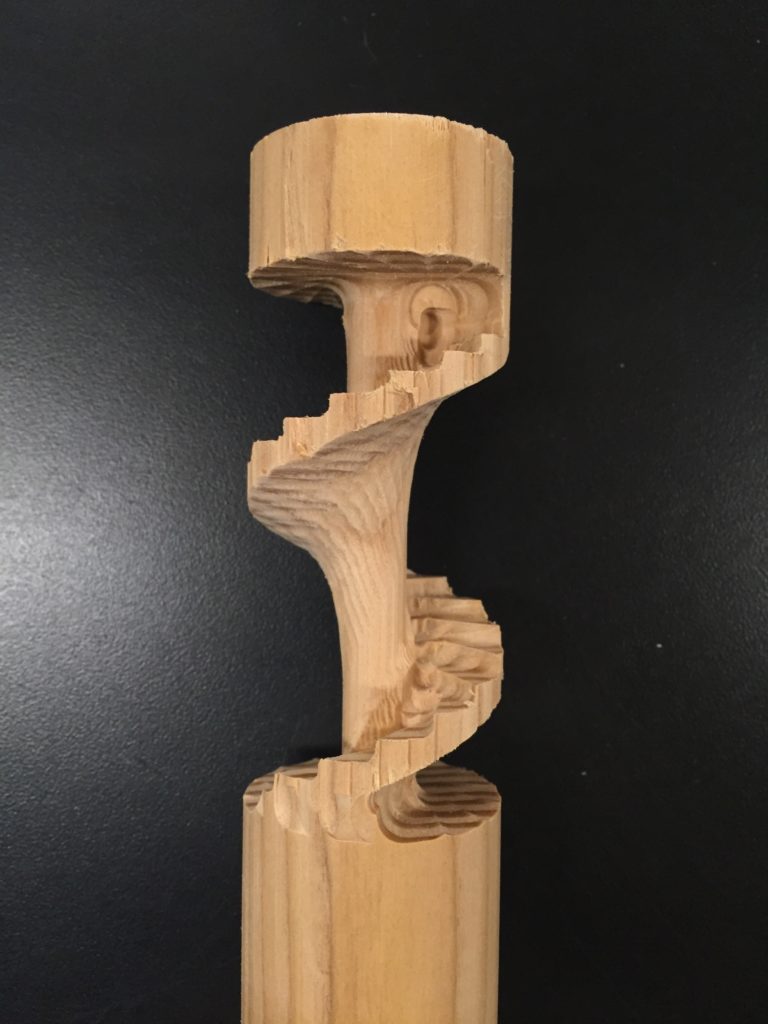
It turned out that the wood had good texture and was strong enough. I feel like want to experiment with the textures more.

IMG_6501

IMG_6503

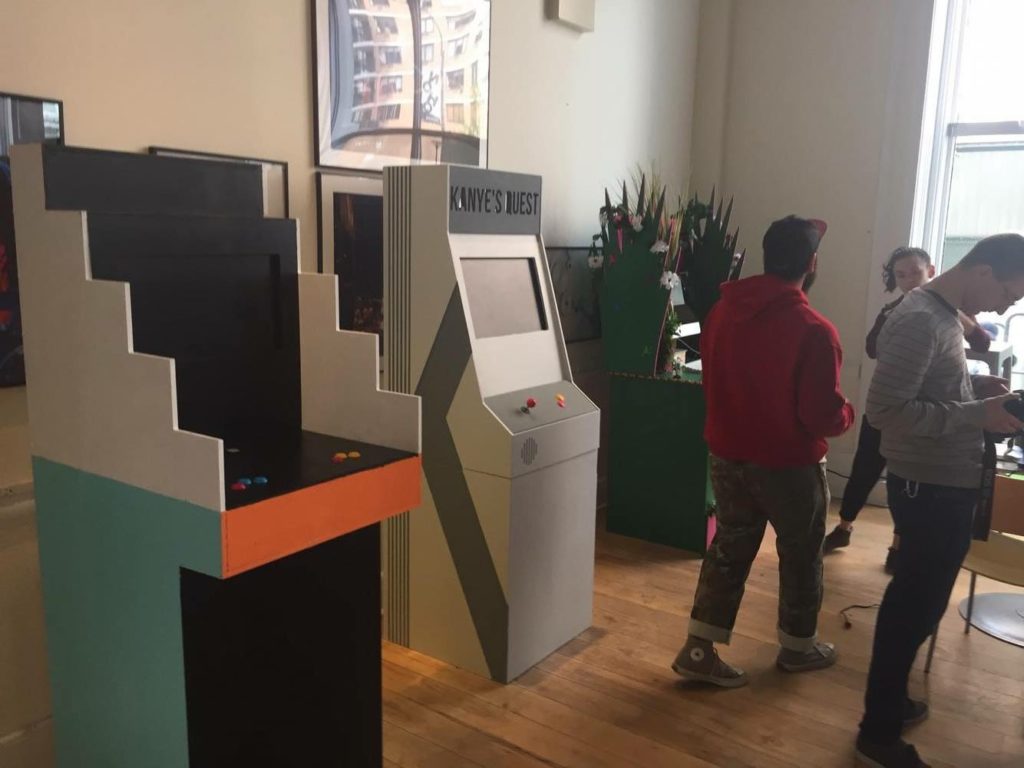
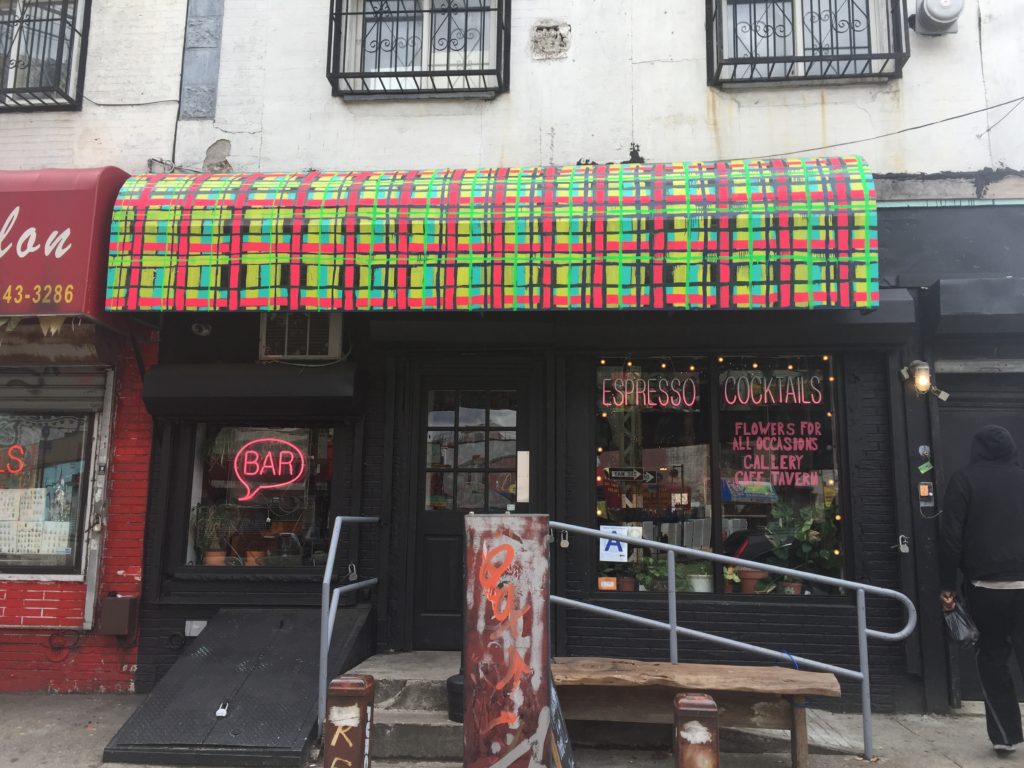
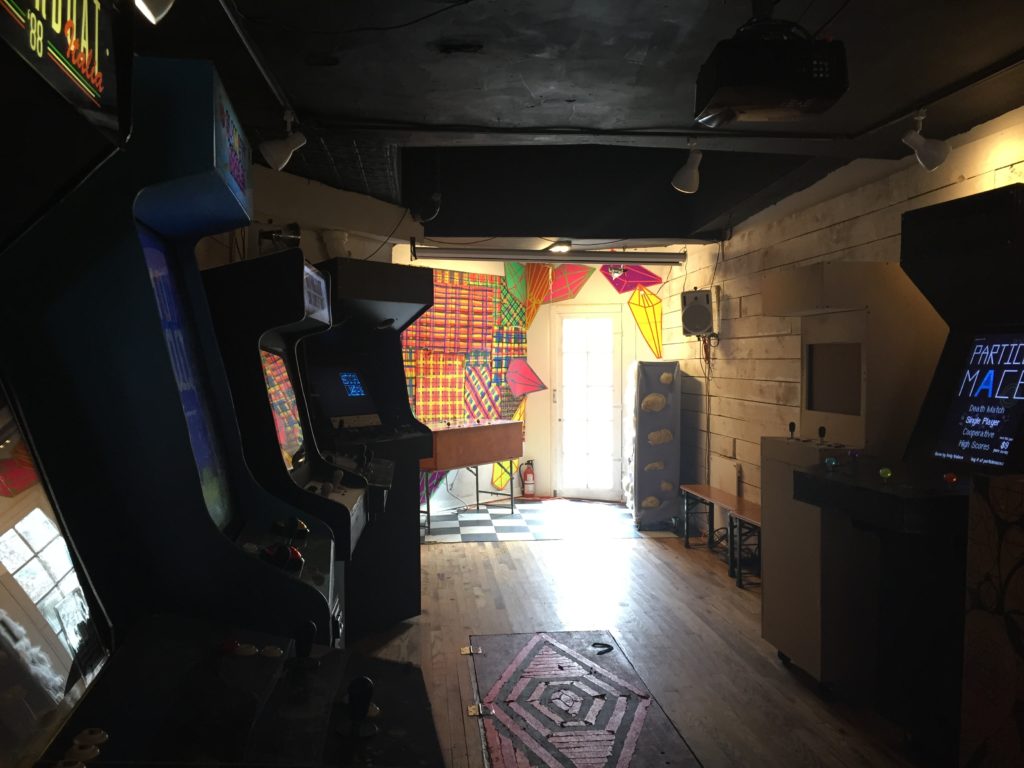
[week07] Death by Audio Arcade at Flowers for All Occassions

I managed to get there at the last day, and I had the privilege to try out everything especially the Particle Mace 😛

IMG_6325

IMG_6351 2

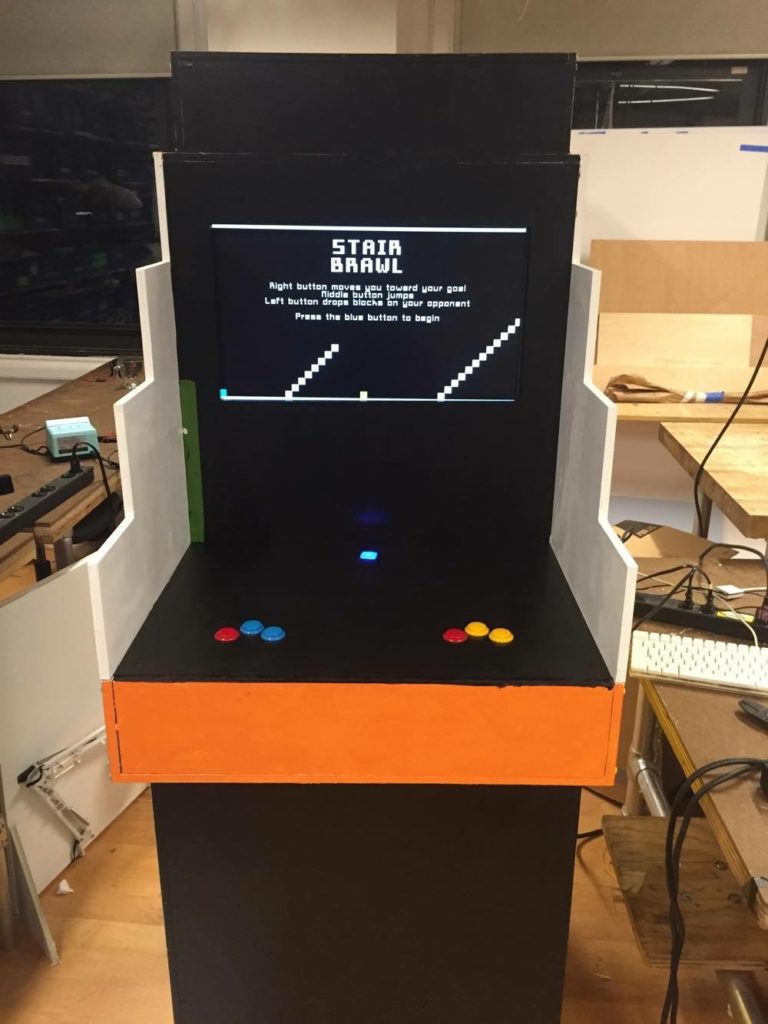
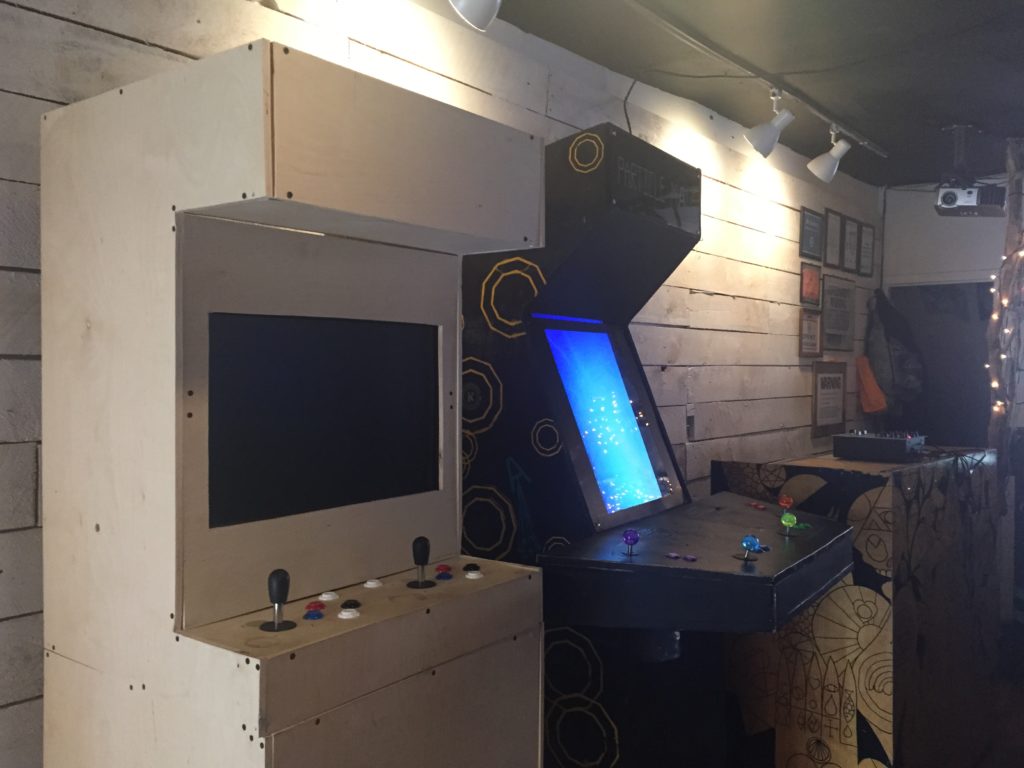
One thing I learned is that most arcades have tilted display, and they looked much cooler than this straight one. That’s what I think we need to improve on our own cabinet.

IMG_6326 2

I tried out each of the games there.


IMG_6328

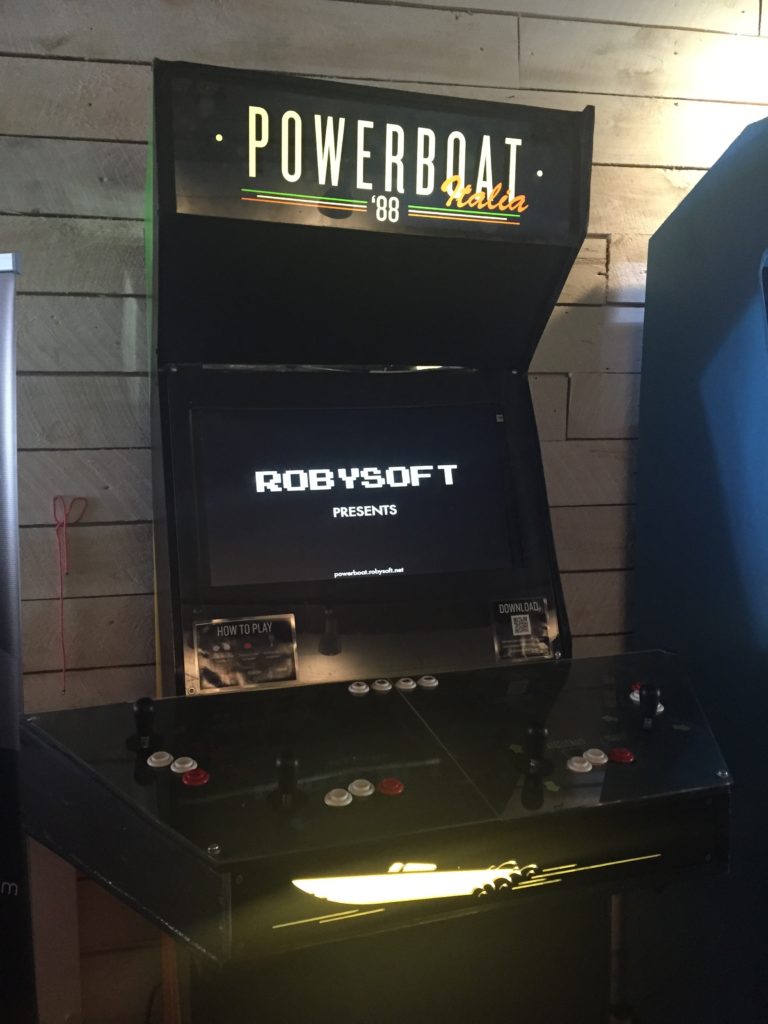
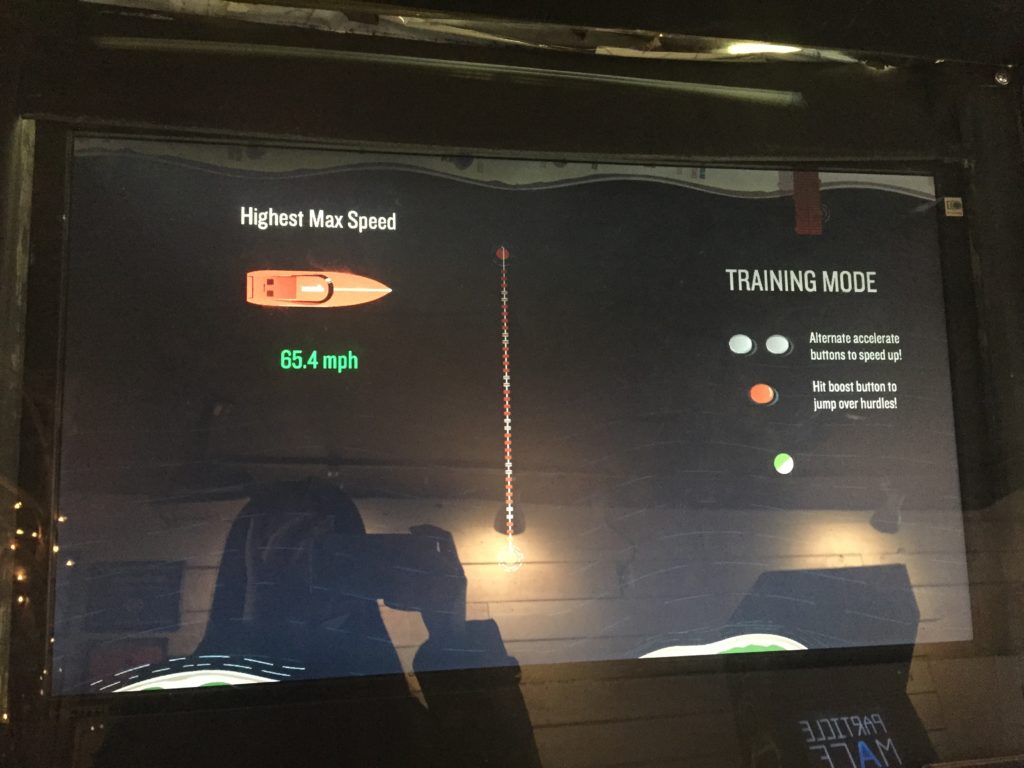
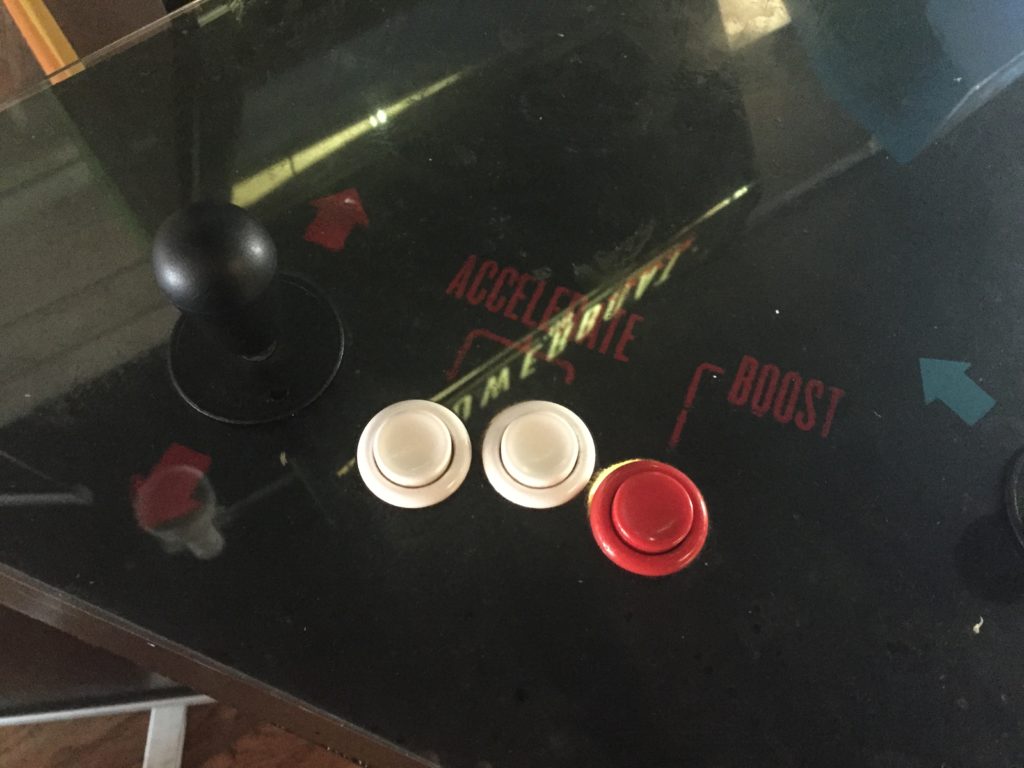
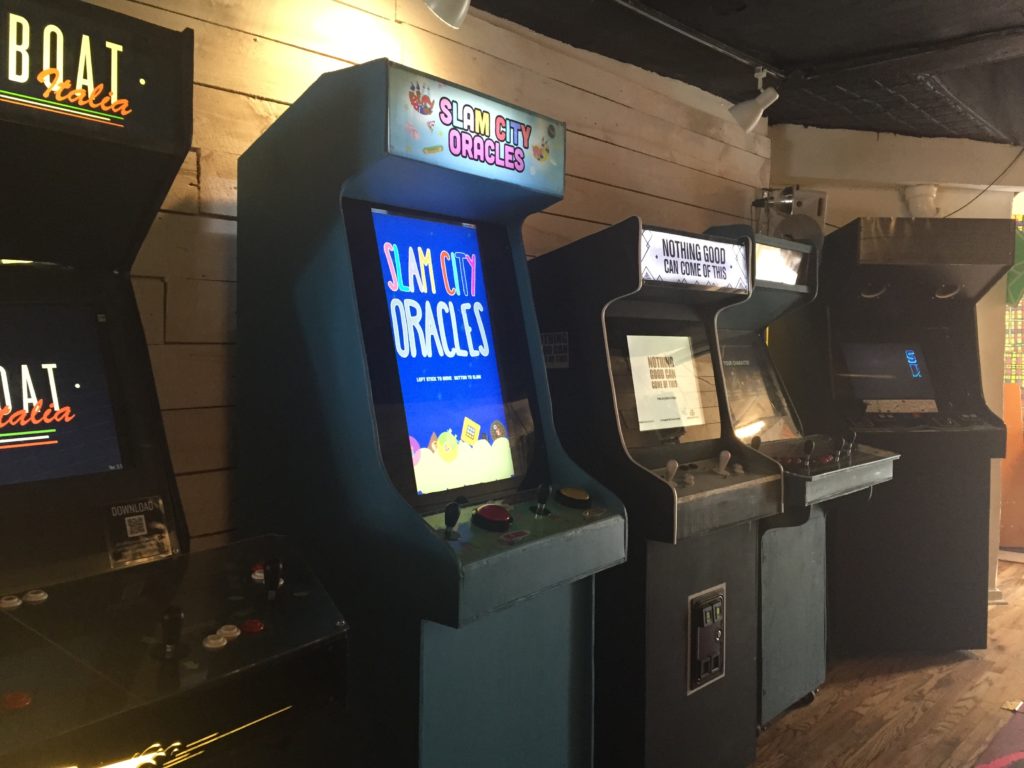
This is the legendary powerboat! The graphic design is good, and the mechanics is far more complex than my stair stuff, so you need to dodge / switch lanes to get boost / compete with other players. Really hardcore. But I like the idea of interfering each other. That’s interaction.

IMG_6334

IMG_6335

Some other games like the Slam City Oracles involve multiplayer and I didn’t have the luck to play with others.


IMG_6329

I know this Nothing stuff and I played it with my friend before in NYU Game Center. It was insanely simple with direct conflict (face to face), thus highly interactive and fun. I really love the collision so players can push each other, and the simplicity of design is very impressive.

IMG_6344

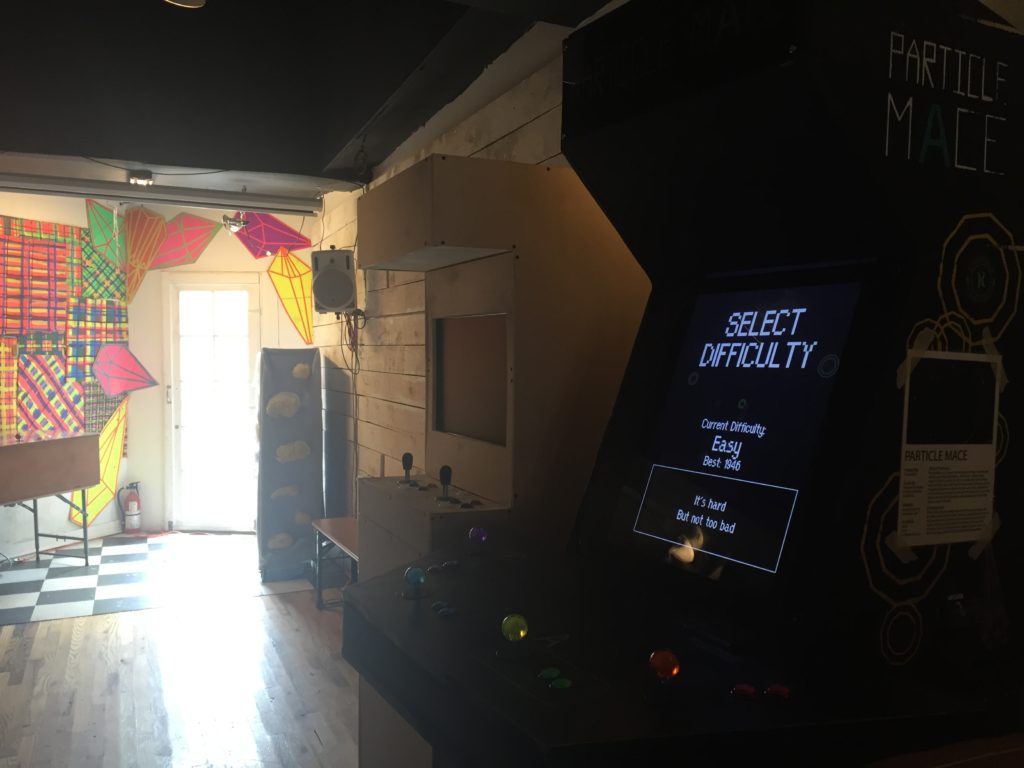
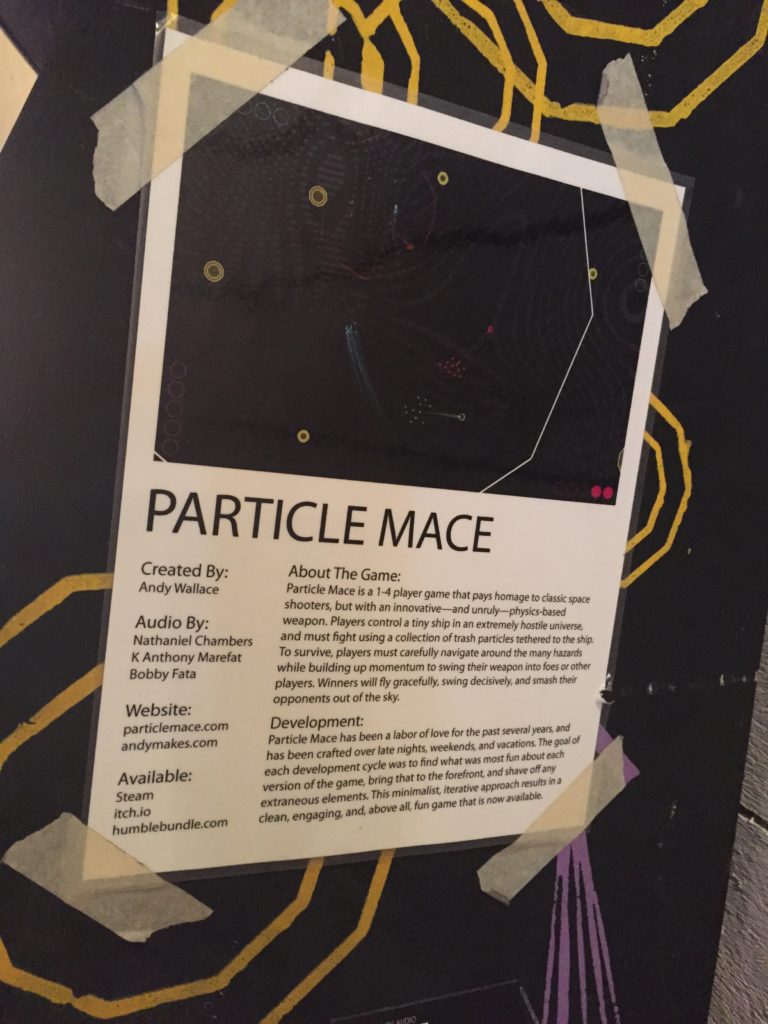
The one I love best is still this Particle Mace. The mechanics is so simple that you can play it with only one joystick and just rotate and rotate around.

Last time I saw it in the Maker Faire 2015, we played together so you can PvP or collaborate and rescue each other, just so great. Even the day I play alone I can still enjoy the game very much, since it has a lot of different particles to experience and different modes (normal or just smashing all the rocks).

At least when I’m alone, having single player mode is such a plus. I want to integrate it in my PizzaRush as well.

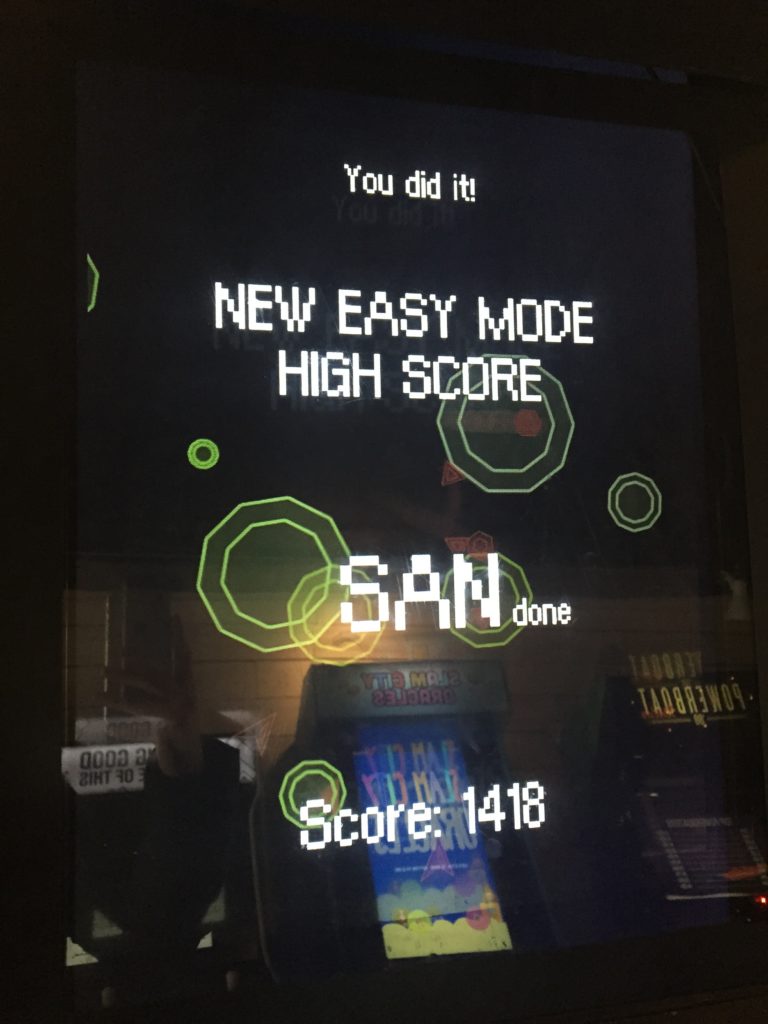
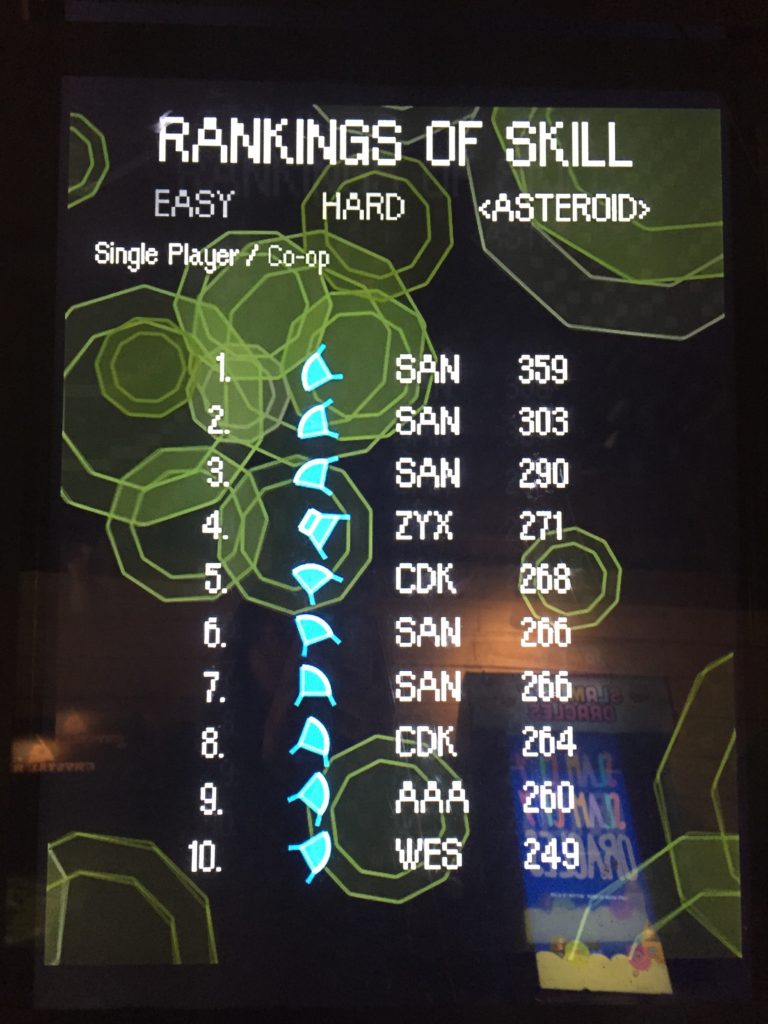
High score is also a very classic and effective design.

IMG_6330

IMG_6347

IMG_6349 IMG_6350

Assignment 2 – Finding Maia (walkthrough)

This is an interactive fiction built in Inform 7

Story based on Thumbelina.

Release: https://www.sunwangshu.com/projects/spring-2016/narrative/week09/Finding%20Maia.gblorb

Playable with Interactive fiction players like SpatterLight (Mac).

———– Spoiler Alert ————

Finding Maia

An Interactive Fiction by Wangshu Sun

Release 1 / Serial number 160330 / Inform 7 build 6M62 (I6/v6.33 lib 6/12N)

Land of Flowers

You wake up by the scent of flowers, finding yourself lying in a vast valley of flowers, with a small path leading to north peak.

There’s an emerald flower standing in front of you, in its center a bright bead floating, you want a closer look at it.

> x flower

An emerald flower as tall as you. There is a bead floating in the center.

> x bead

It’s a white bead glowing as if it’s breathing. The moment you look at it, it floats towards your hand.

> i

You are carrying:

  a glowing bead

> x flowers

It’s a sea of flowers, of various color, shining under sun, dancing with the wind.

> x north peak

I only understood you as far as wanting to examine north.

> x mountains

Some distant mountains surrounds the flower valley, and to the north is a small green peak full of trees.

> n

Path in the flowers

Starting from the emerald flower, the path seems endlessly long, leading to the North Peak, the tallest side of the mountains.

> x path

You can’t see any such thing.

> x mountains

Some distant mountains surrounds the flower valley, and to the north is a small green peak full of trees.

> x trees

You can’t see any such thing.

> n

North peak

Eventually you get to the north peak, a small peak fully covered in green trees and bushes. The air is fresh and moisturous.

Suddenly you notice tiny fairy girl looking at you, sitting calmly on a daisy.

> x daisy

It’s a sea of flowers, of various color, shining under sun, dancing with the wind.

> smell daisy

They smell so fragrant and refreshing.

> smell bushes

You can’t see any such thing.

> smell trees

The air is so fresh and moisturous.

> look at fairy girl

You see nothing special about Emily.

> talk to emily

Hi! My name is Emily, so glad you come!

I beg your help to search my lost friend. (…)

> talk to emily

Recently, I sense the reborn of my lost friend Maia. She was long lost and our prince was heart broken, until this miracle happens.(…)

> g

Though we know her whereabouts with the help of the bead, we cannot fly so far away. (…)

> g

Luckily the bead carries a polymorph spell that works for human, so you can change into a bird and fly across a vast land. (…)

> g

The bead will also glow stronger as you get closer to her.

Would you like to help us then?

> g

Please, say yes or no…

> no

Ah…It’s ok. It could be hard. Maybe I will find someone else.

But…don’t you want to fly? It’s hard to get the chance!

> yes

It’s so kind you do!

If you are ready to transform into a bird, show me the bead.

You can ask me about anything before you go.

> ask Emily about bird

We are even more afraid of them than you, child of man. That’s why we seek help from you instead.

> ask Emily about bead

It’s a magical object. That’s why I can sense you coming, sense the rebirth of my friend, and polymorph you into bird.

> ask Emily about fairy

We live and play in the flowers. You don’t usually see us because there want to hide from bad people, of course except you.

> ask Emily about flowers

There is no reply.

> ask Emily about flower

There is no reply.

> ask Emily about people

There is no reply.

> ask Emily about friend

There is no reply.

> ask Emily about prince

He’s a very gorgeous, playful and warm-hearted fairy, that’s why we all love him and make him our Prince.

> ask Emily about Maia

She’s my best friend, our prince’s love. She’s cute and have a nice voice. We thought she was dead until recently.

> go north

The mountains are so high that you cannot cross. If only you can fly…

> show Emily the bead

The bead shines as she murmur, you surprisingly find your body shrinking into that of a bird, your hands turning into wings.

> go north

Emily gives you a hug and says “Thanks friend, take care.” You flap your wings and find youself soaring north over the high peaks.

Sunny Glade

Over the peak there lays this vast land of colorful trees. Beams of sunshine shoot through the leaves to the ground.

> x trees

Shiny trees soaking in the sun.

> x peak

You can’t see any such thing.

> w

You start flying around, enjoying the wind and speed and scenery below you. But you end up flying back because you have no idea where to go.

> n

You start flying around, enjoying the wind and speed and scenery below you. But you end up flying back because you have no idea where to go.

> i

You are carrying:

  a glowing bead

> x bead

You fly around to see if the bead changes. Somehow you can tell it grows a little brighter when you head towards a certain direction.

> go north

Following the direction, you fly across a vast land, enjoying the wind in your feathers. At last you seem to find the place before sunset.

Destination Field

The bead shine so strong when you get close to a wooden house in this wheat field, so you decide to land here.

> x house

The bead shines when you get close to a pot of tulip against the wall of the house.

> x bead

It shines bright nearby. There must be something that it points to, you are so close yet not sure where it is.

> x pot

Inside the flower pot there grows a beautiful red tulip that seems well-tended.

> x bead

It shines bright nearby. There must be something that it points to, you are so close yet not sure where it is.

> x tulip

It’s a well-tended beautiful red tulip. The bead shines greatly when you get close to it, and then it goes back to its usual breathe.

> x bead

It seems to have complete its mission after you reach the red tulip. It slowly glows as usual.

> enter house

Wooden House

It is a small dim house. There is a woman by the mantelpiece, you can also make out a round table and a cabinet.

There is a middle-aged woman sewing some cloth by the mantelpiece.

A basket full of berries sits on the round table.

> x basket

A knitted basket.

> x woman

A middle-aged lady, she looks kind.

> x mantelpiece                

A warm old fireplace made of stones, clearly darkened by years.

> talk to woman

Oh! Little swallow. How nice you come to my house!

Help yourself with the berries!

You want to ask if she knows about the tulip.

> eat berries

They taste sweet and fresh! Delicious!

> x table

An old round table. On top of that sits a basket of berries, an old pocket watch, and a little box full of petals.

> x watch

A old golden pocket watch.

> open watch

It actually stops working.

> x box

A small wooden box the size of a palm, full of fresh petals.

> take box

That’s hardly portable.

> x basket

A knitted basket.

> talk to woman

You want to talk then? That’s interesting! What do you want to talk about?

> talk to woman

You want to talk then? That’s interesting! What do you want to talk about?

> ask woman about bead

So you come all the way here to find a little fairy…my daughter? Thank God! Maybe you can try to ask the witch again…

> ask woman about fairy

There is no reply.

> ask woman about daughter

How lovely she was, tiny as my thumb, so I call her Thumbelina. She was born from a seed given by the witch. But she was lost for months.

> ask woman about seed

I begged the witch for days until she agreed to sell it to me.

> ask woman about witch

Last time, she told me if I want to know the whereabouts of my girl, ask a favor from a bird three months later.

I just realized it must be you that she talked about, before I was afraid a wrong one will be treated badly.

She lives in the center of Dark Woods to the west of the big lake.

> ask woman about witch

The witch is powerful yet capricious. Beware. She lives in the center of Dark Woods to the west of the big lake.

> ask woman about lost

One night she was gone, she and her bed, all gone. I tried to go out searching, calling her name again and again, and there was no reply.

> ask woman about woman

There is no reply.

> x mantelpiece

A warm old fireplace made of stones, clearly darkened by years.

> loo

That’s not a verb I recognise.

> look

Wooden House

It is a small dim house. There is a woman by the mantelpiece, you can also make out a round table and a cabinet.

There is a middle-aged woman sewing some cloth by the mantelpiece.

A basket full of berries sits on the round table.

> x cabinet

You can’t see any such thing.

> n

You wave goodbye to the woman with your wings, heading all the way to the Dark Woods.

Clearing in the Dark Woods

You fly across the big lake to its west. The woods below grow darker and darker, and from within there is a visible clearing with a hut.

Suddenly a cloaked figure shows up from nowhere. It turns out to be a witch.

> x hut

You managed to find this little hut exactly in the center of the woods.

> x woman

You can’t see any such thing.

> x witch

You see nothing special about Witch.

> talk to witch

I know why you come. You want to find the little naughty fairy right?

Fly due north, non-stop, and you will get there.

> n

You fly north with doubts, but somehow you feel the wind drives you like magic.

> n

Not exactly direct north, but definitely all the winds have a destination for you.

> n

Suddenly it goes all dark.

> n

You lost all your feelings. Only coldness, emptiness. Time feels like stopped.

> n

> n

……

> n

Warmness.

> n

You hardly open your eyes, and make out the shape of a little girl, very delicate, the size of that of Emily, except without a pair of wings.

> n

Suddenly it reminds you all the story of Thumbelina, and you happen to be the swallow in it, after the frogs, the white butter fly.

> n

You know it will take her a winter to change her mind, to realize her true love and true self. You smile and wake up.

> n

Congratulations.

>
[week09] 4 axis mill – face projection

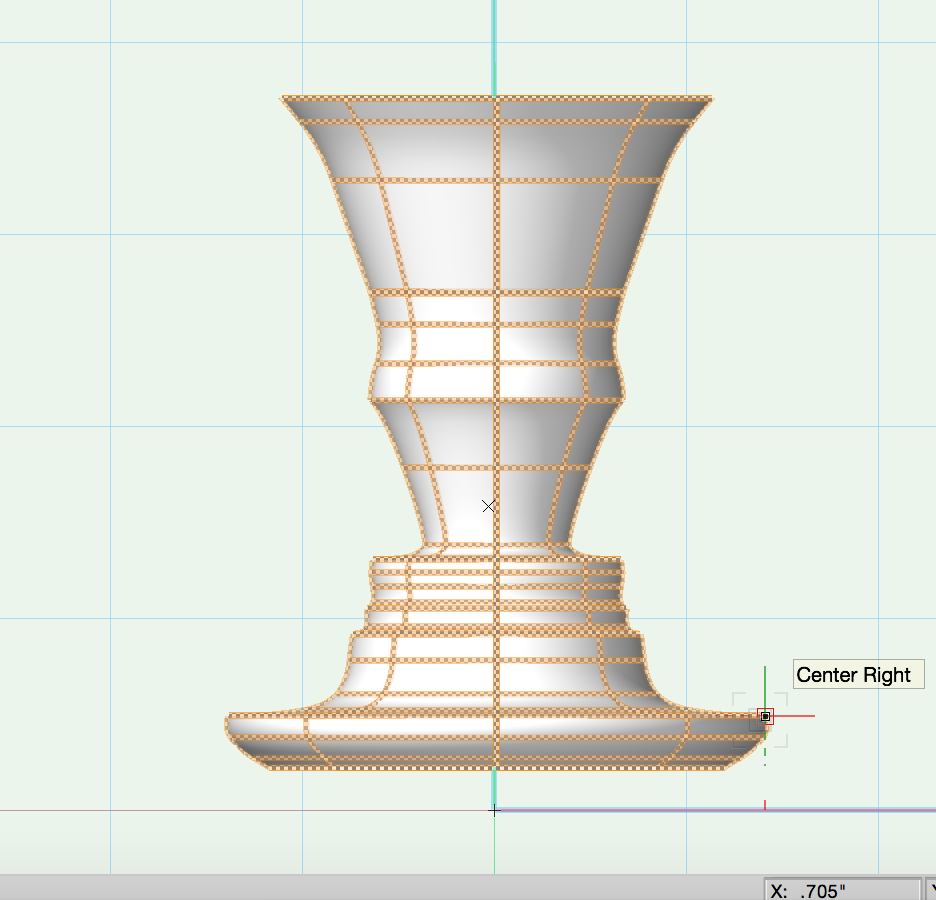
Screen Shot 2016-04-05 at 4.51.05 PM

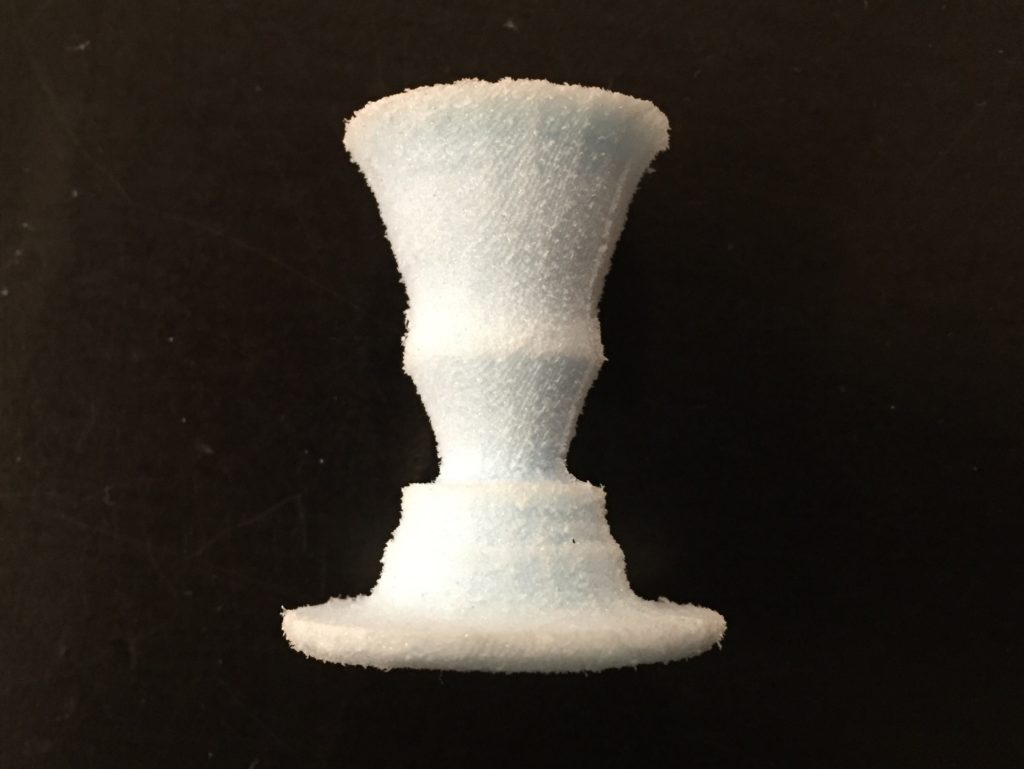
A simple figure.

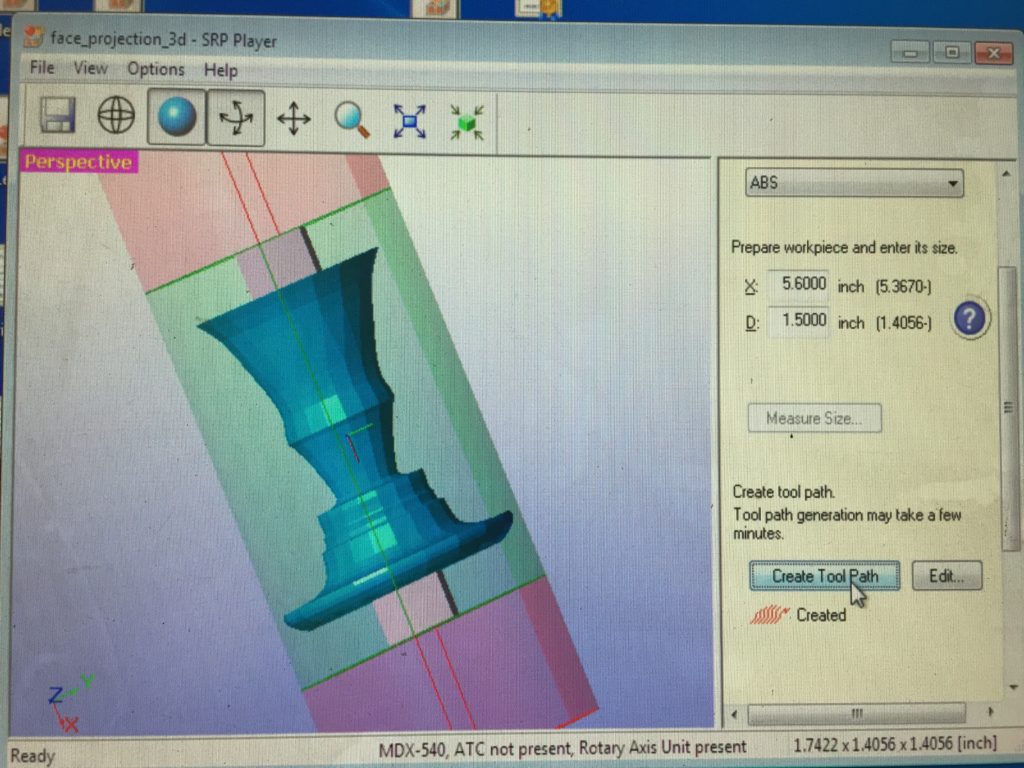
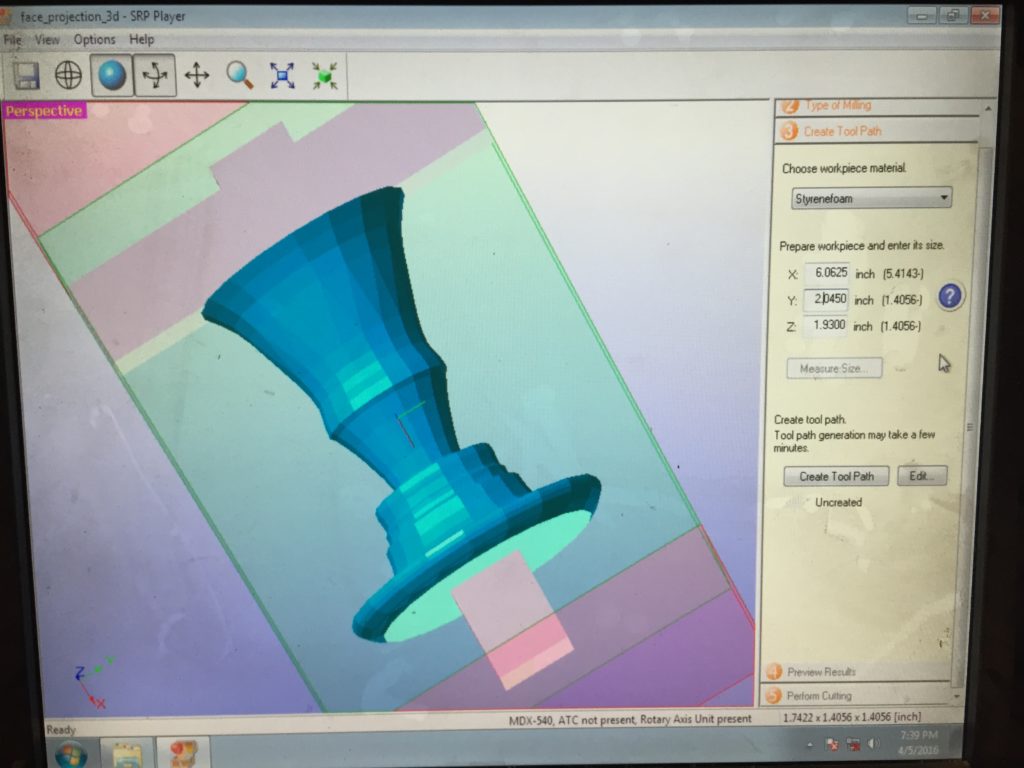
Around 1.4″ at max in diameter, if I’m gonna use 1.5″ delrin.

IMG_6218

IMG_6225 2

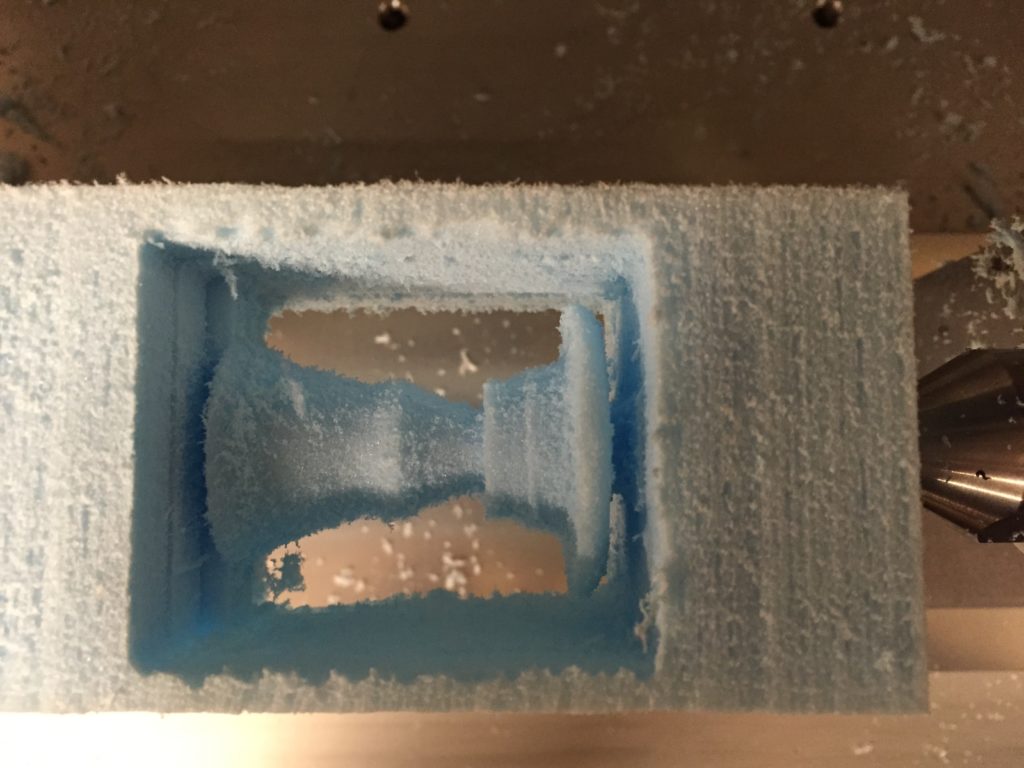
IMG_6223 2.0 hrs.

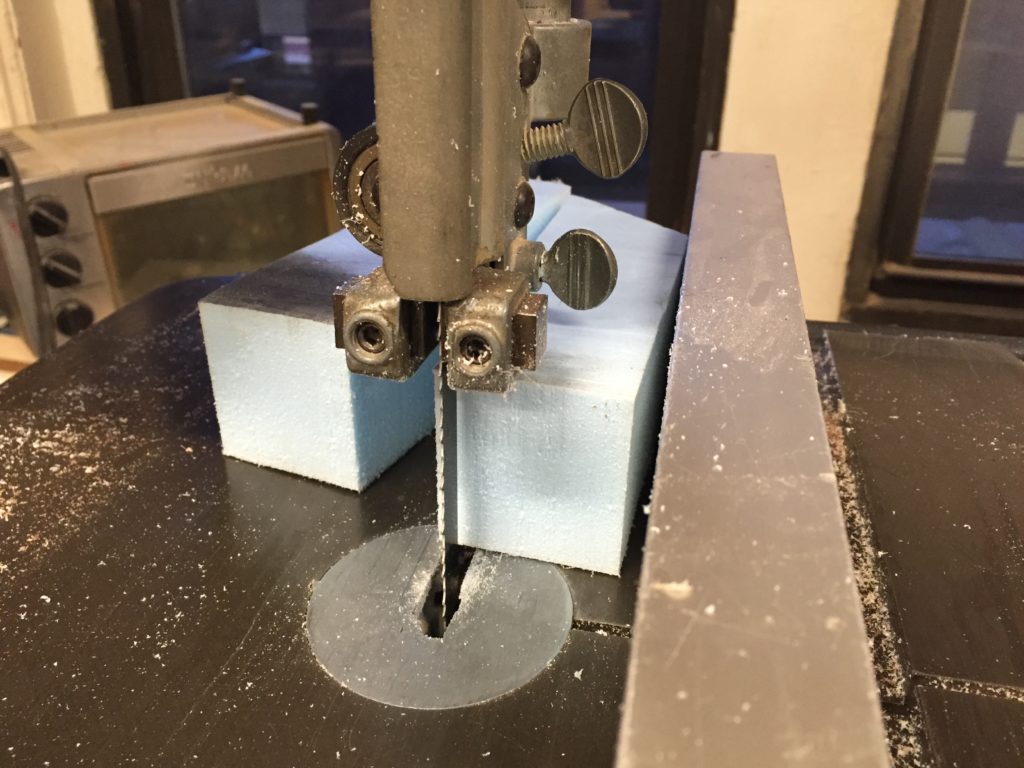
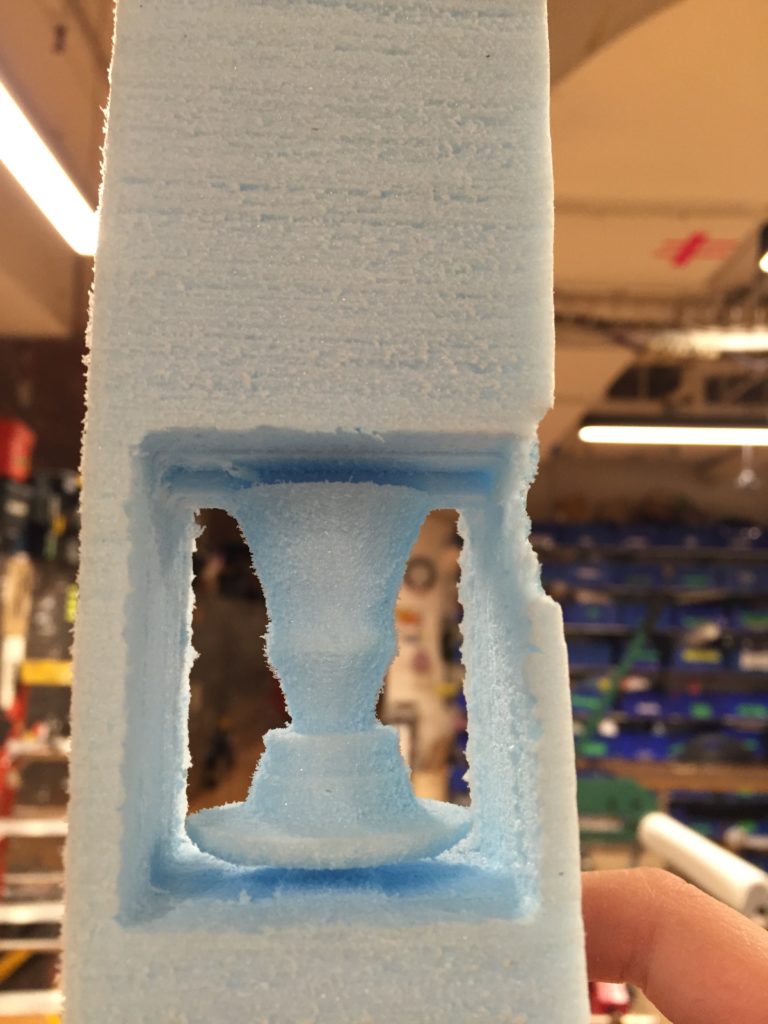
How about foam then. Luckily I got scratch foam from the shelf, with help of Fengyi Zhu who taught me how to use this band saw.

IMG_6227

IMG_6231IMG_6229

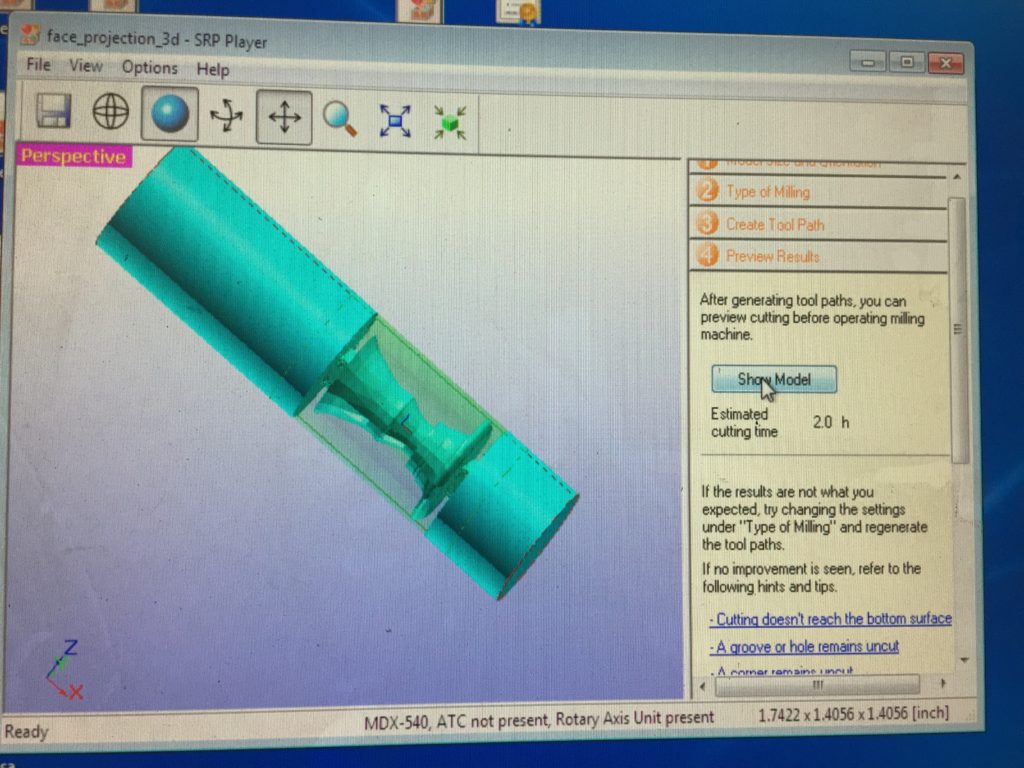
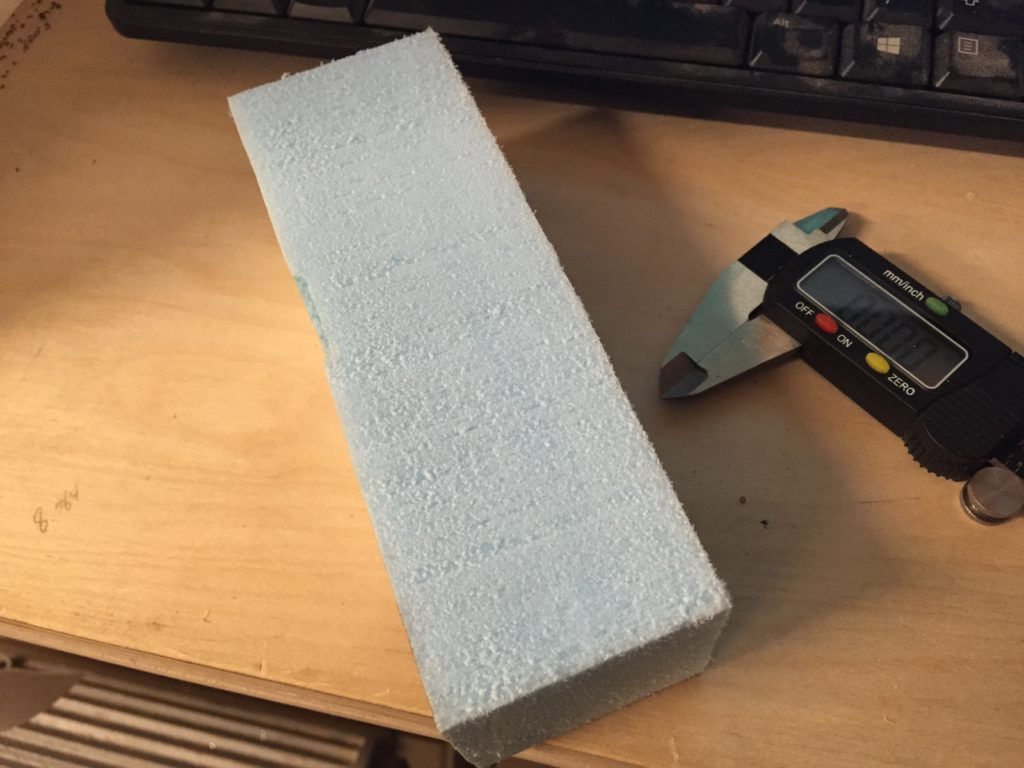
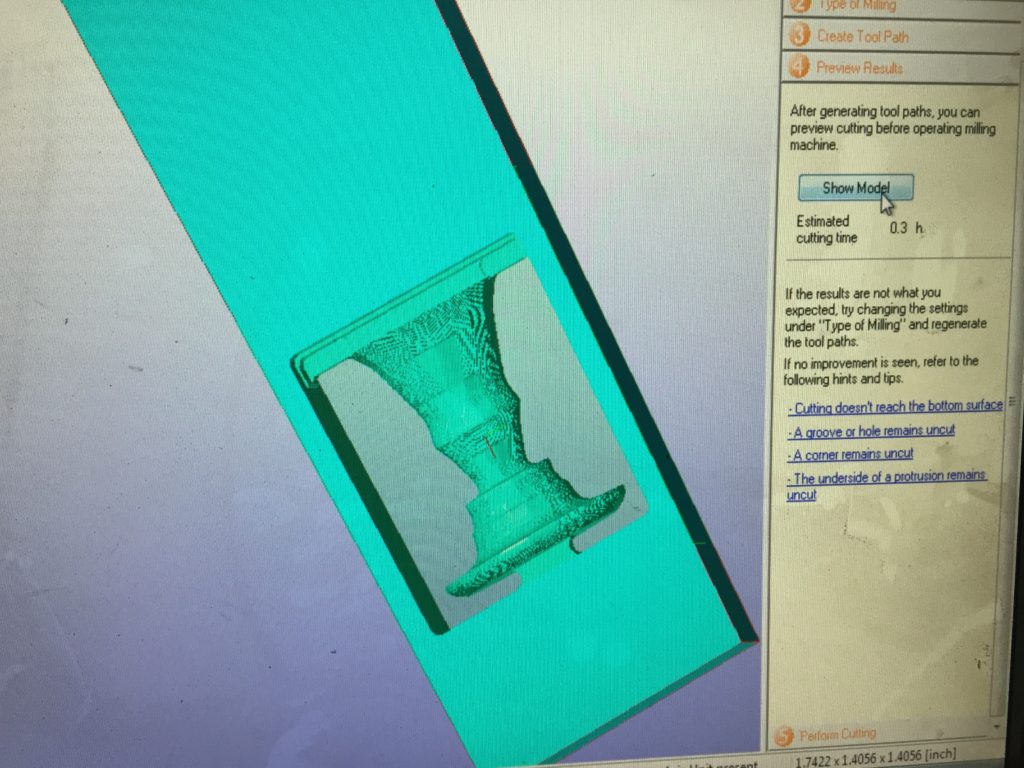
Raw piece 6.0625″ x 2.0450″ x 1.9300″IMG_6230 0.3 hrs. Nice.

IMG_6245

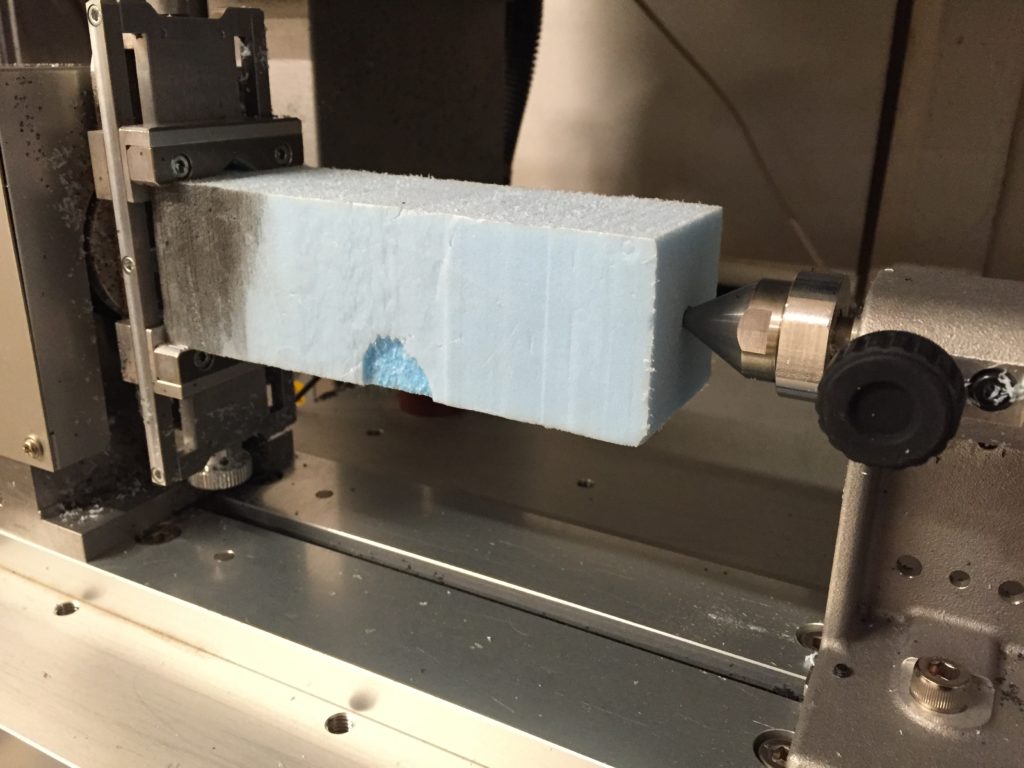
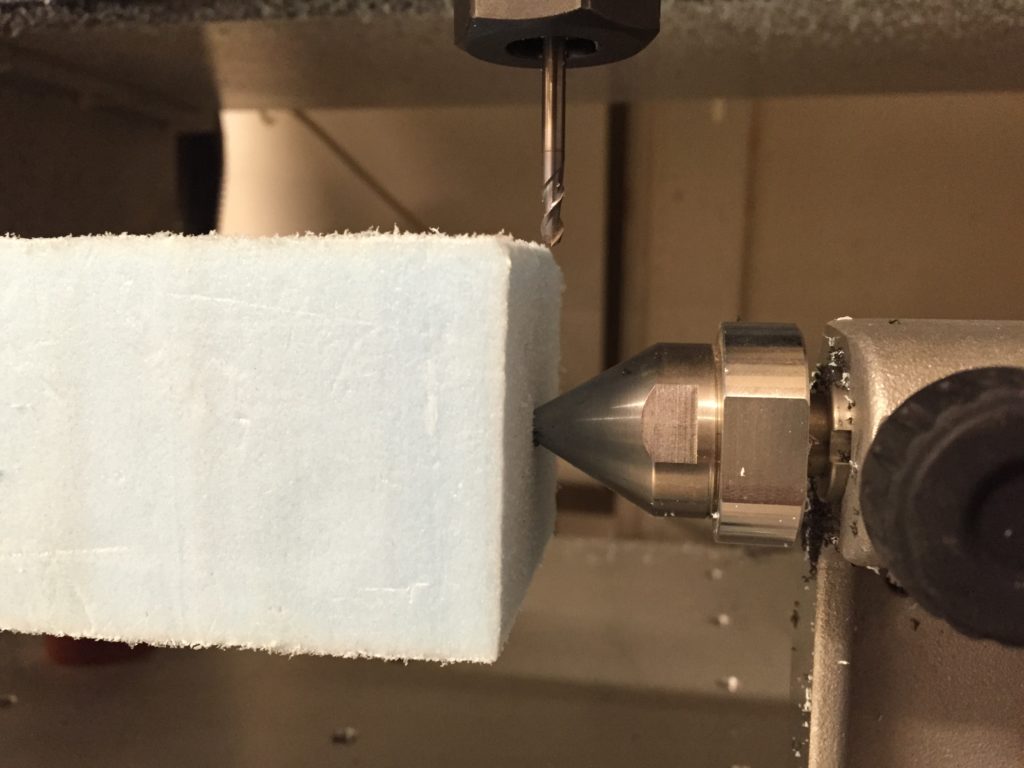
Placing material (foam is hard to hold thus I stuck the cone further inside the foam.)

IMG_6246

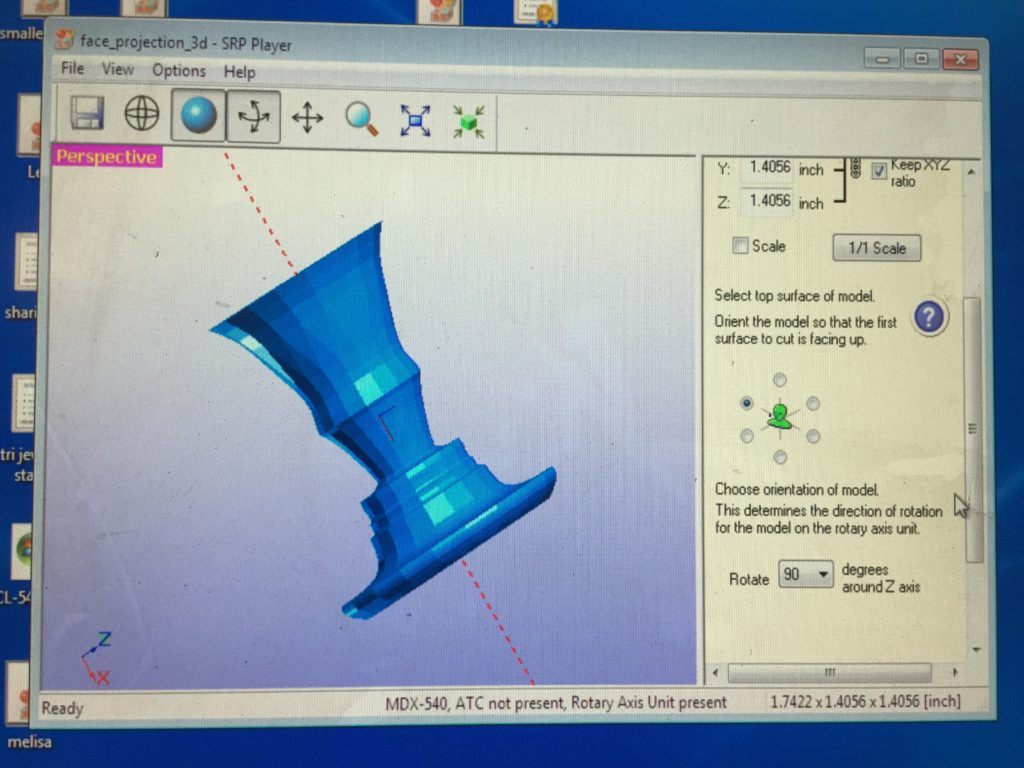
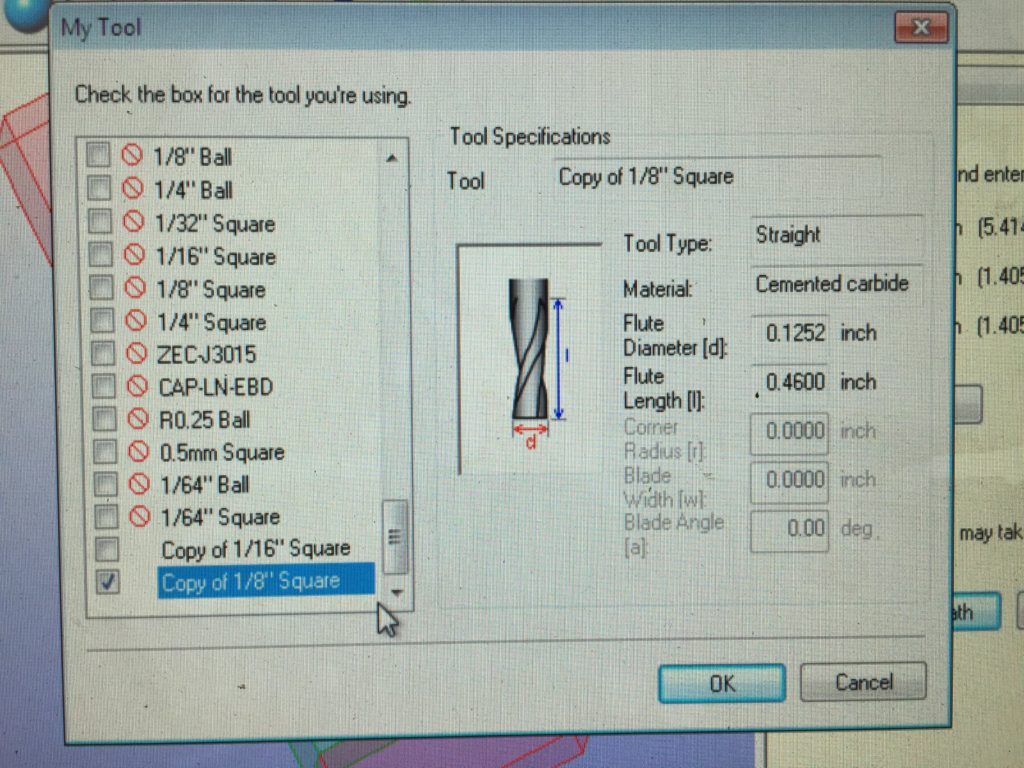
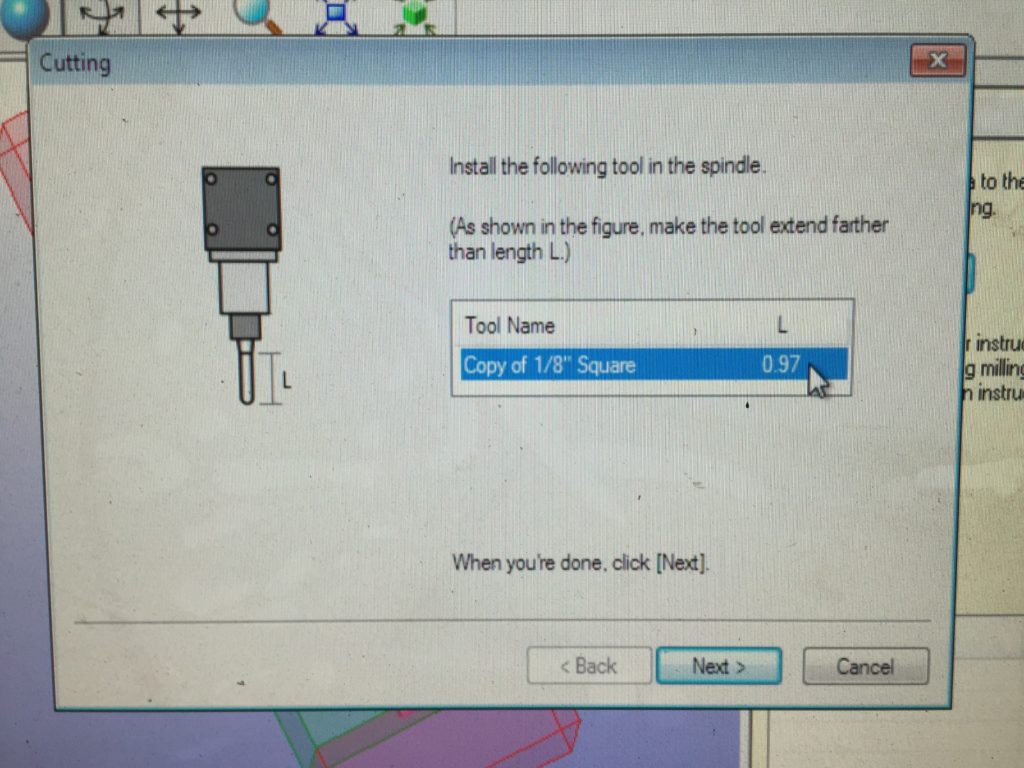
Remembered to set tool. My 1/8″ bit’s flute length is 0.46″.

IMG_6247

Required L is 0.97″ and I installed the bit to be more than 1″. Someone told me his didn’t cut through fully and I think it may have something to do with this parameter.

IMG_6251

Setting x axis.

IMG_6256

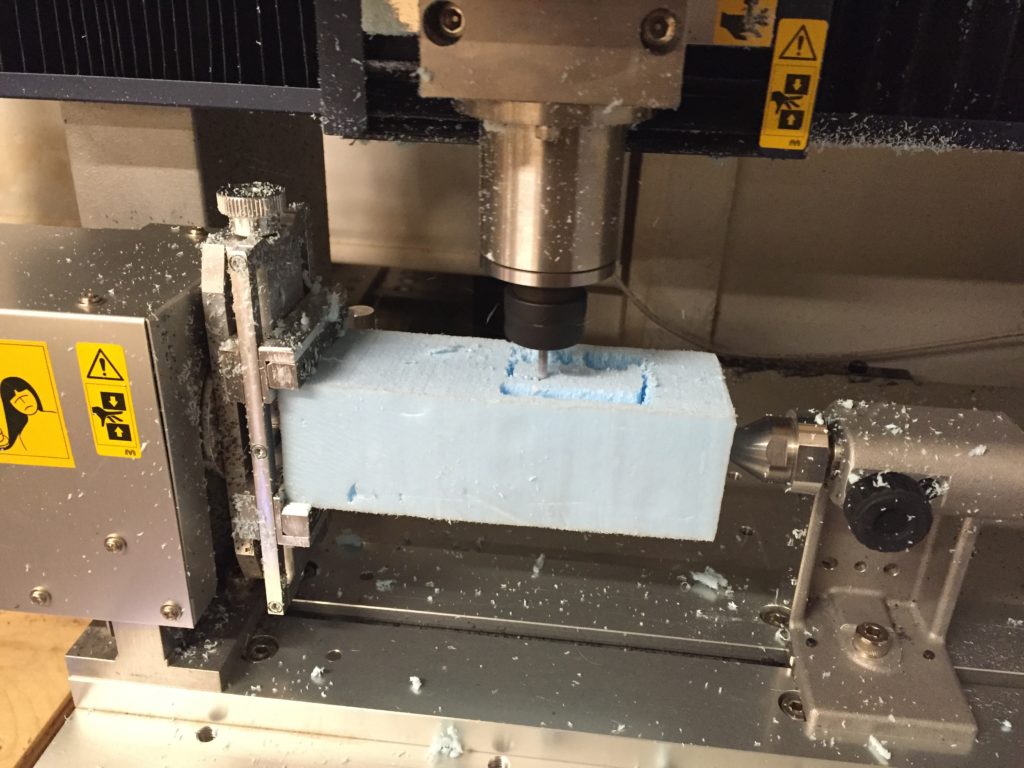
Roughing cut.

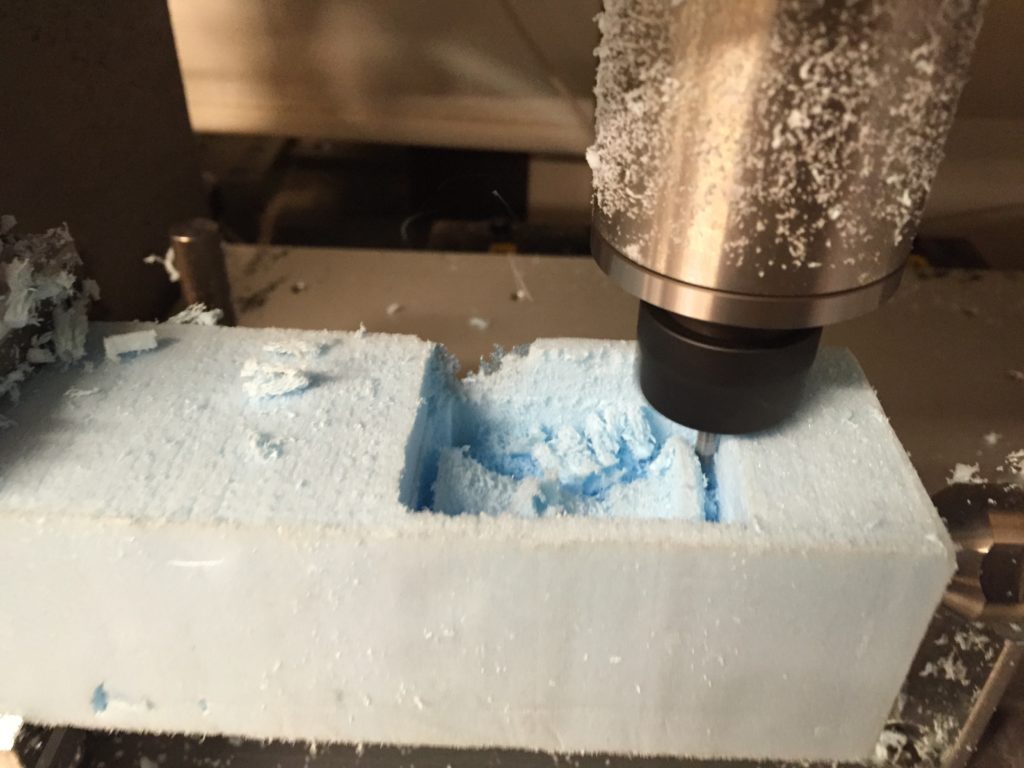
IMG_6259

Finishing cut.IMG_6260 IMG_6261 IMG_6264

The other side.IMG_6266

Finish.IMG_6268

Cleaned up.

FullSizeRender 4

Final.

[week09] Thoughts on arcade final

This is for today’s discussion.

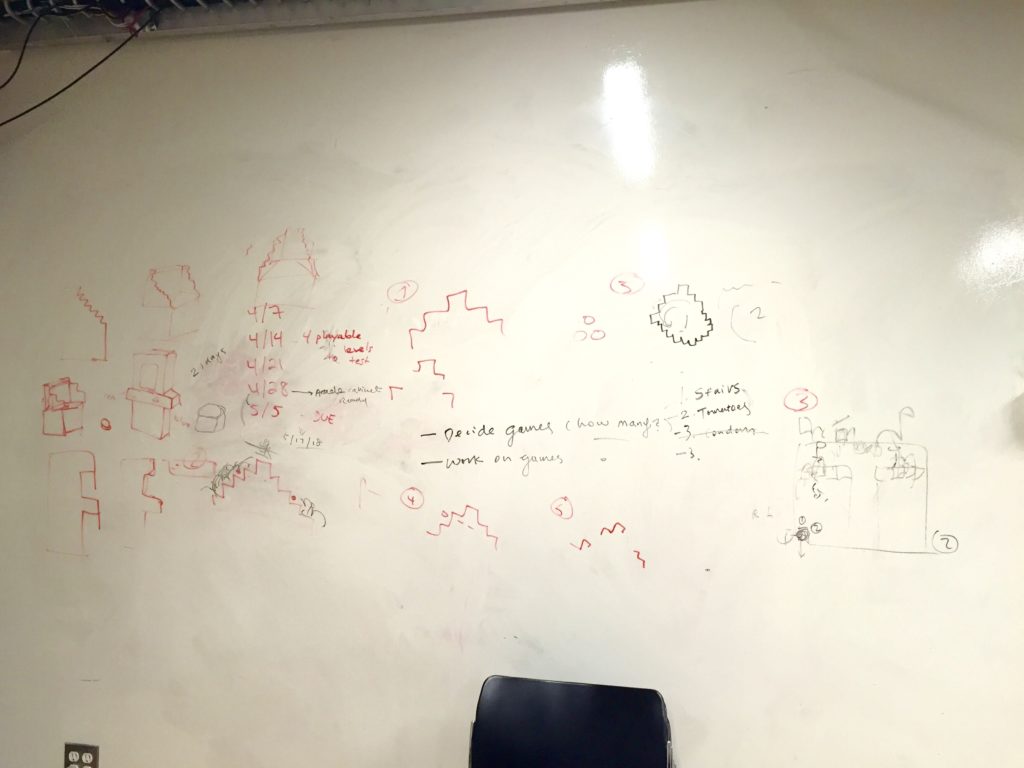
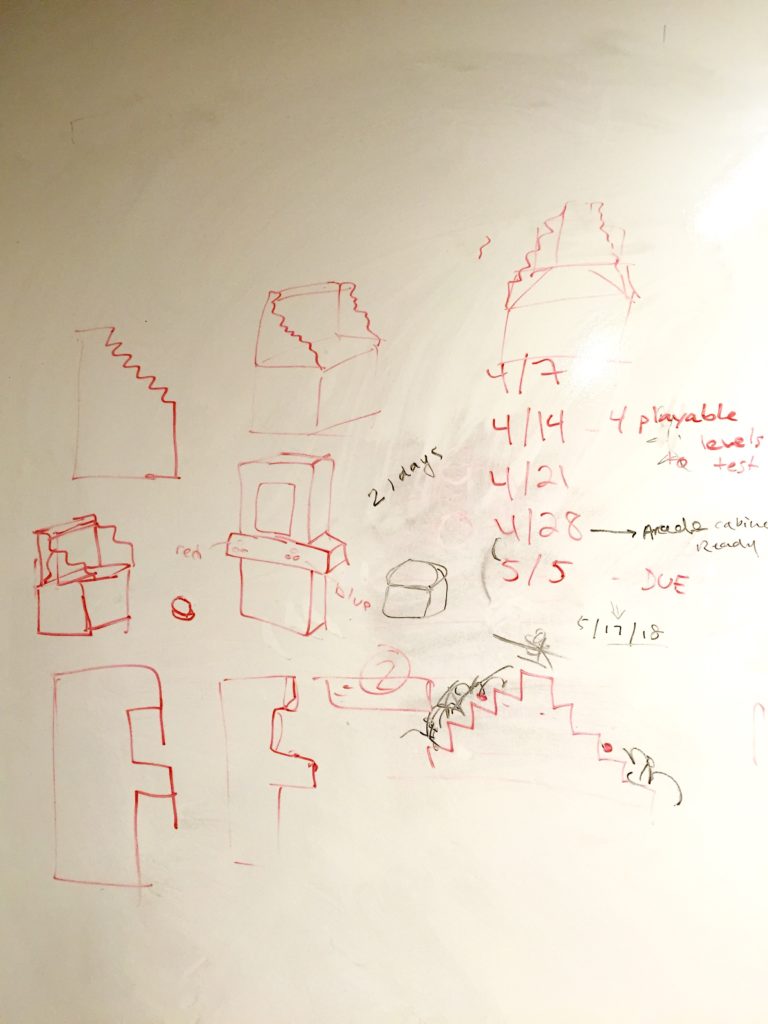
We finally decided to make several different levels for my mid-term StairRace (PizzaRush).

That’s a big leap. At least we have our idea now.

Four weeks left.

This week we’re gonna implement different level of the game individually, focusing on game mechanisms. Kevin and Juan Jose will work on the cabinet design on Wednesday evening.

FullSizeRender 2

Now we got different versions of the game, like broken stairs, stairs with rocks rolling down so you need to dodge it…rotating stairs, shooting each other, falling stairs etc. I think it must be fun enough to have so many different versions and involving alternate key mechanism + PvP.

FullSizeRender

FullSizeRender 3


http://www.itp.kevings.com/cabinet-mockup/

[Week08] The Horde Emblem CNC

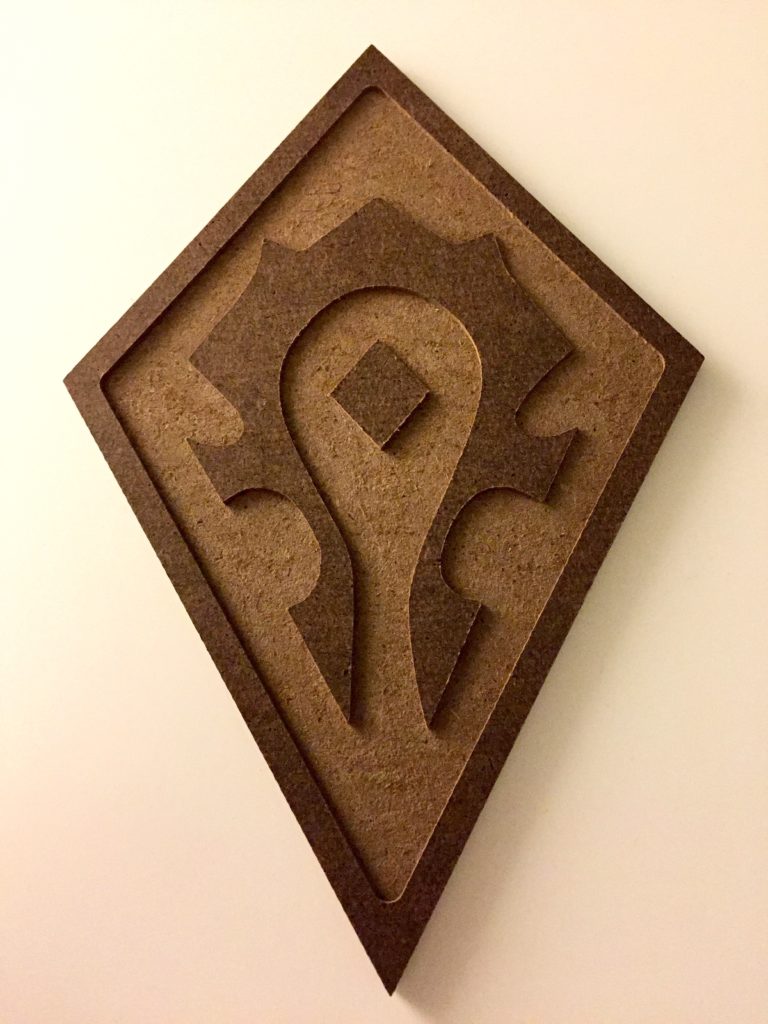
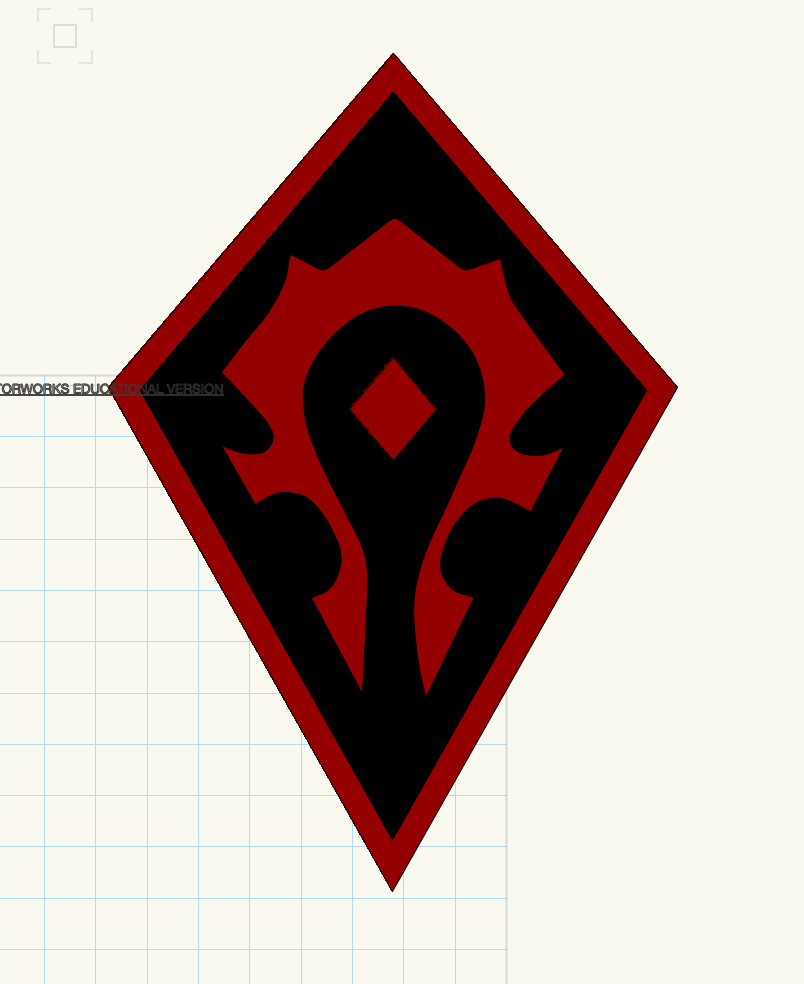
This emblem was made for my cousin who was a very enthusiastic player in World of Warcraft in the Horde faction. As a blood elf mage in the game, this feeling of belonging also grows inside day by day that I want to carve it out.

IMG_6110

It is inspired by the Horde Crest, a representation of the main races in Horde faction.

Horde_Crest


Step 1: Create vector outlines in Illustrator

Based on a image from Deviant Art, use image trace -> expand functions in Illustrator, I can get the edges easily.

Screen Shot 2016-04-03 at 6.06.06 PM

Screen Shot 2016-04-03 at 6.06.13 PM

Screen Shot 2016-04-03 at 6.06.20 PM

Step 2: Convert to Vectorworks file.

Because I want to draw some more outlines precisely, so I want to export the file to Vectorworks. Illustrator file cannot directly convert to Vectorworks file, but I can export it in .dwg in illustrator and open it in Vectorworks.

The hidden layers in illustrator will all show up in Vectorworks and maybe accidentally create additional cuts in CNC, so I used Ben Light’s trick, only copied and pasted the curves I want to use to a new Vectorworks file.

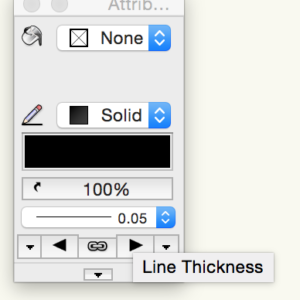
First export I find the lines much thicker than default, so I changed it to default 0.05, though I’m not sure if this matter.

Screen Shot 2016-04-03 at 6.17.03 PM

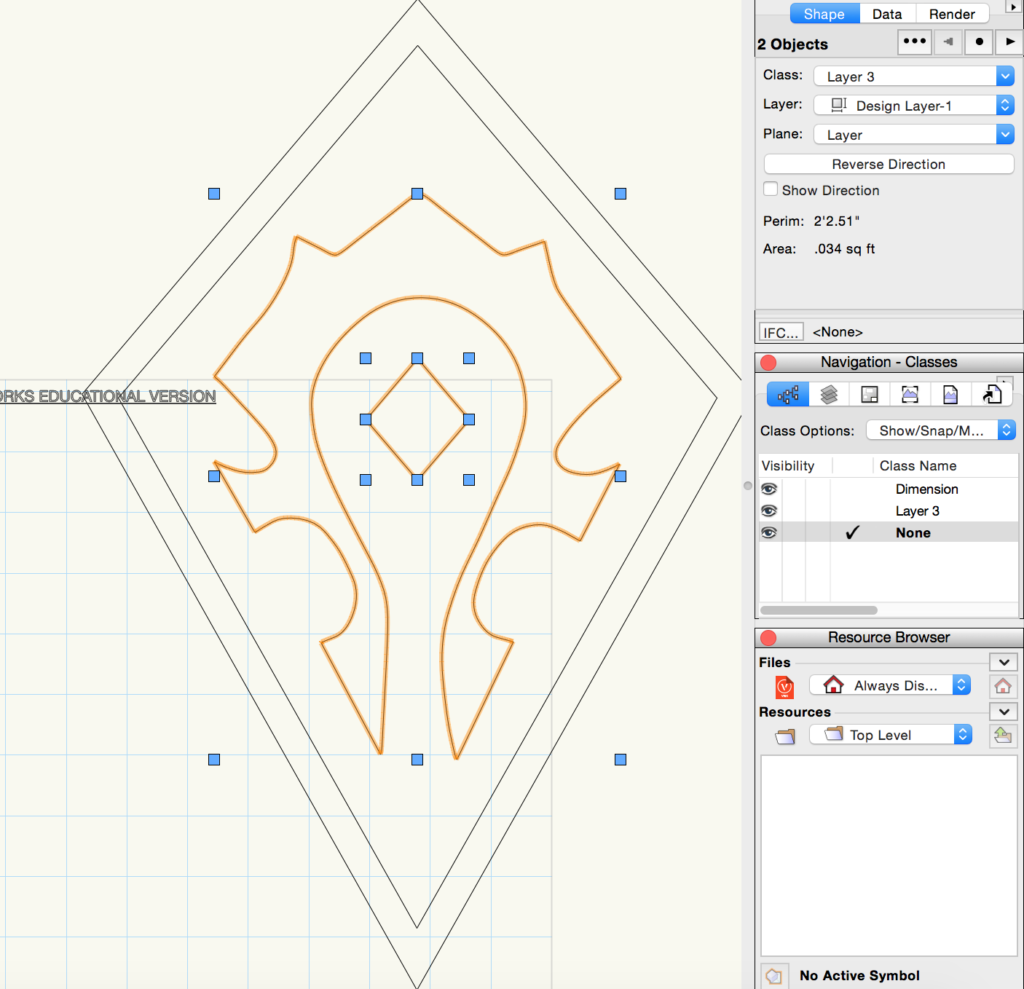
Then I draw additional outlines and resize them to be around a palm’s size. (around 5.5″ x 8″ horizontally and vertically)

Screen Shot 2016-04-03 at 6.16.06 PM

Everything seems good, then I export it to DXF/DWG again as CAD design file.

Step 3: MasterCAM settings

I wanted to carve down the areas inside the kite shape, and leave the logo area untouched by the machine. But at first it was quite frustrating I cannot select them all before making pocket with two islands.

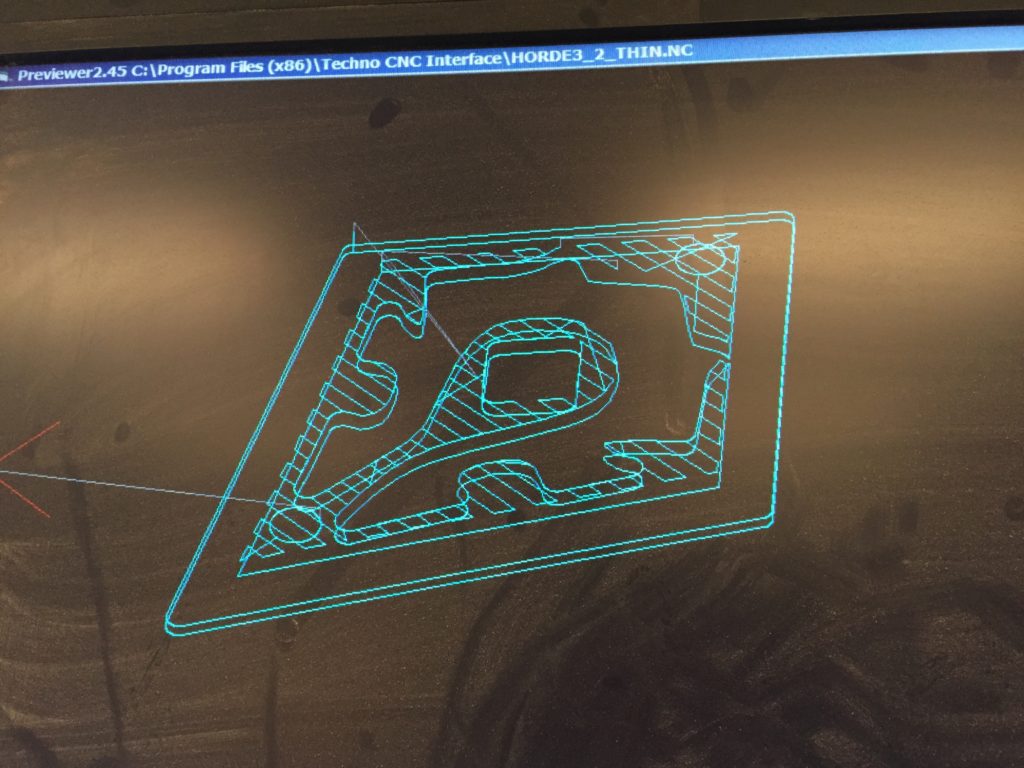
The other day I found that I accidentally have two more straight lines in my Vectorworks file (that often happens when involving Illustrator). When the file is clean and again exported, Ben told me to hold Shift and click all three curves (inner kite and the two logo parts) I wanted involved in the pocket, and the direction of arrows doesn’t matter so much here (“clock out, count in” normally), and gladly this time MasterCAM was clever enough.

IMG_6052

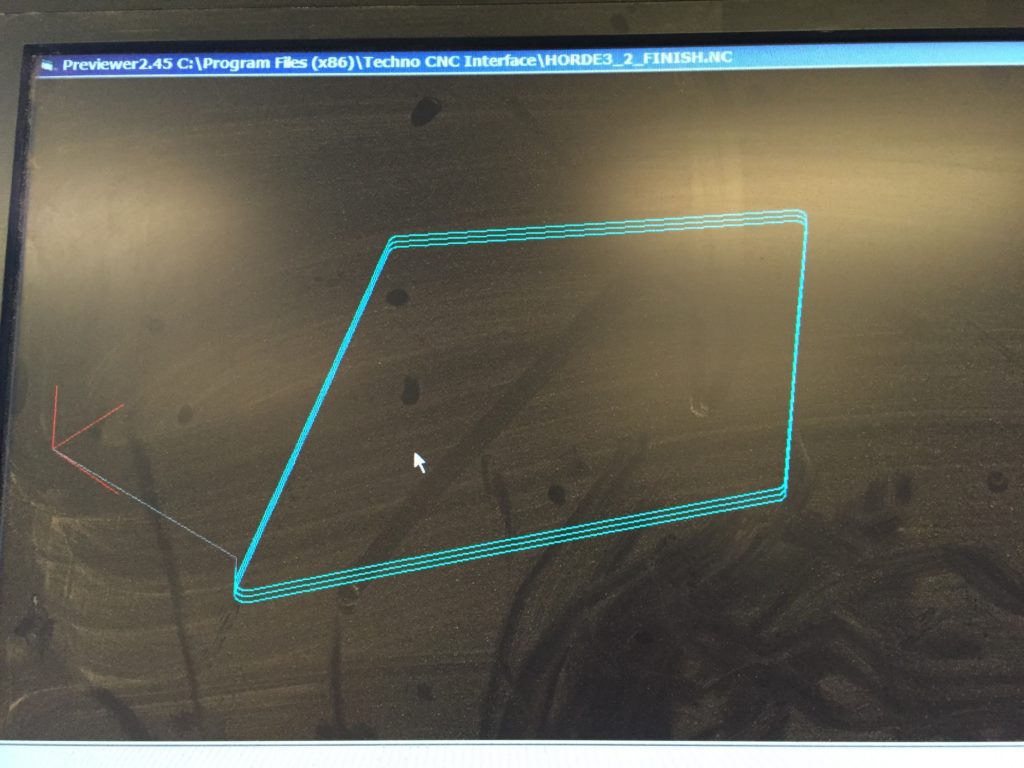
(This is actually the preview in CNC but almost the same)

Step 4: running the CNC

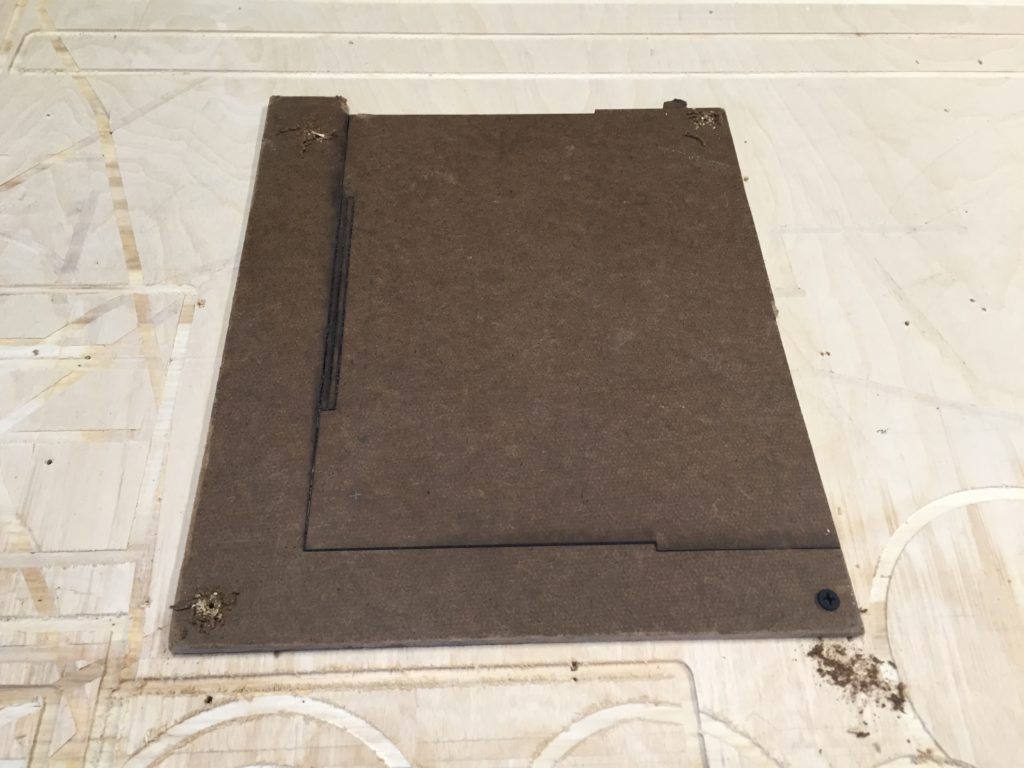
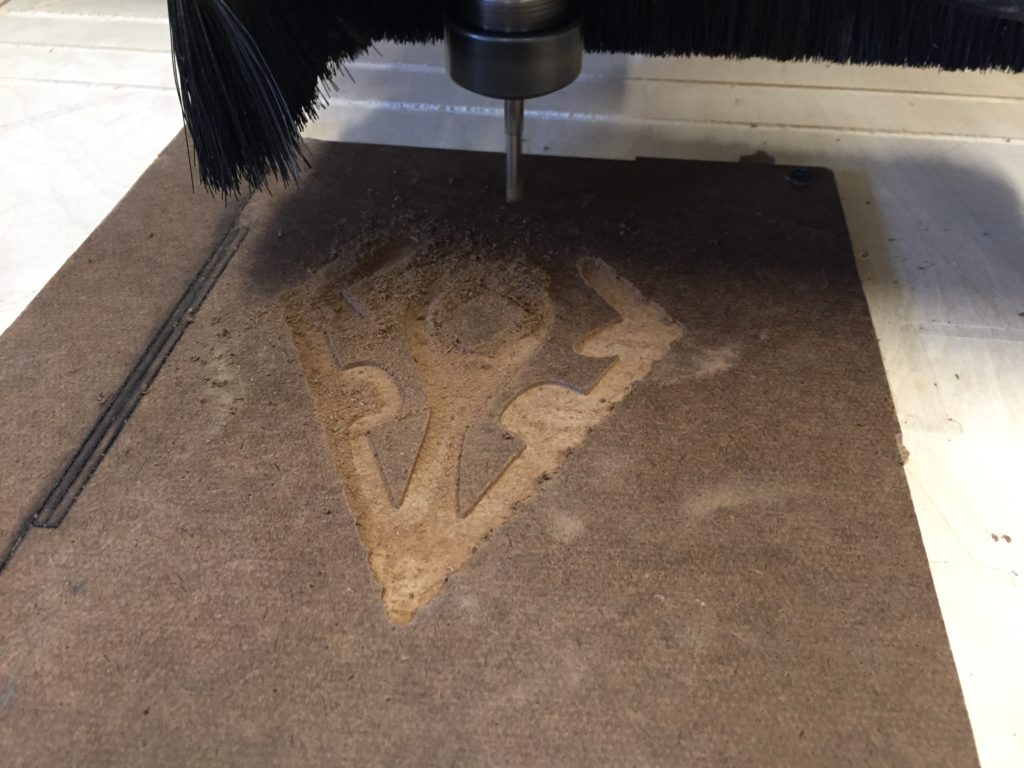
Before that I thought about using a 0.7″ piece but then think it too bulky. Then I find this 0.2″ MDF in recycler and it is said to be really CNC friendly, and I like the color. (So actually in MasterCAM I set contour be -0.2″ and pocket be -0.1″)

IMG_6051

IMG_6056

IMG_6060

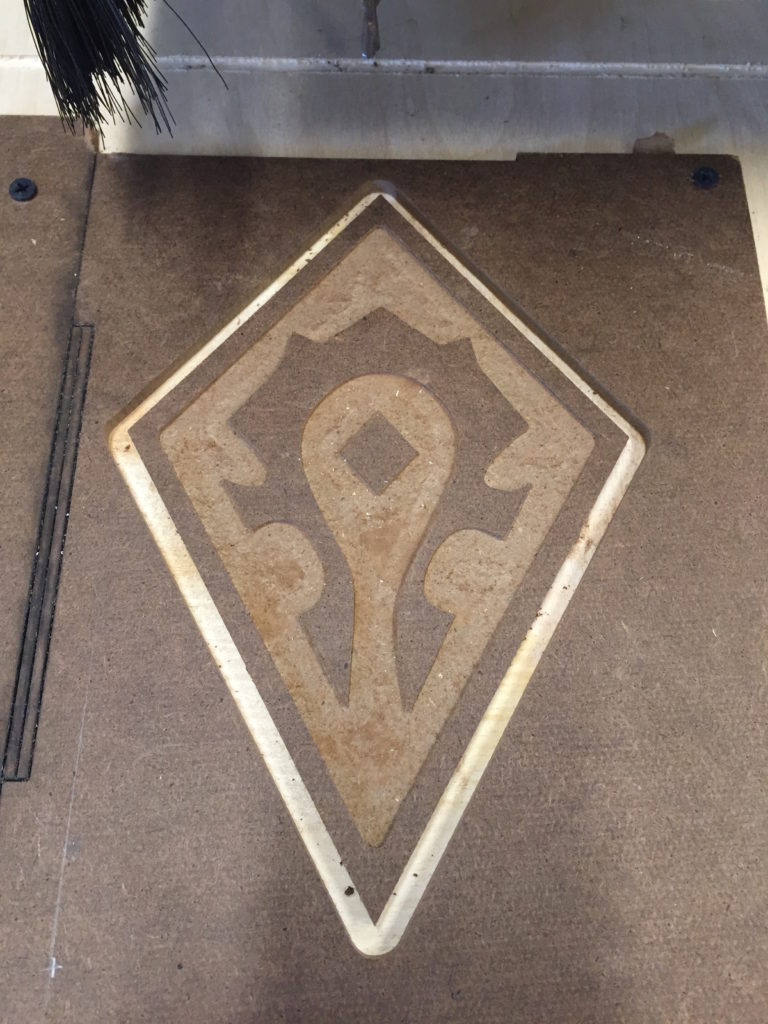
Since it’s thin it only takes 4 minute at max. But something bad happened – the cutout was not as clean as thought even MasterCAM had 0.05″ additional depth for cutout in settings. I leave the CNC the untouched (so the origins remain the same) and quickly created another file that only have contour operation, so I can run the outline a little deeper once again to finish the cutout.

IMG_6067

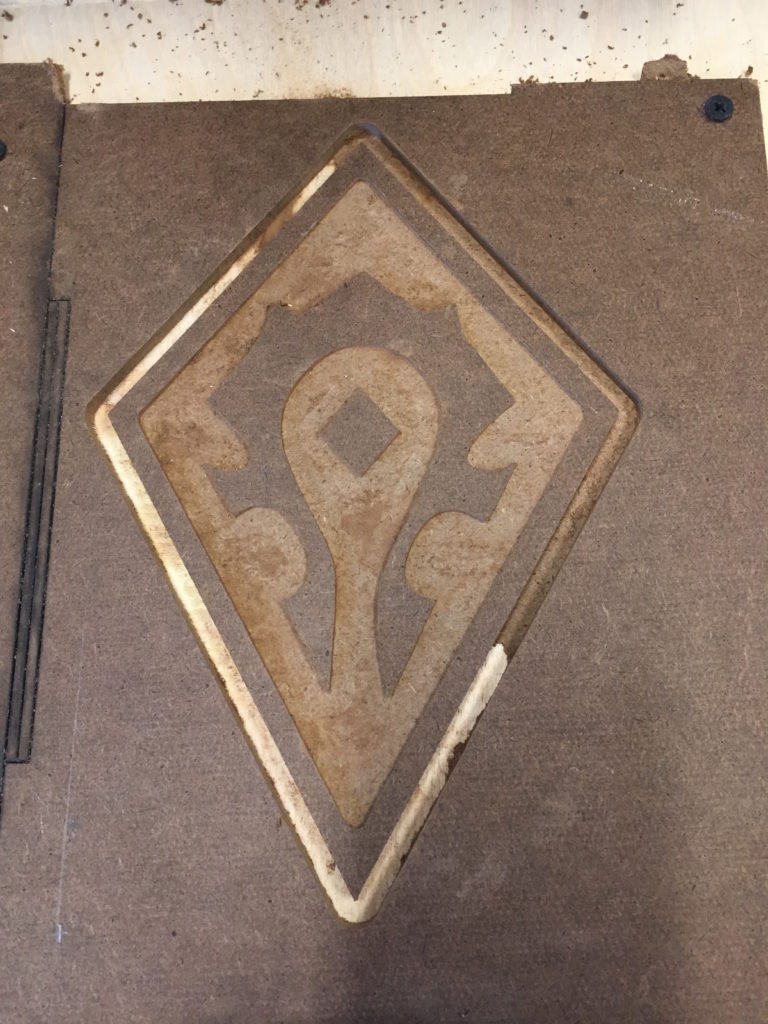
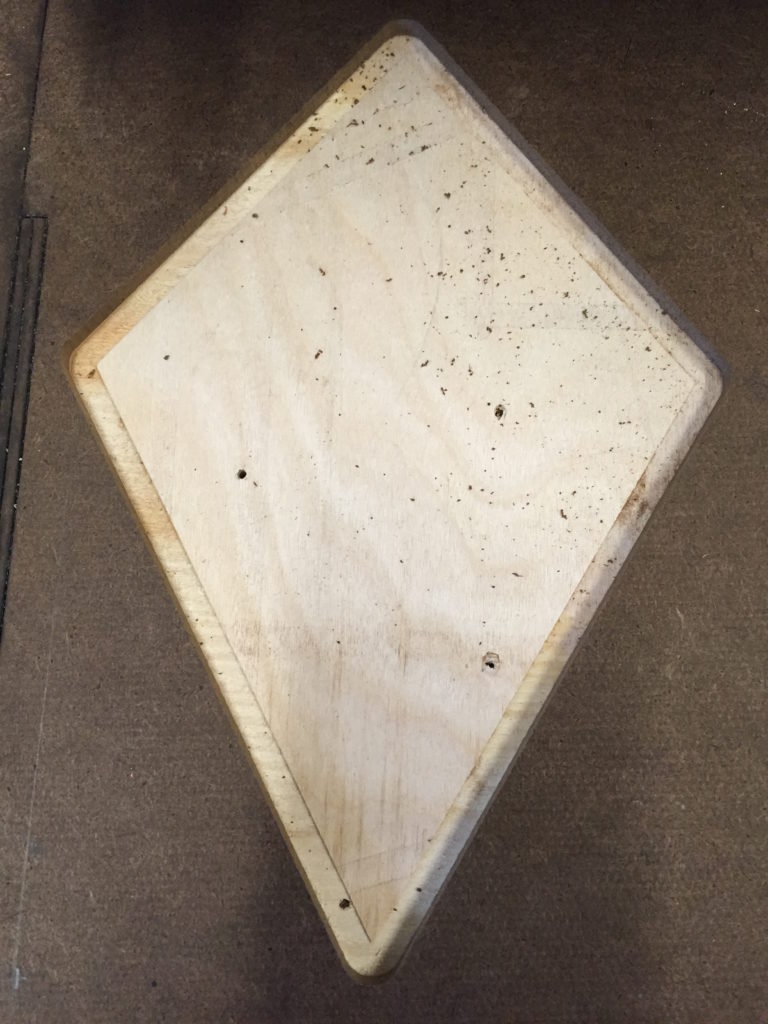
Luckily the outline was super clean after I ran it deeper, as you can see from the spoiler board below.IMG_6065 IMG_6066


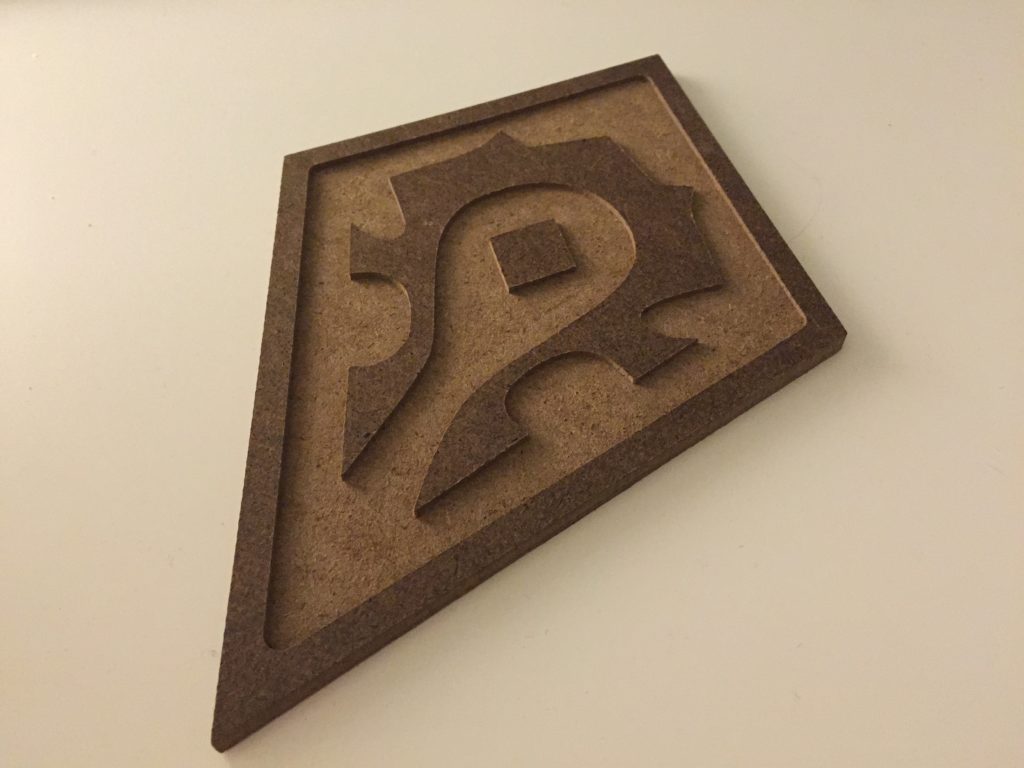
Sand and doc. I was quite satisfied with the work at last.IMG_6094


Further thinking:

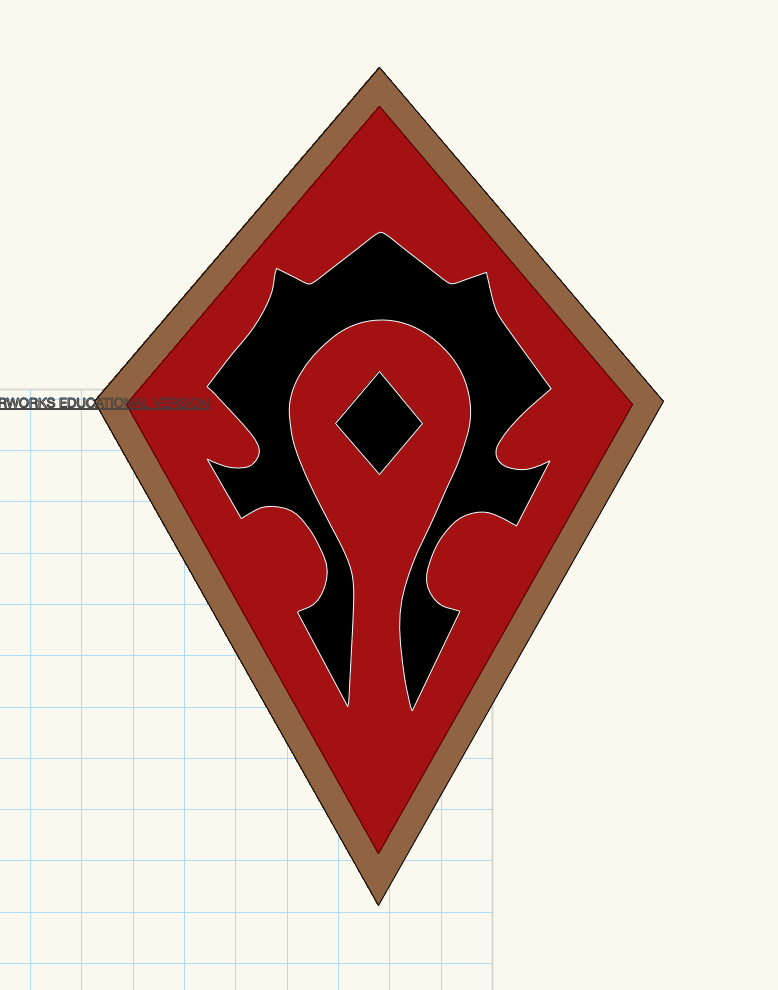
The original Horde Crest depicts “iron and blood” quite well which is very much the spirit of the Horde. At least the pursuit for power and savageness are commonly shared. I feel my work contains less savageness as the original one. Maybe it’s the choice of material, maybe the lines are too symmetrical, but at least the color will do a lot. Maybe I’ll try to paint it or do this again on aluminum, add more spines, and see what I get.

Thinking about wood paint with black and red:

Screen Shot 2016-04-03 at 7.22.16 PM

Or some traditional color:

Screen Shot 2016-04-03 at 7.37.18 PM

Also an option (as that in my cousin’s portait):

Screen Shot 2016-04-03 at 7.37.58 PM


[week06] PizzaRush! (Stair race as prototype)

Ideation

IMG_5568 68fc63e31daf6e7f2b43f749159105a9-e1364930112518

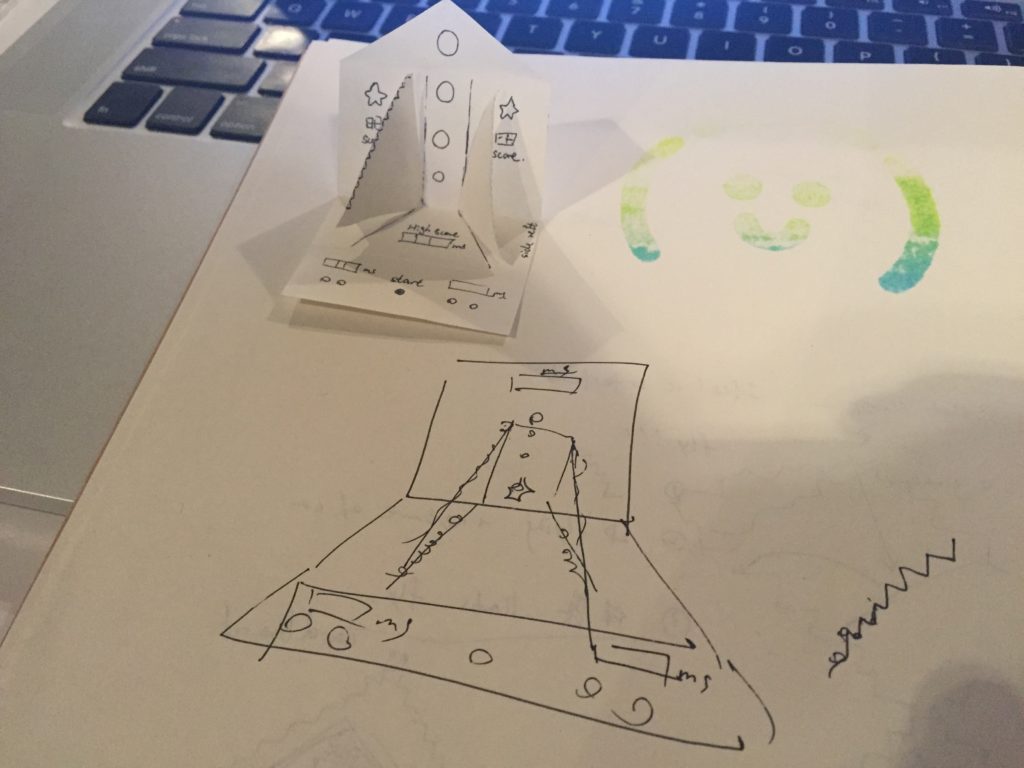
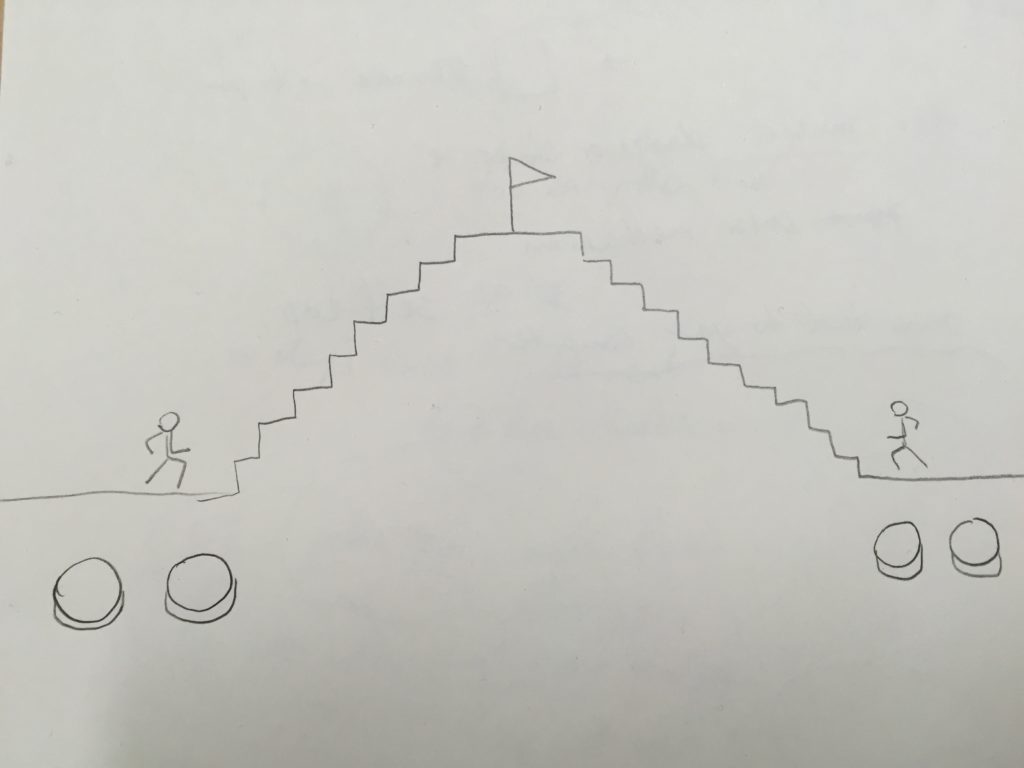
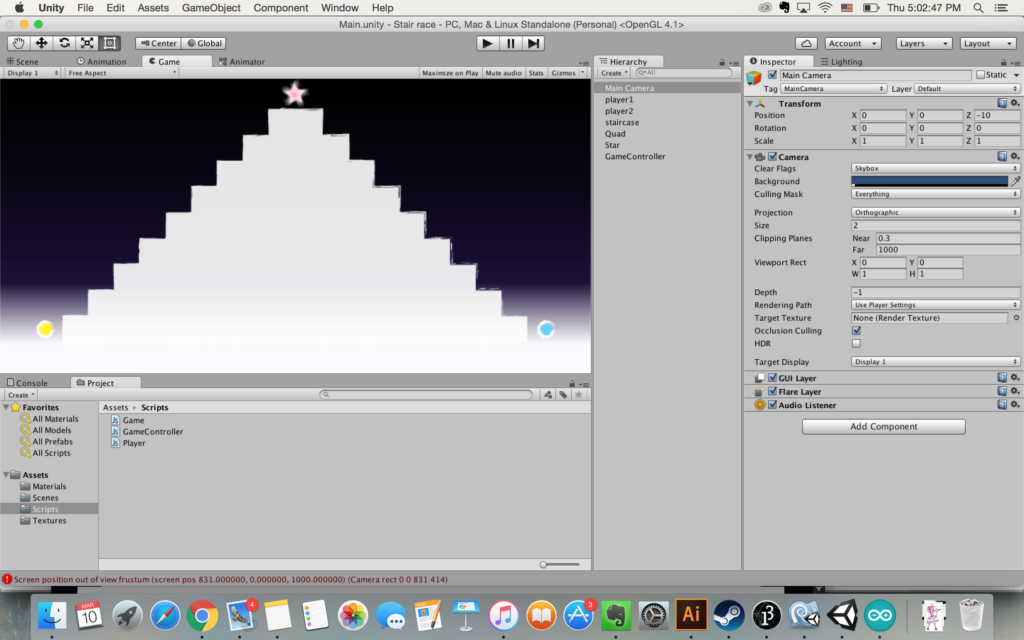
As the ideation in last week, I really kind of like to create some catching star game, and I find PvP works really well especially for arcades. Thus I came out with the stair race idea, and I like to make that for my mid-term assignment.

image

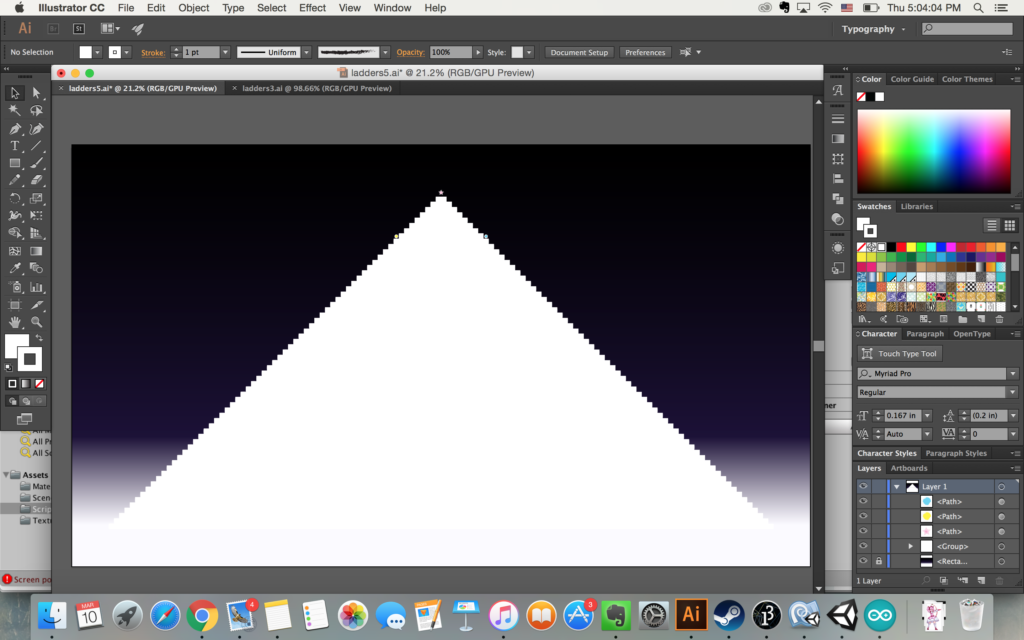
  1. Visual design
  2. Unity mechanics
  3. Digital fabrication (laser cutter)

Prototyping

Screen Shot 2016-03-10 at 5.02.47 PM

#0 The first version is pretty clean and simple. However, the game finishes so fast and it’s fairly not competitive.

#1 FY suggested that maybe players can fight at top of the staircase. I implemented a version so that on top they can drag the star towards themselves. But if two players are at similar levels the game will never end and it feels tiring.

Screen Shot 2016-03-10 at 5.04.04 PM

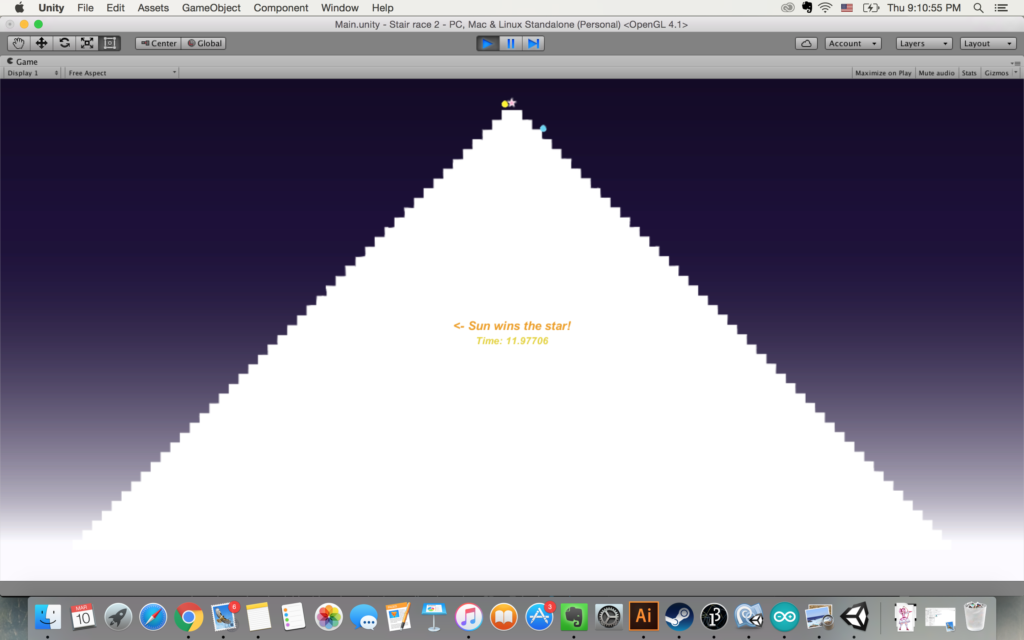
#2 Then I started to do this crazy design. Full of stairs but with an expected end (so you know it won’t never end again). It feels much better though the players are too small to see now.

Screen Shot 2016-03-10 at 9.10.55 PM

#3 less stairs, change velocity from a whole step to half a step. Feels long enough and visually acceptable (least visible).

Unity

https://github.com/sunwangshu/stair_race

Not very much to say about.

For two players they behave the same thus they share the same class. They have same movement and key stroke interface, and two same function as to enable or disable movement.

#pragma strict

var playing: boolean = false;
var star: GameObject;

var key1 : KeyCode;
var key2: KeyCode;
var key1Once: boolean = false;
var key2Once: boolean = false;

var stepx: float = 0.35;
var stepy: float = 0.35;

function Start () {
	
}

function Update () {
	if (playing){
		if (Input.GetKeyDown(key1)) {
			key1Once = true;
		}
		if (Input.GetKeyDown(key2)) {
			key2Once = true;
		}

		if (key1Once == true && key2Once == true){
			transform.position.x += stepx;
			transform.position.y += stepy;
			key1Once = false;
			key2Once = false;
		}
	}
}

public function startGame () {
	playing = true;
}

function endGame () {
	playing = false;
}

For game controller, it controls the game flow between to stages.

#pragma strict

var startKey1: KeyCode;
var startKey2: KeyCode;
var startKey3: KeyCode;
var startKey4: KeyCode;

var endheight: float = 16;	//whoever first reach the height is the winner

var stage: int = 1;		//1: gameplay; 2: end game;

var player1: Player;
var player2: Player;

var result: UI.Text;	// result
var timeText: UI.Text;	// result
var timeCount: float = 0.0;
var timeStart: float;

function Start () {
	result.text = "";
	timeText.text = "Press any button to start racing!";
}

function Update () {
	// start
	if (stage == 1) {
		if(Input.GetKeyDown(startKey1) || Input.GetKeyDown(startKey2) || Input.GetKeyDown(startKey3) ||Input.GetKeyDown(startKey4)){
			player1.startGame();
			player2.startGame();
			timeCount = 0.0;
			timeStart = Time.time;
			stage = 2;
		}
	}

	if (stage == 2) {
		timeCount = Time.time - timeStart;
		timeText.text = "Time: " + timeCount;
		if(player1.transform.position.y >= endheight) {
			// player1 wins
			result.text = "= endheight) {
			// player2 wins
			result.text = "-> Moon wins the star!";
			player1.endGame();
			player2.endGame();
			stage = 0;
		}
	}
}

Fabrication

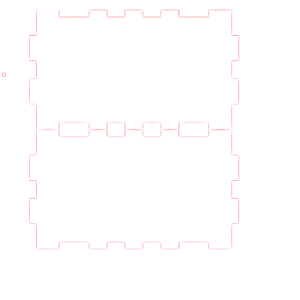
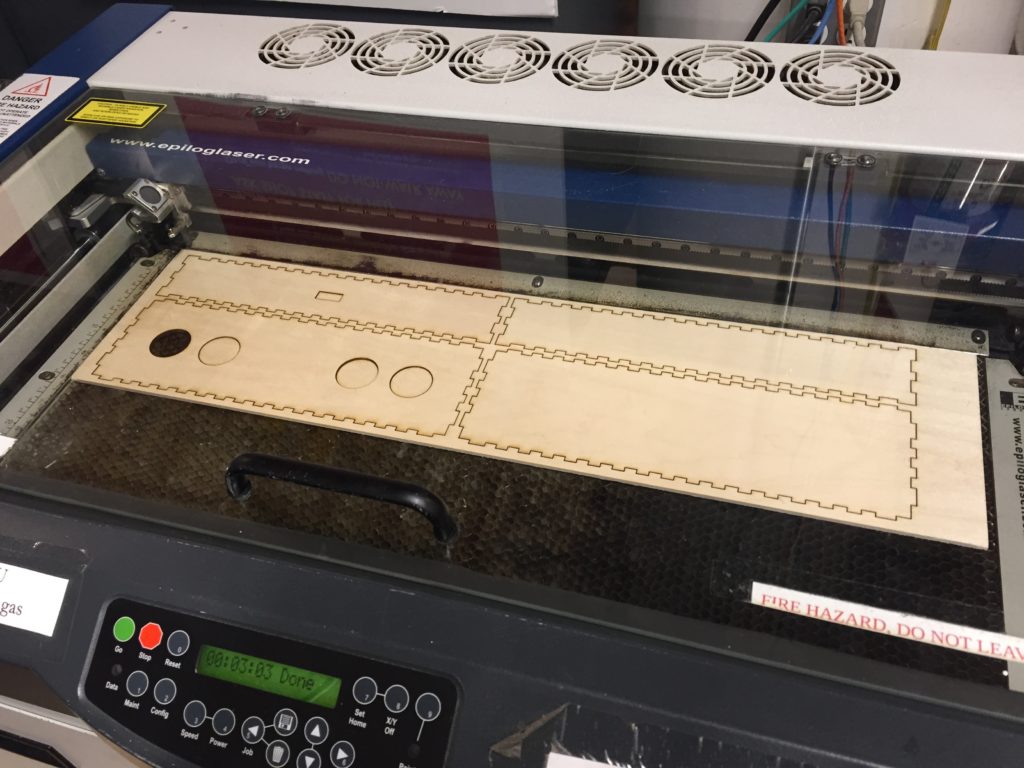
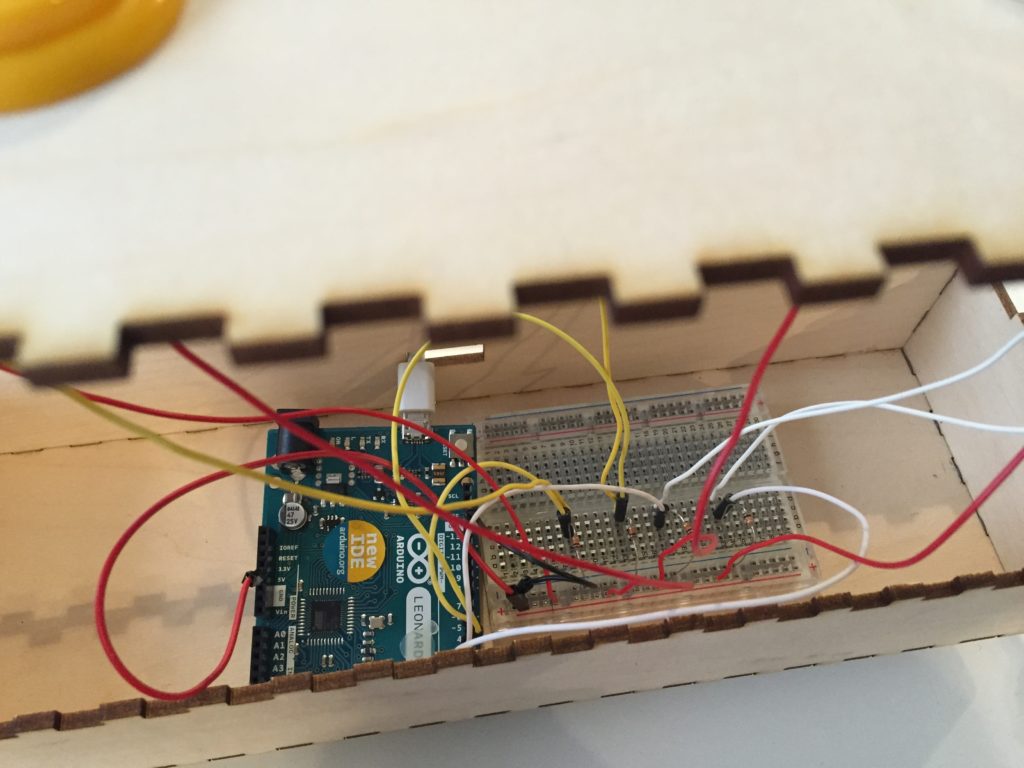
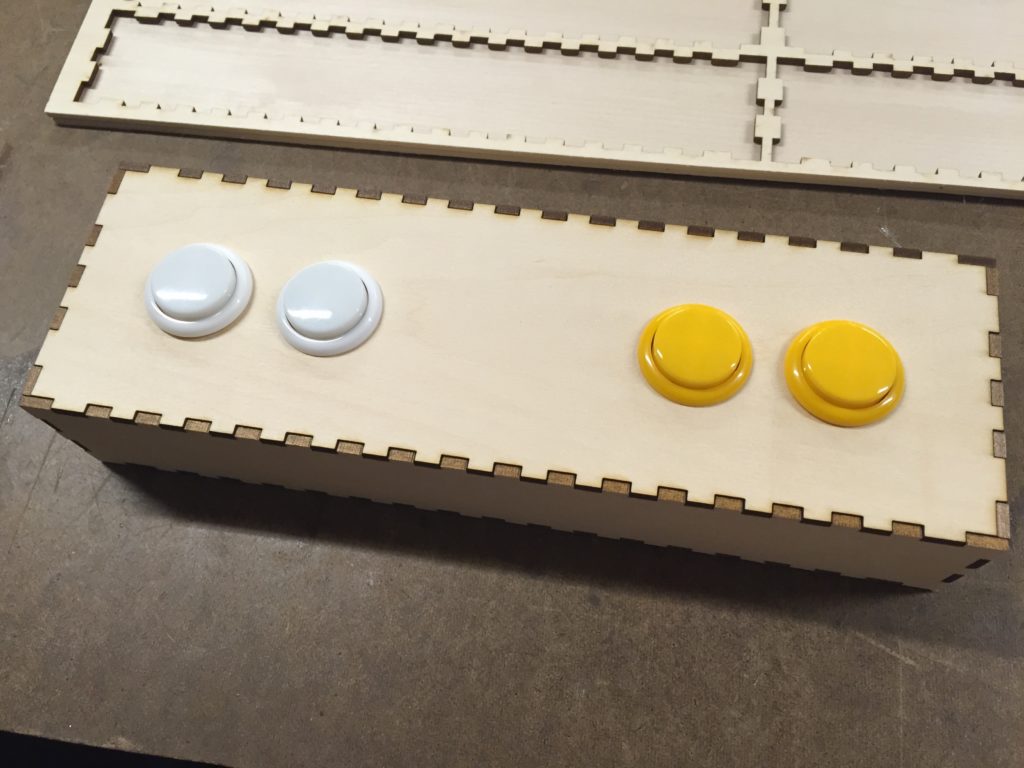
For laser I used MakerCase for generating the laser cut box file, and then added space for buttons and cable opening.

Actually since I got only 6″ x 24″ pieces, the size of box quite shrinked to fit my wood. The holes for buttons I used 1.18″. Also I created some more space between each piece later on (just in case) as you can see on laser.

Screen Shot 2016-04-05 at 5.32.22 PM

Screen Shot 2016-04-05 at 5.33.24 PM

IMG_5646IMG_5648

A little bit of soldering, for the buttons.

IMG_5711

IMG_5649


Finishing

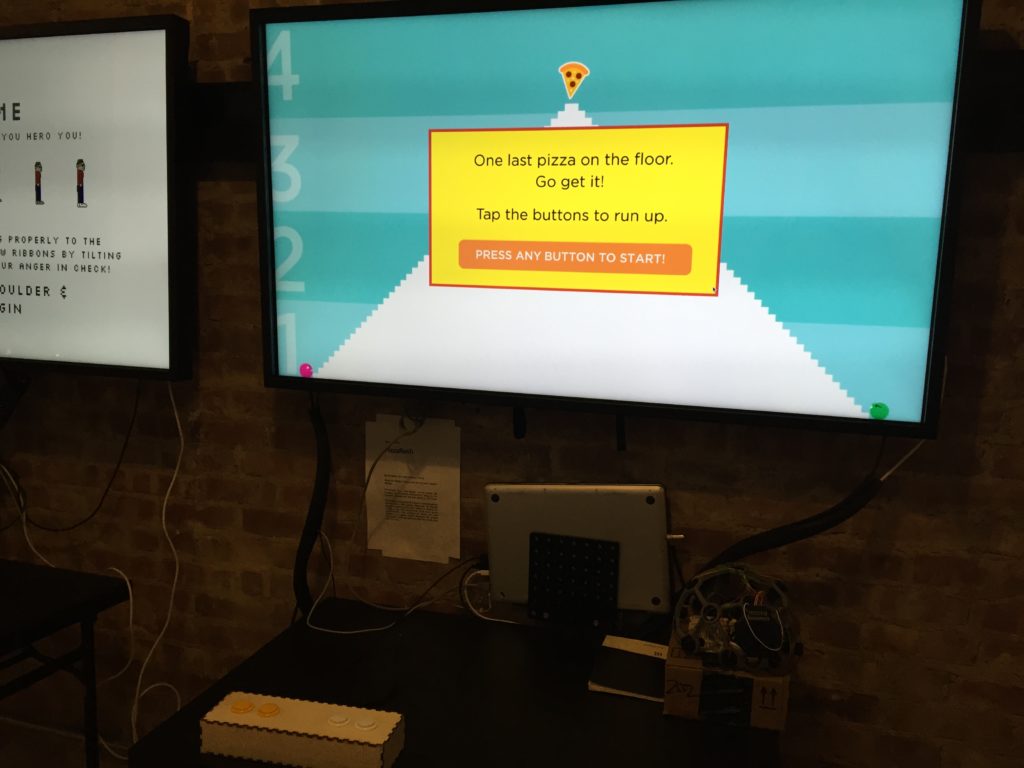
Soyeon was really interested in this project. She suggested it would be more fun under a pizza race context, and designed this new interface. Every Friday afternoon on our floor (of ITP), there is usually a pizza social hour, and the idea of chasing for the last pizza sounds really fun.

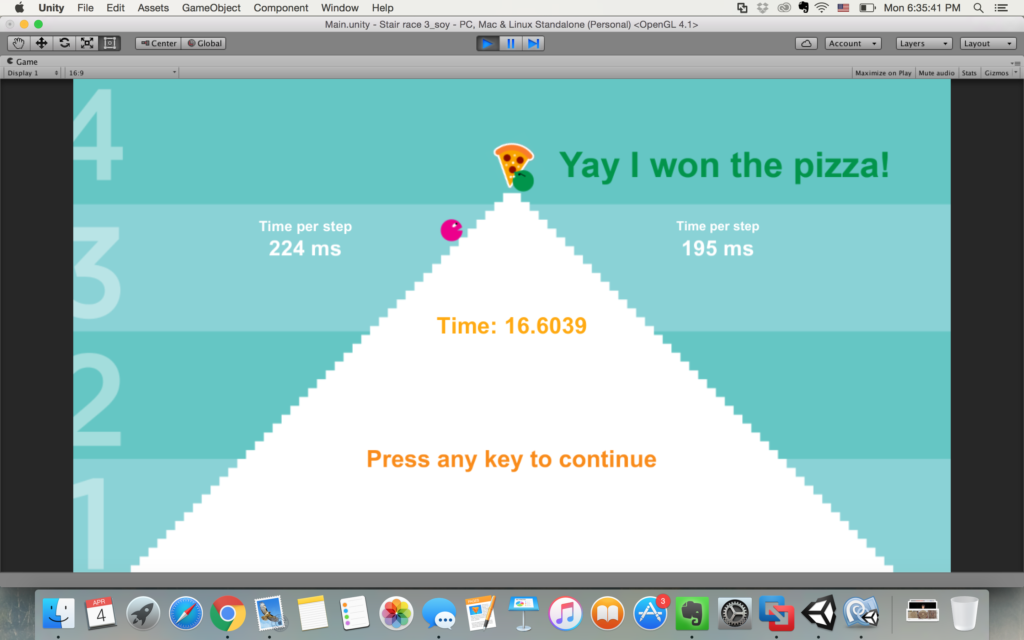
In addition, many suggest that the result is actually obvious near the end of the game, and for the one in disadvantage there seems no means to turn the table. Also for most arcades, scoring is an important part. Thus I created this “Time per step” scoring to indicate how fast you tap the keys. Thus even though one lose the game he or she may feel less defeated.

IMG_6158

Screen Shot 2016-04-04 at 6.35.41 PM

Code edit: one more intro stage, one more countdown stage.

Intro -> countdown -> game -> end -> Intro -> …

Added time per step and blinking effects.

https://github.com/sunwangshu/pizza_rush


[Week05] Dreams

I wanted to achieve a function so that sometime it appear sad and some other time it appear magical, depending on the user’s choice.

The two pieces I’m using for different mood are here:

Bright: http://jsfiddle.net/sunwangshu/rbnxe9s6/2/

Deep good dream: http://jsfiddle.net/sunwangshu/rbnxe9s6/3/

Chilly sad: http://jsfiddle.net/sunwangshu/raj7hthu/2/

Sad: http://jsfiddle.net/sunwangshu/raj7hthu/3/


Every 4 rounds, the random notes will toggle between a lot and a few.

Change distribution of randomness: http://jsfiddle.net/sunwangshu/cb7smjka/1/


Add some duo track

http://jsfiddle.net/sunwangshu/jhvjmwfo/


Aug.11 some cute play of 8n notes
http://jsfiddle.net/gL2f2gfg/


This little cutie almost never stops

http://jsfiddle.net/vuc6xvcb/


This jumps up and down non-stop

http://jsfiddle.net/wc6f79q1/


Duo and cycle between calm and intense

http://jsfiddle.net/sunwangshu/rsy6yugu/7/

[Week 04] Random duo

http://jsfiddle.net/sunwangshu/rbnxe9s6/

It’s basically a static part playing together with random choice of notes.

Every six notes there’s a chance of rest.


var freeverb = new Tone.Freeverb().toMaster();
freeverb.dampening.value = 2000;
freeverb.roomSize.value = 0.9;
freeverb.wet.value = 1;

// note part
var synth1 = new Tone.SimpleSynth( {
	oscillator : {
  	type : "sine"
  },
  envelope : {
  	attack : 0.02,
    decay : 0.8,
    sustain : 0.7,
    release : 2
  }
}).connect(freeverb);

var synth2 = new Tone.SimpleSynth( {
	oscillator : {
  	type : "sine"
  },
  envelope : {
  	attack : 0.02,
    decay : 0.8,
    sustain : 0.7,
    release : 2
  }
}).connect(freeverb);

var dream_random = ["C4","E4","G4","A4","B4","C5","E5","G5","A5","B5","C6"];
var dream13567 = ["C4","E4","G4","A4","B4",0,"C4","E4","G4","A4","B4",0,"C4","E4","G4","A4","B4",0,"B4","C5","B4","G4","E4",0,];

for (var i = 0; i < 1000; i++) {
	var index = Math.floor(Math.random() * dream_random.length);
  var tone = dream_random[index];
  if (i % 6 == 5) {
  	var chance = Math.random();
    if (chance > 0.5) {
    	tone = 0;
    }
  }
  synth1.triggerAttackRelease(tone, "4n", i * 0.4);
  var index2 = i % dream13567.length;
  var tone2 = dream13567[index2];
  synth2.triggerAttackRelease(tone2, "4n", i * 0.4);
}

[Week05] CNC project – a bookshelf

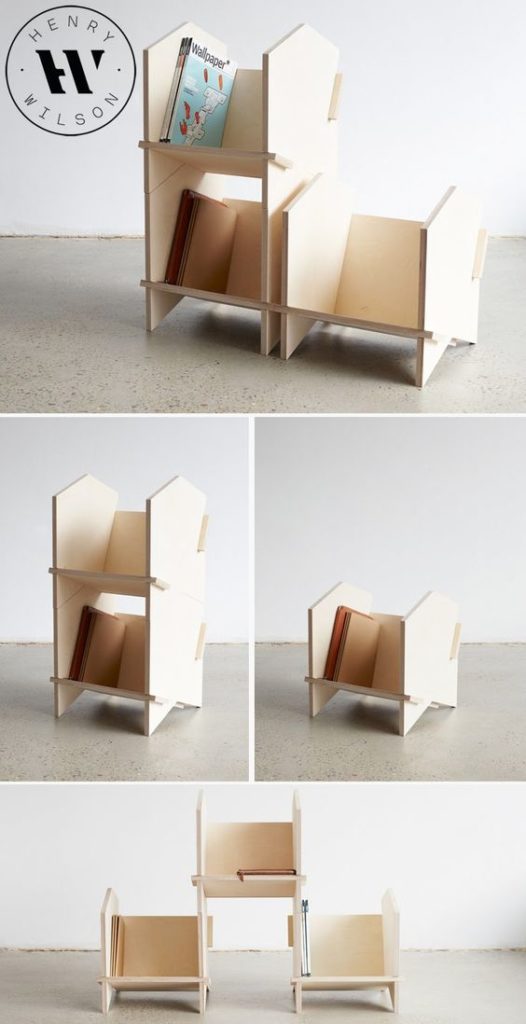
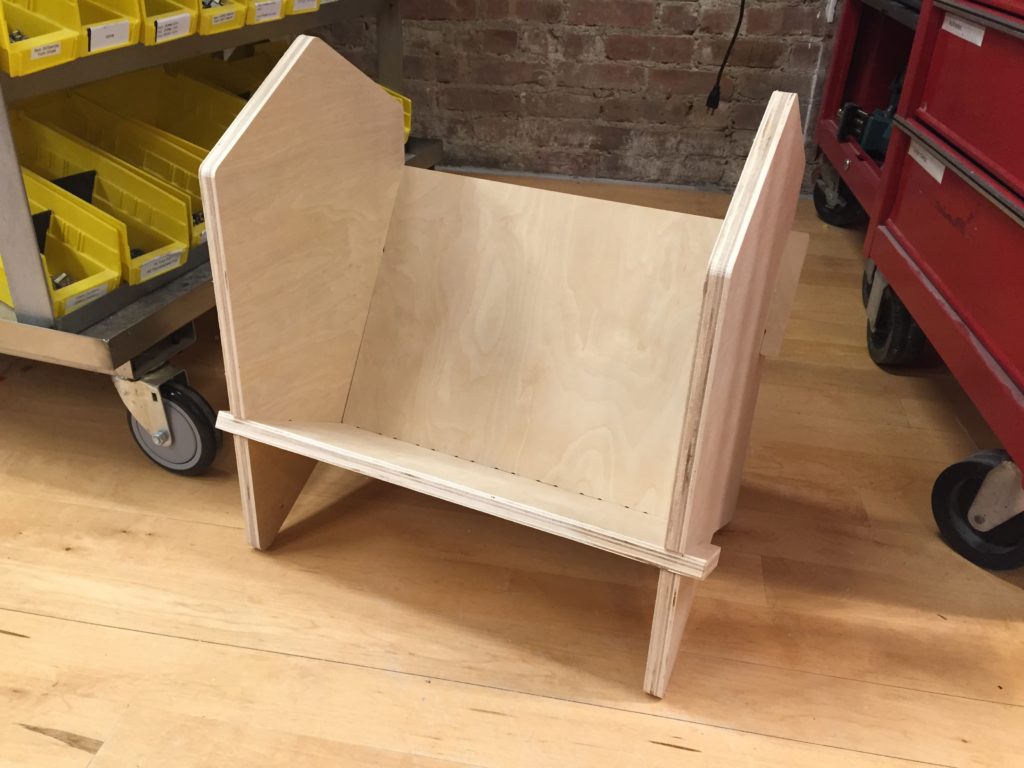
I really wanted to make a bookshelf for myself.

I know I’m still new in design, so I started by browsing a lot of design from pinterest, and this is the design I love best.

928c2fd879e6846463f400be810190b1

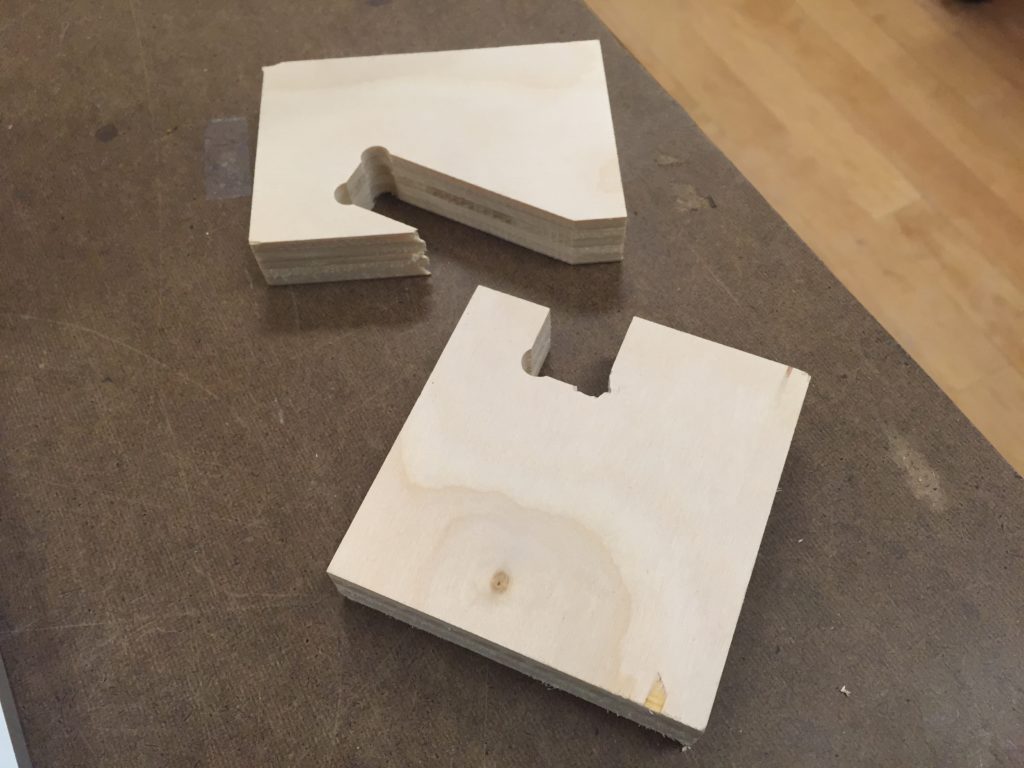
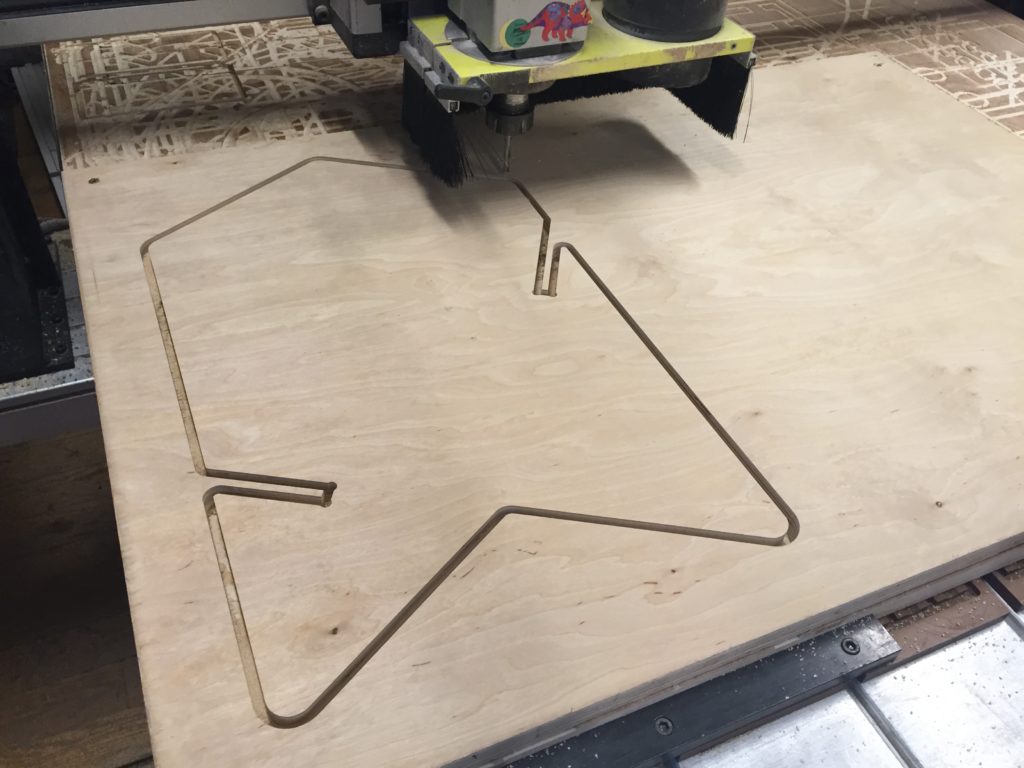
For this project I made a lot of test, mainly for the two different kinds of joints I want to create.
Joints 01

FullSizeRender 5

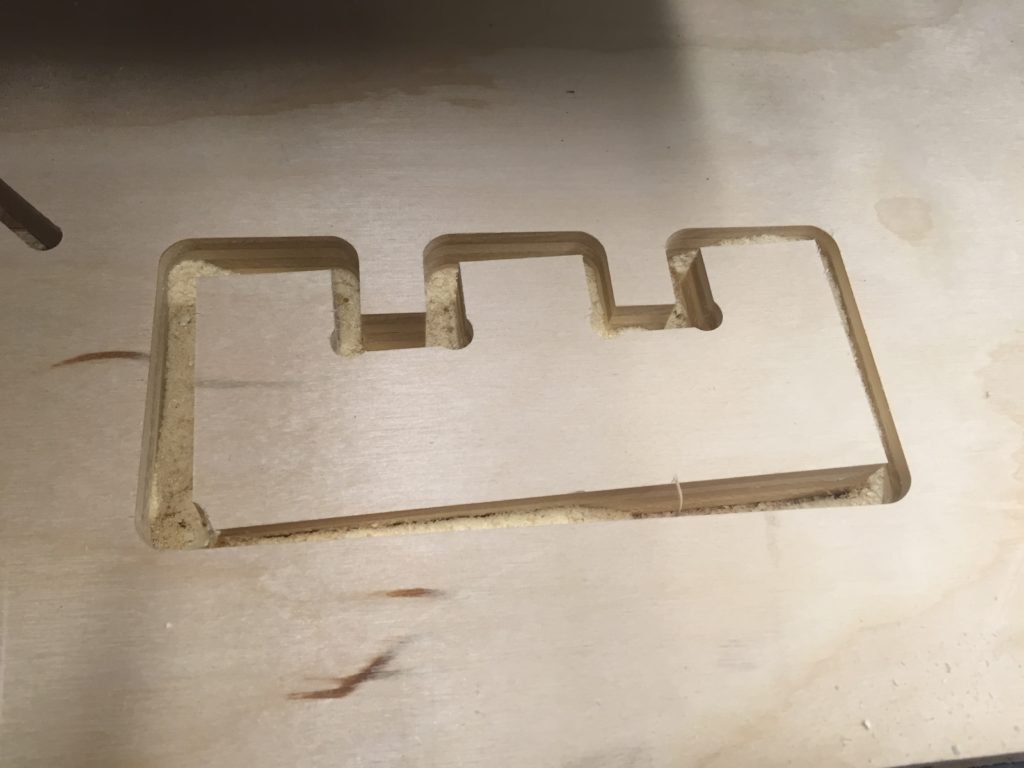
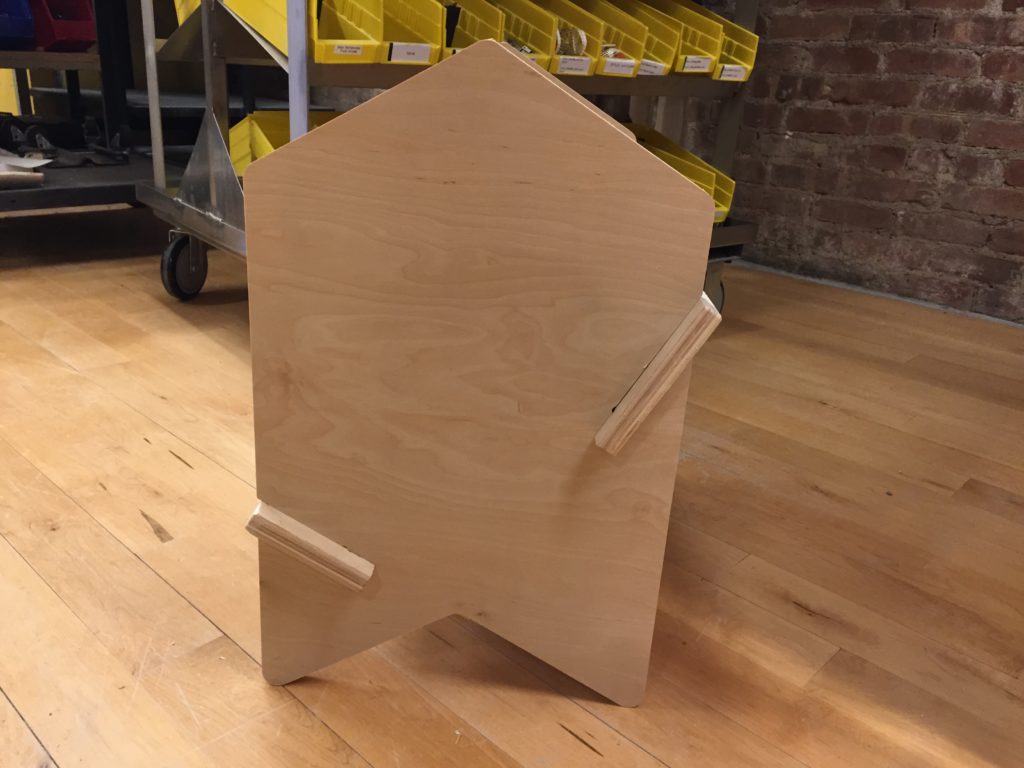
This first joint is what I wanted to use for the two inner boards of the bookshelf. Although I learned to create some tolerance for their depths, say 0.74″ hole for 0.73″ thick board, but I forgot to add some tolerance for those teeth so they are still all 1″ in width and fits super snug.

IMG_5530 IMG_5529

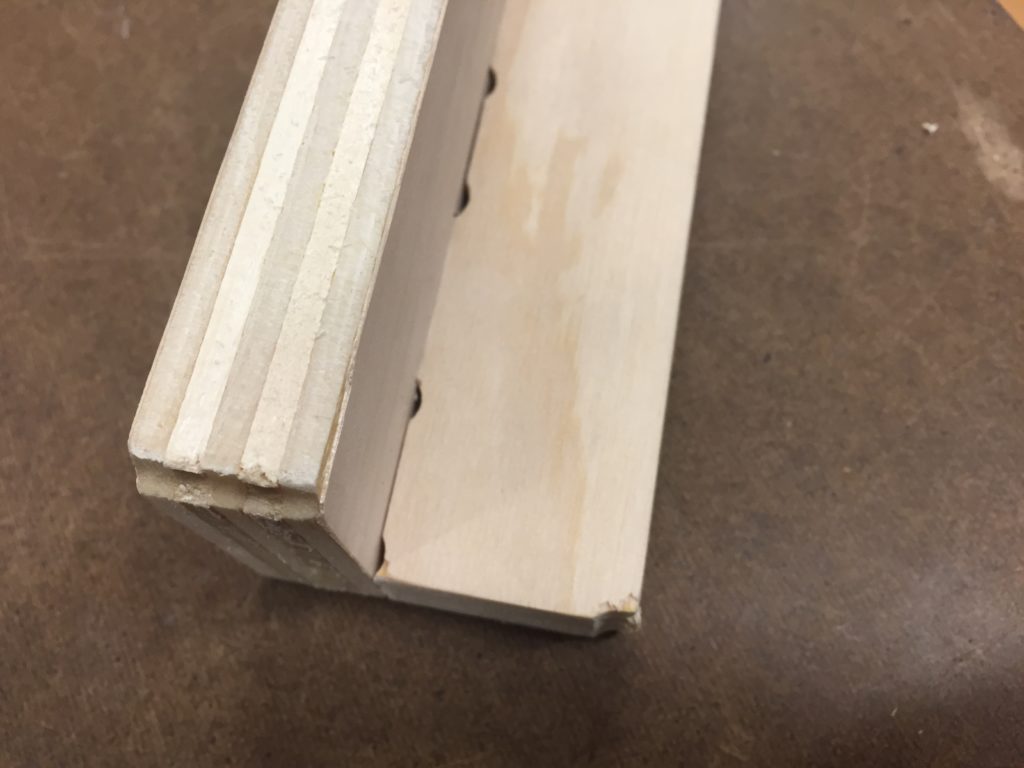
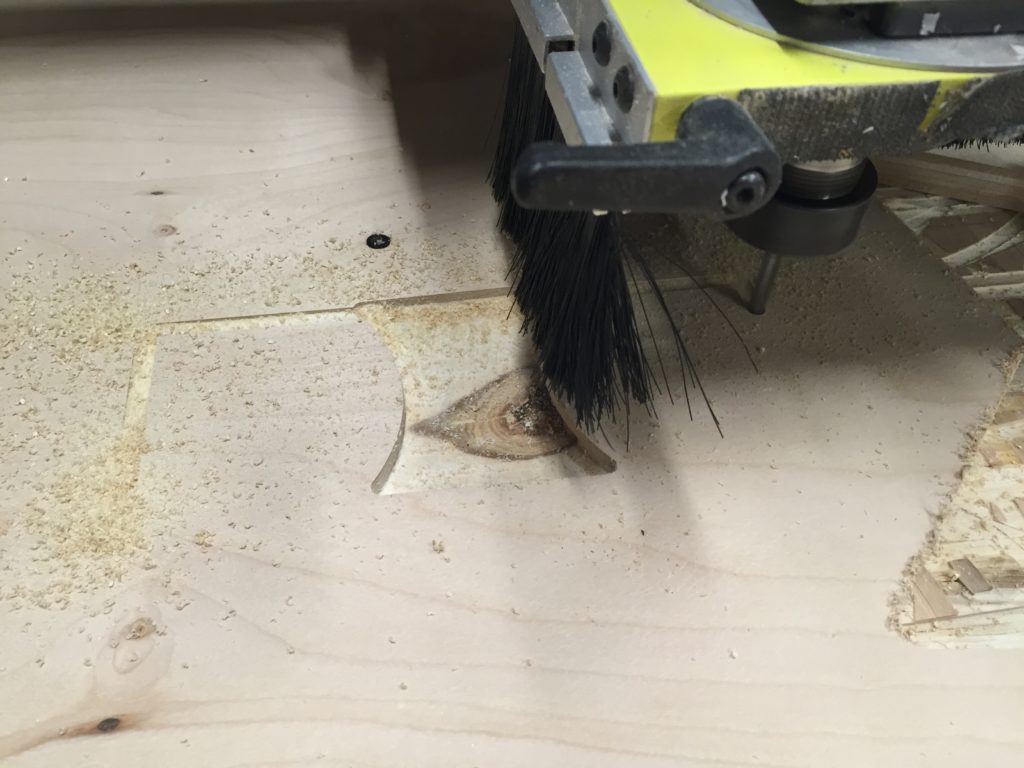
Another thing I learn is, if I’m creating some tiny piece it could damage the corner when finish the cut.IMG_5454

Joints 2

IMG_5532

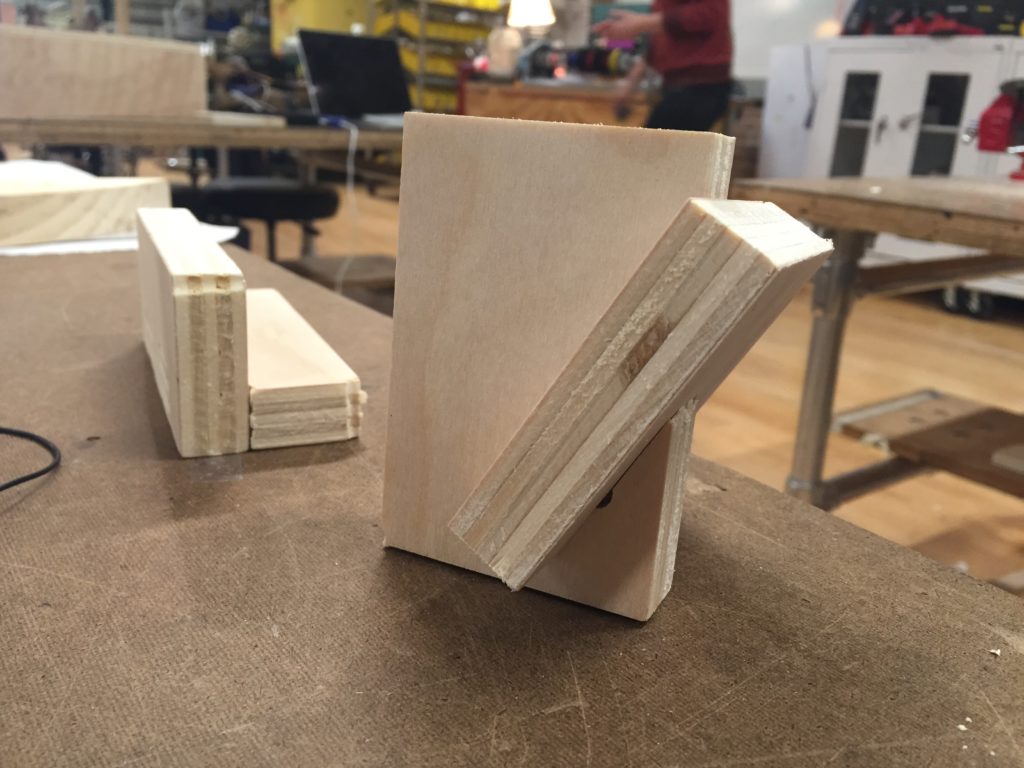
This is the second kind of joint I want to make, to connect the side board to the inner boards.

IMG_5528

This time I used 0.01″ tolerance (0.73″ depth and 0.74″ hole) and it feels kind of loose. I think next time I’ll just try 0.005″.

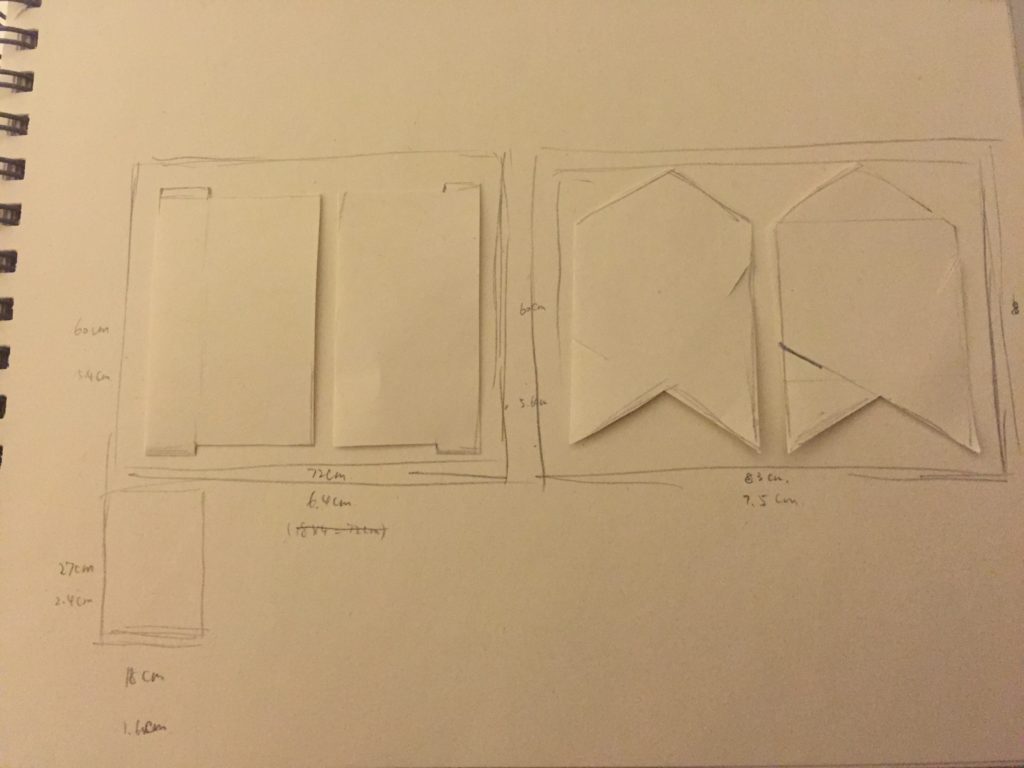
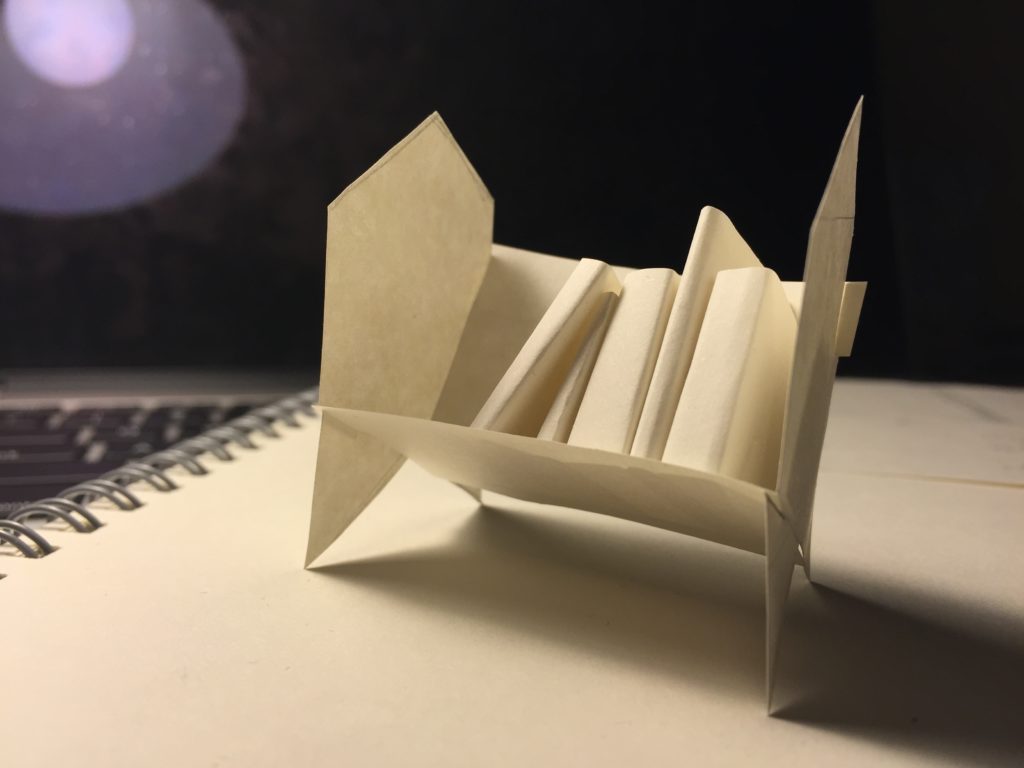
Paper version for measuring size

Since I want to make it a real bookstand, I don’t want it to be either too big and too small; also I want to know how much wood I need to use.

FullSizeRender 8

IMG_5467

Kind of playful. I love it.

Final Result

Thinking about what I learned I created 0.005″ tolerance for every joint. And I also added some rounded corner to make it better.

IMG_5523

IMG_5524

It got scratched when I was cutting it down…I measured the depth to be around 0.70″ to 0.71″ but maybe I have set the cutout depth to be just 0.71″ so it’s not completely cut. Also maybe I have to screw the board more flat.

Thanks for Quest’s help I eventually sand the piece good.

IMG_5531IMG_5525

IMG_5527

IMG_5561 IMG_5562

IMG_5566

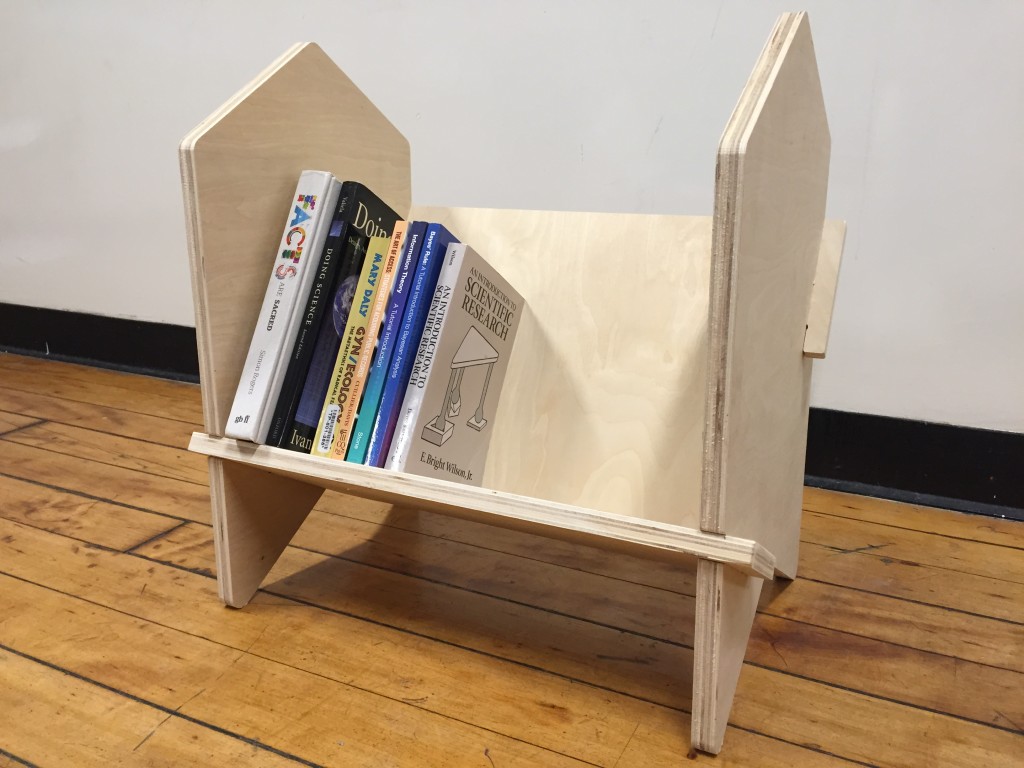
Finish! I’m so glad it fits perfectly everywhere.

[Week04] Joints

This week I tried to replicate the joints Ben showed us on class.

At last I got the result.

FullSizeRender 3

Even though it looks simple, it still turned out to be tricky.

Screen Shot 2016-03-02 at 11.15.38 PM

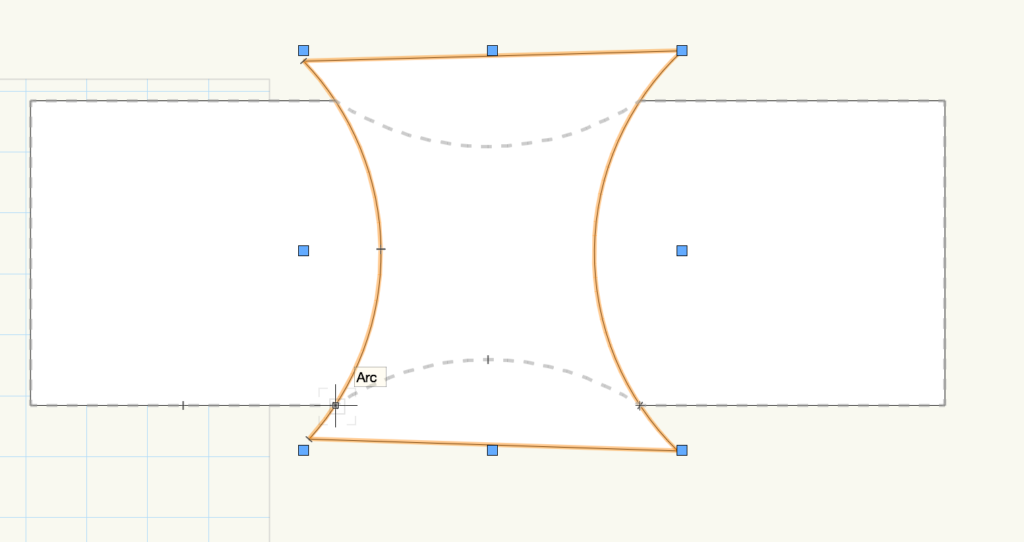
This is the design file I used. Though I was told to make some tolerance, I have no idea how much should I leave…so I just make the inner and outer size exactly the same.

IMG_5399

This is how it looks like: inner pocketing and outer contour.

I measured the wood as around 0.73″ – 0.74″ thick so I make the contour cutout depth to be 0.74″. And the pocketing I thought I take some value as 0.36″, which turned out to be a lot.

FullSizeRender 6

So it doesn’t seem to be perfectly fit with each other.

IMG_5400

Also, watch out for some already cut pieces…Haven’t realized there was a hole below so I had to cut again.

FullSizeRender 7

Also by making no tolerance I had to sand the two pieces really hard to make them fit. But anyway it seems the CNC is precise enough so I only need to make a very tiny tolerance to get them comfortable.

I’m confident I can make it better the next time.