Proposal:
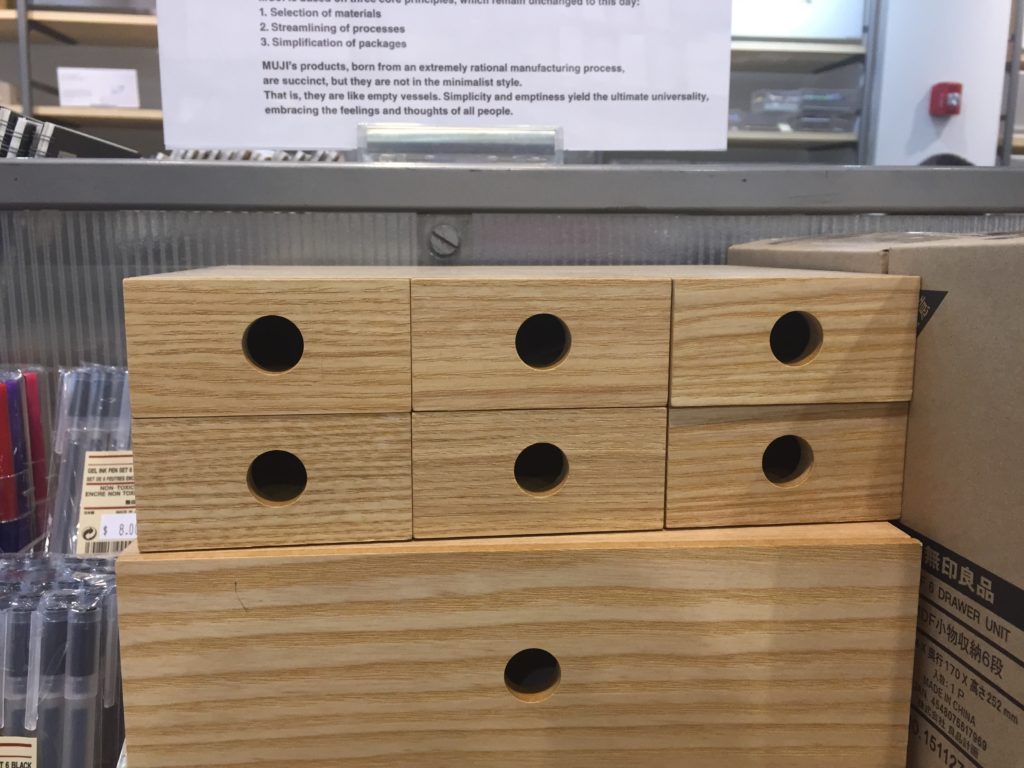
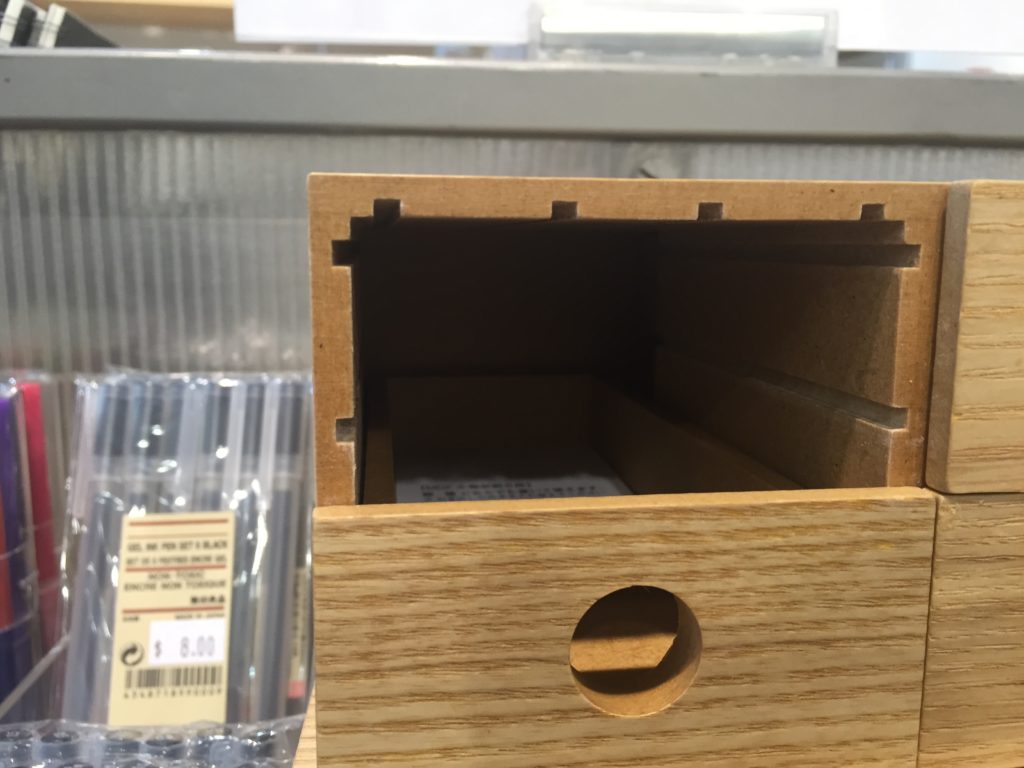
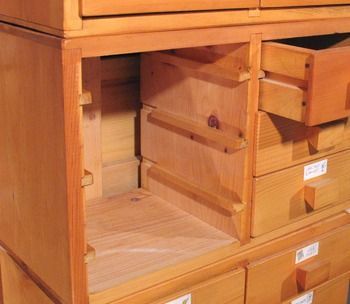
I once saw a really cute drawer chest in Muji, and I was so obsessed with the simplicity and delicacy.
Then I really wanted to design and make one for my own, especially with thin materials, with CNC joinery.
————————————————————————–
Week 11: testing joints
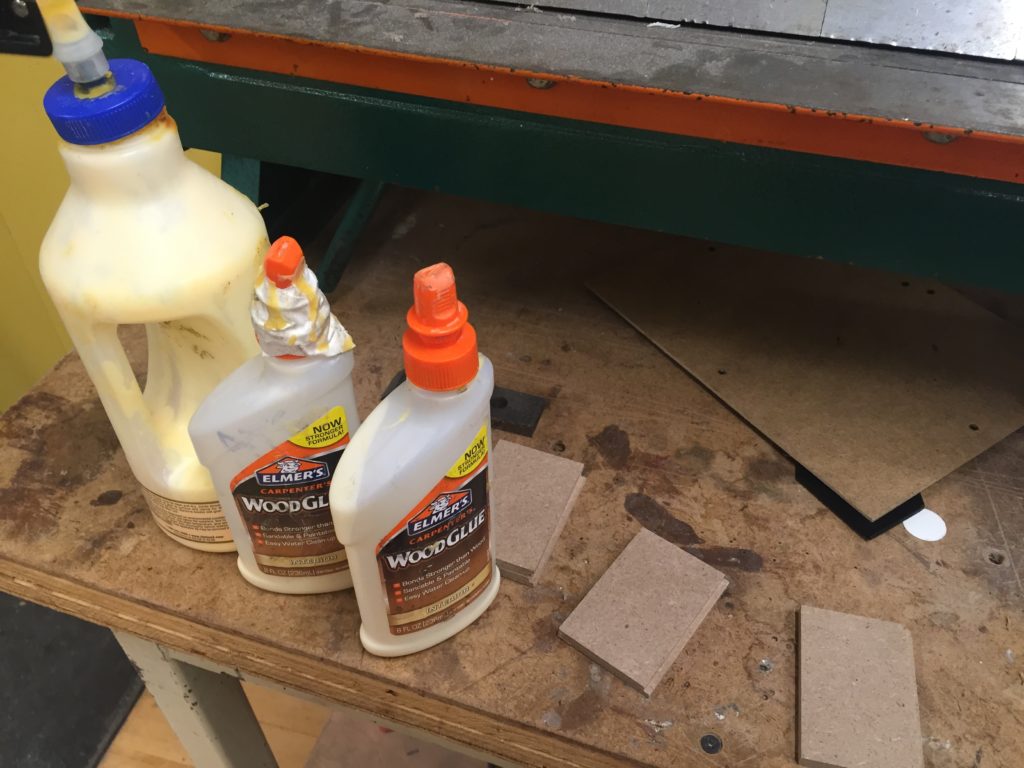
#1 basic joinery and wood glue
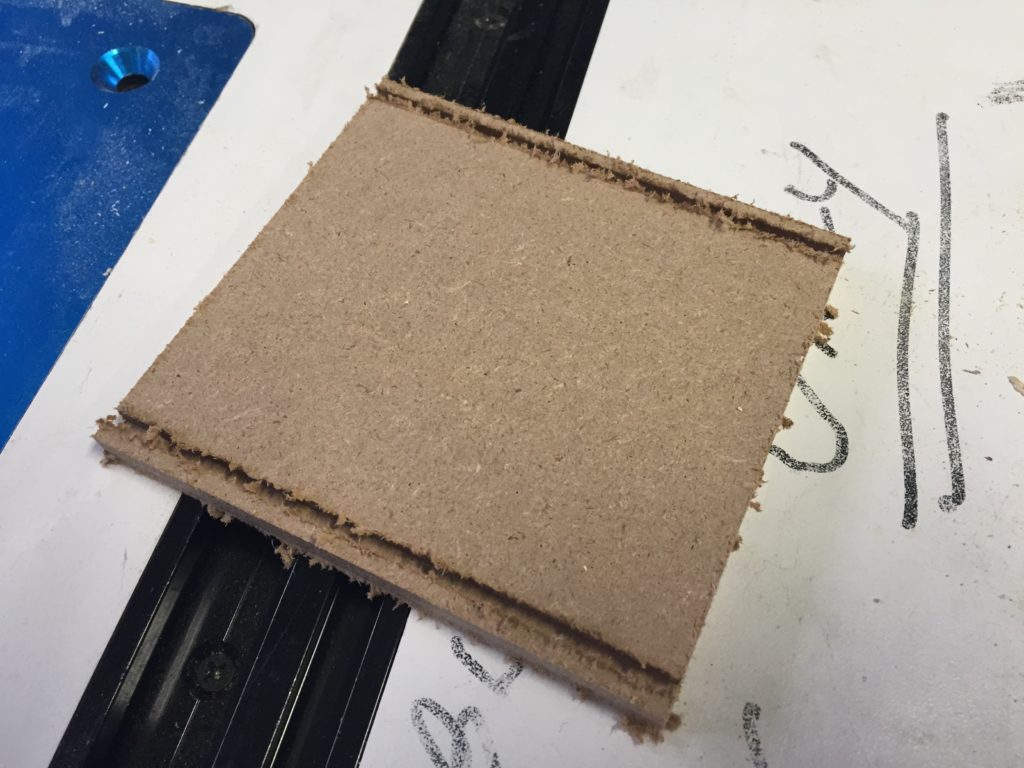
Ordered 1/4″ MDF for I was so envious of that delicacy, and for Ben said MDF is good for CNC.
I started from testing with basic CNC joinery. As before, a 0.005″ tolerance was set whenever two planes touched each other.
And a first try with wood glues.
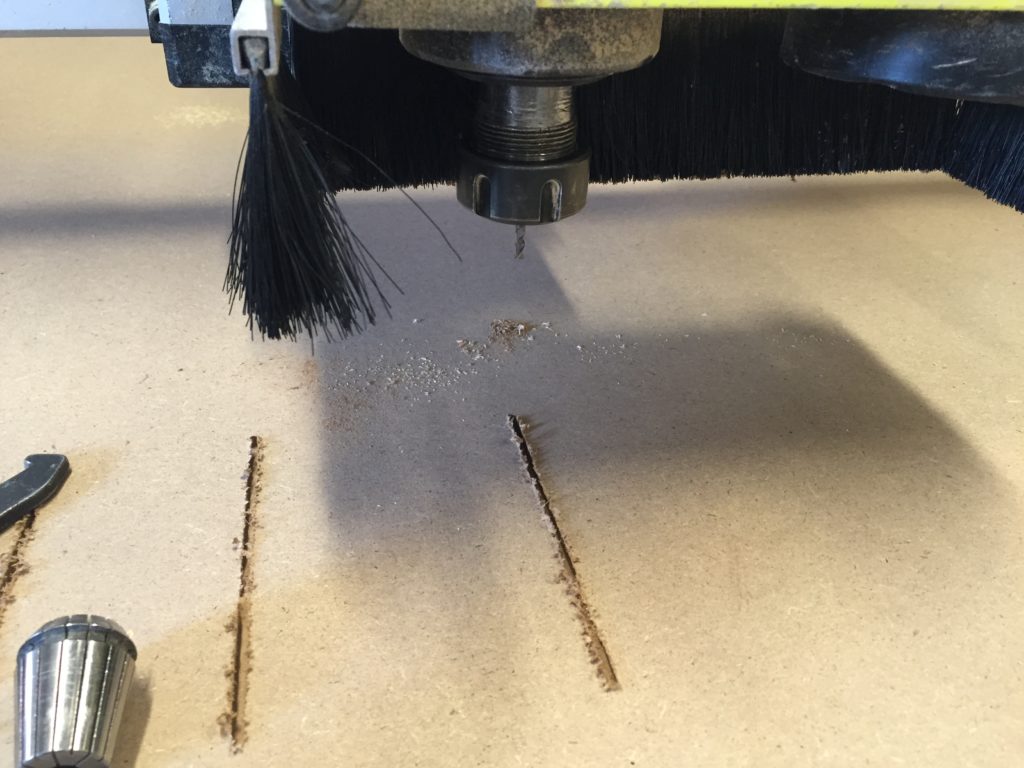
Something to note was, small pieces would pop out from board near totally being cut out.
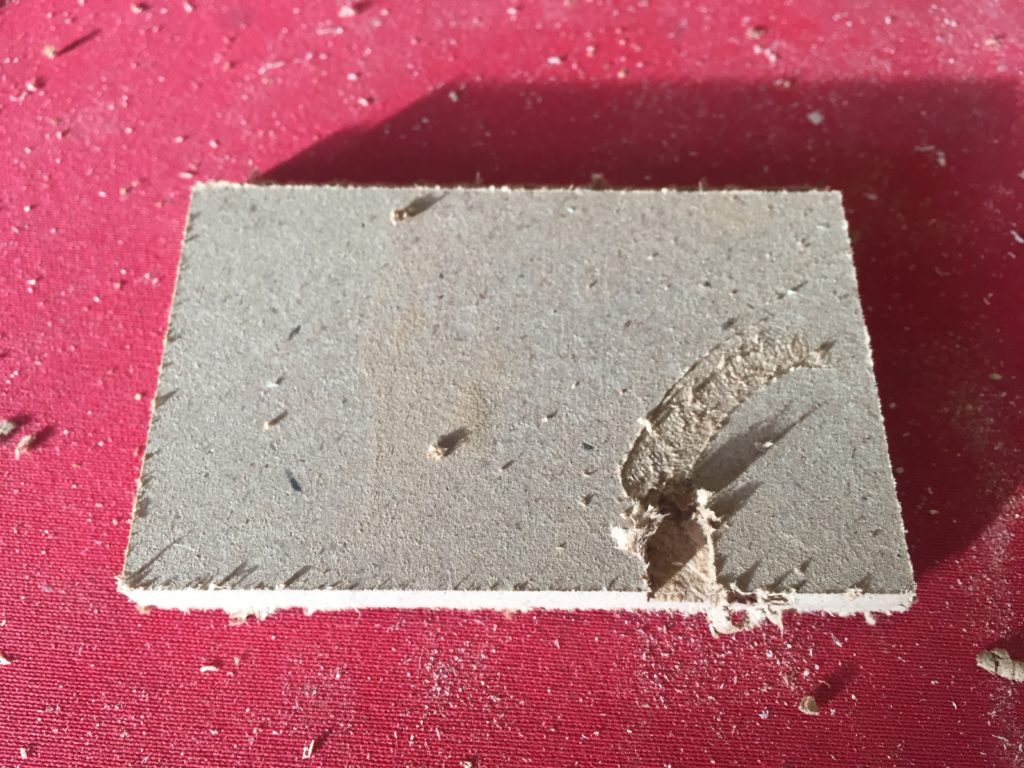
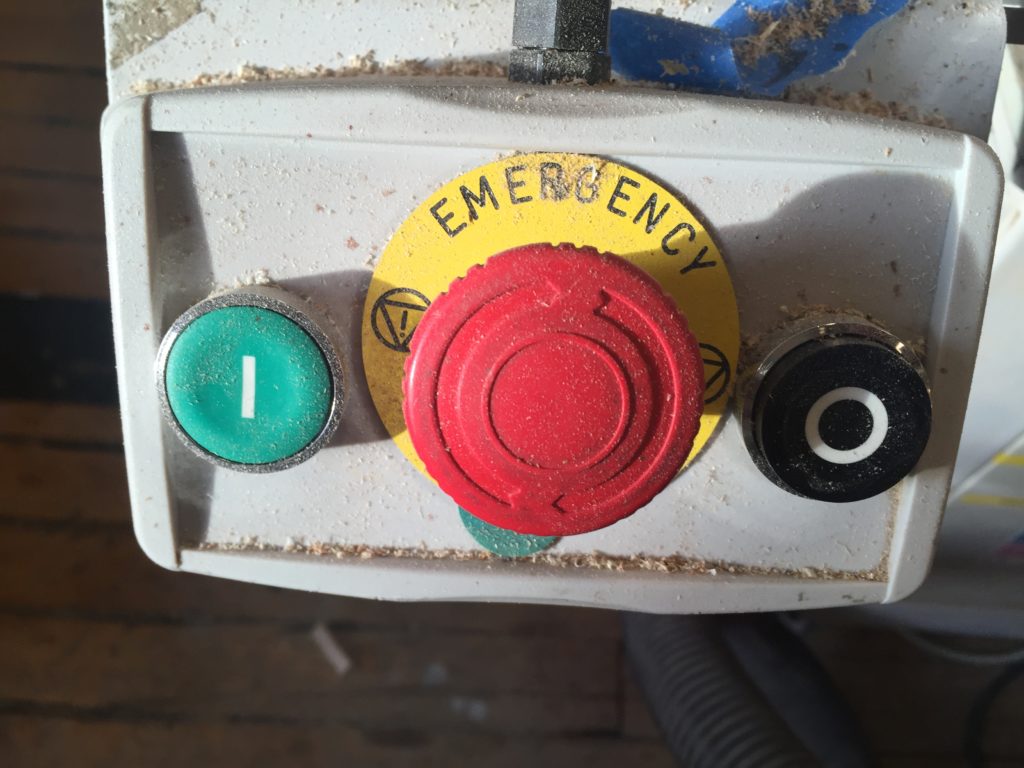
And I found a solution: hit the black stop button as soon as it popped out. It saved a lot of small piece later on.
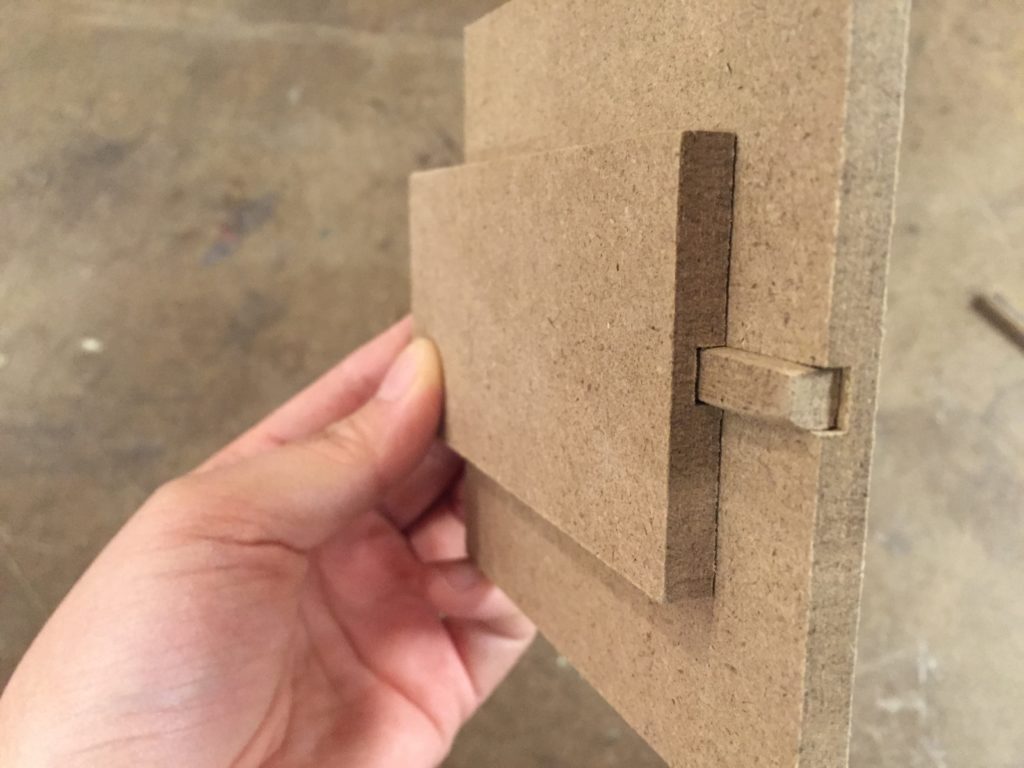
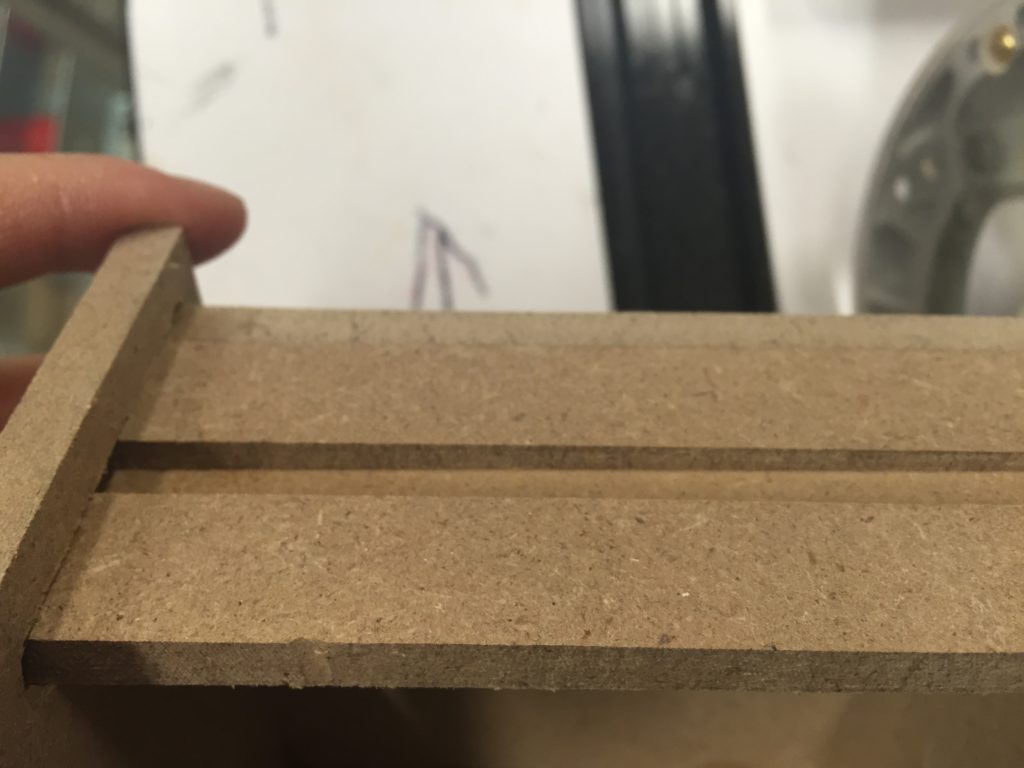
#2 slides
As for the slides this was one design that I thought applicable, putting slides inside the wall of chest with slots on the drawers.
Considering the limitations of CNC, rounded corners were made into the design. Tolerance were set as the same.
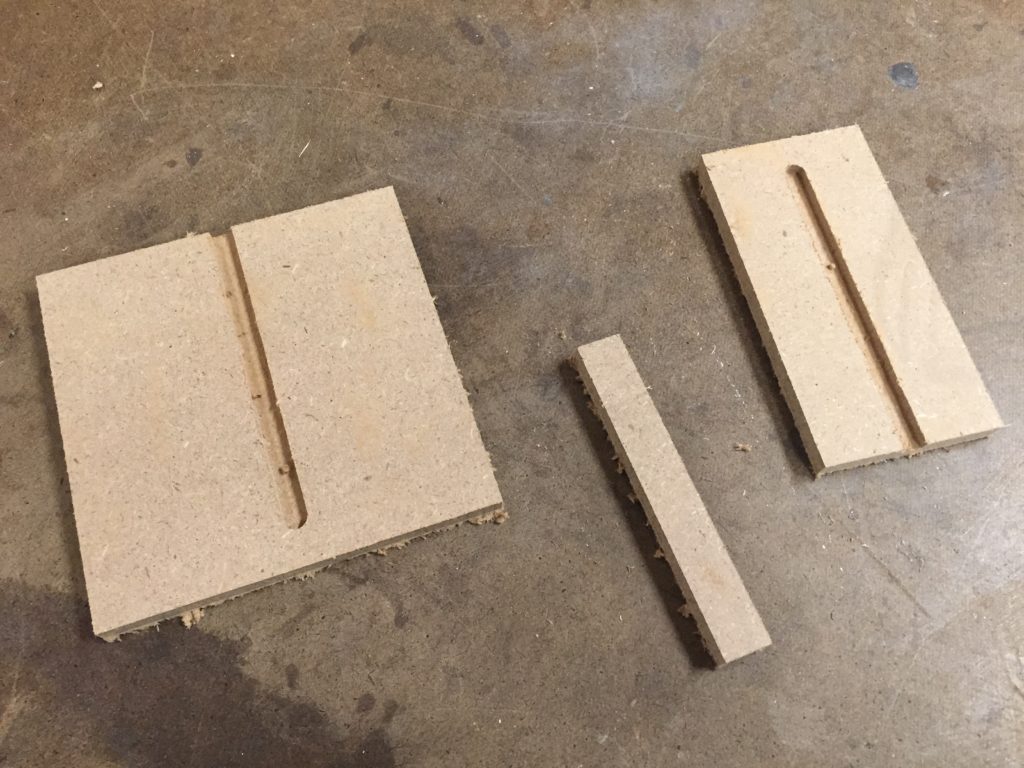
Then I found three things:
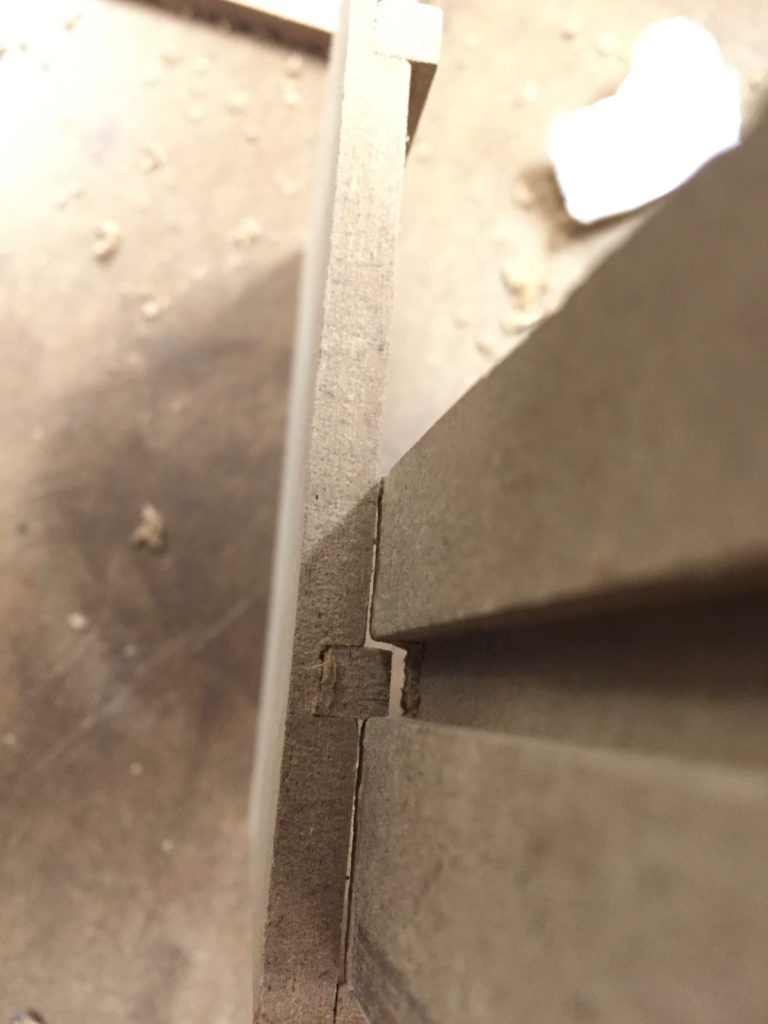
- my slide was too wide, calculated incorrectly as 1/2″ instead of 1/4″ (my boards are all 1/4″);
- the board was not actually 1/4″ but 0.254″, that was why the slide felt too snug, and I had to sand it hardly.
- the slide was not meant to be snug in both side. It should be tightly fit inside the wall of the chest, but allowing the slot of drawer passing through easily at the same time.
Then I carefully cut it in half to decrease its width.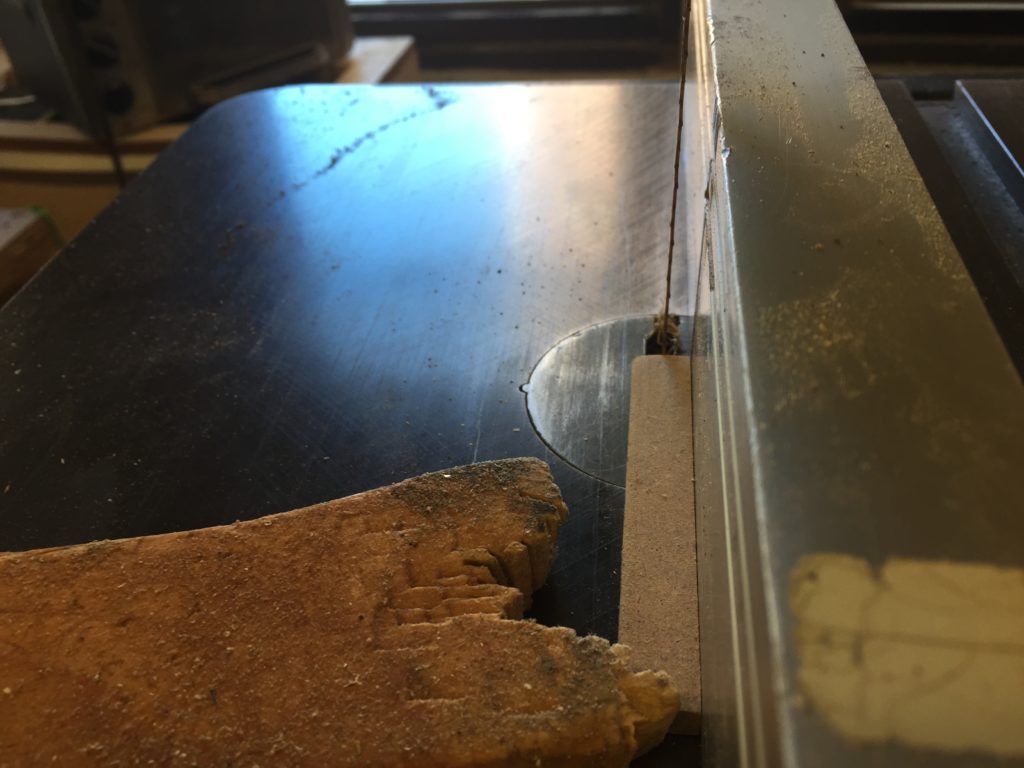
Then it was perfect.
————————————————————————–
Week 12: the drawer
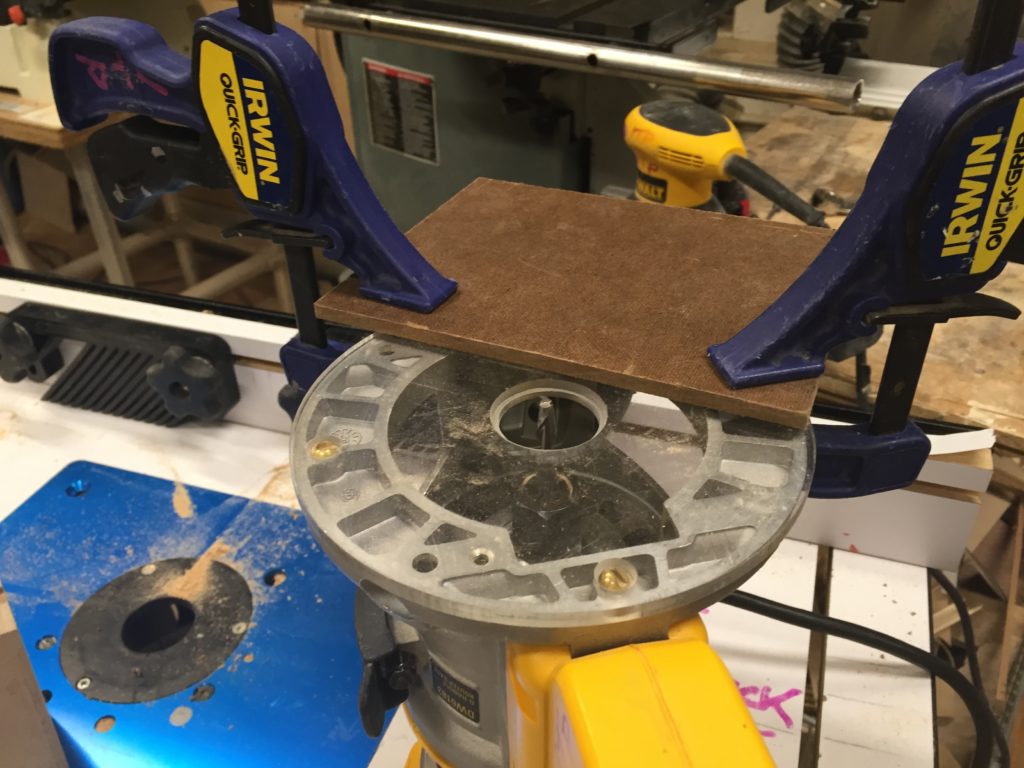
#1 multiple bits in a job
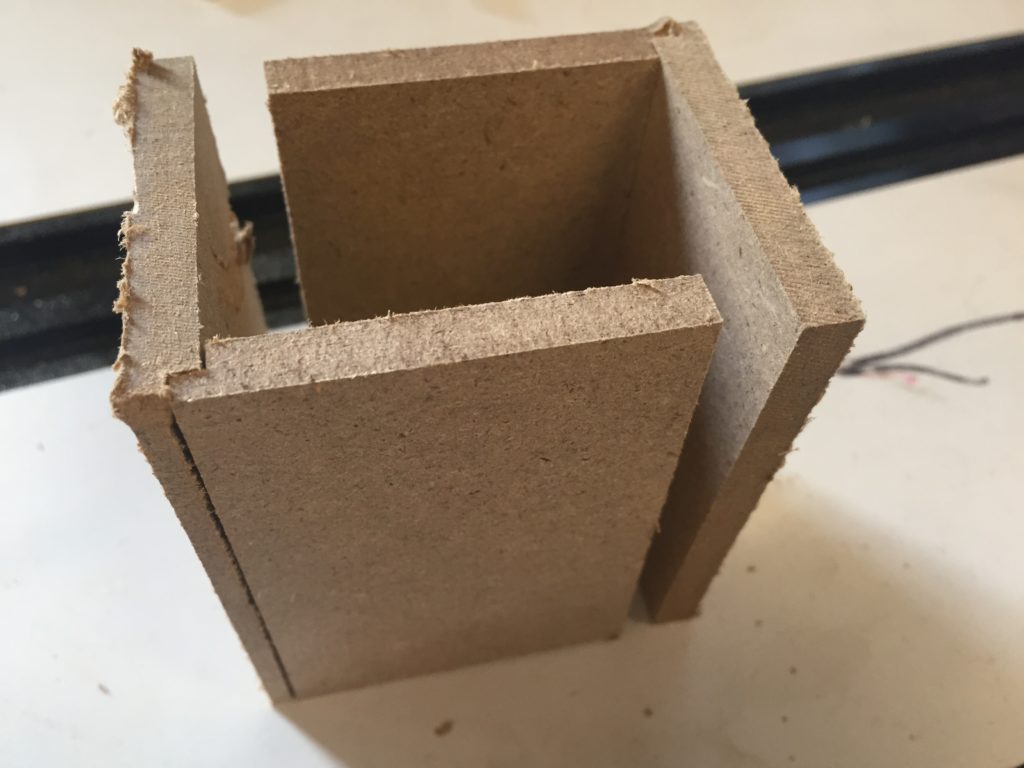
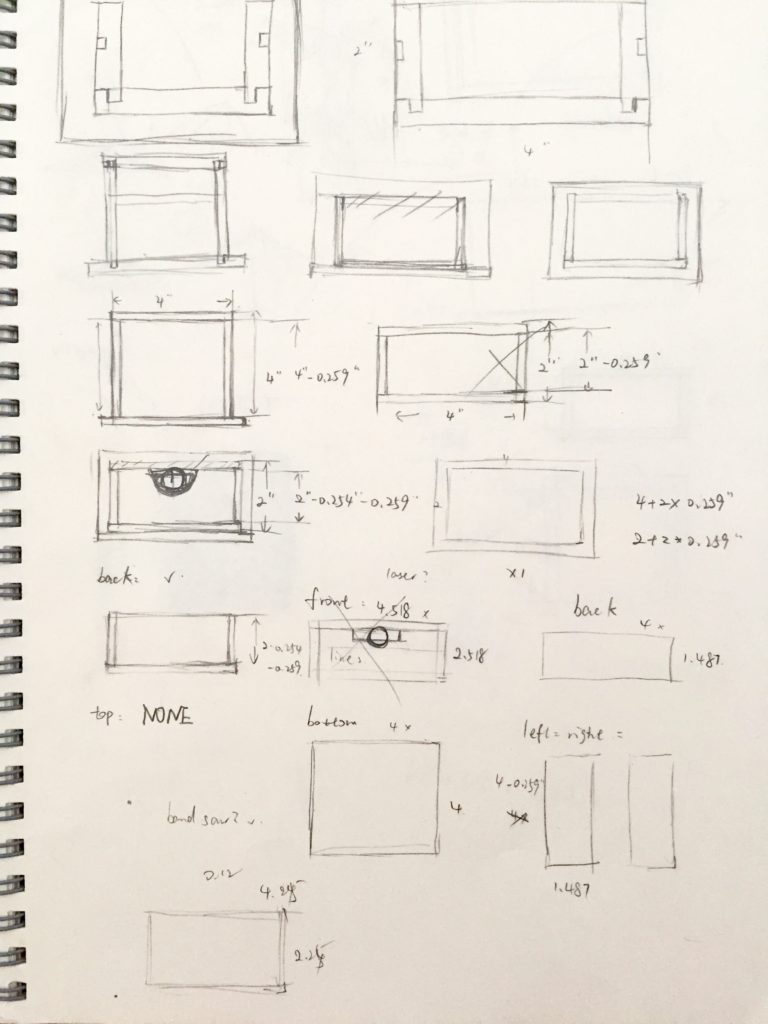
That time I tried to start from designing the drawer, making it 4″ x 2″ and 4″ in depth.
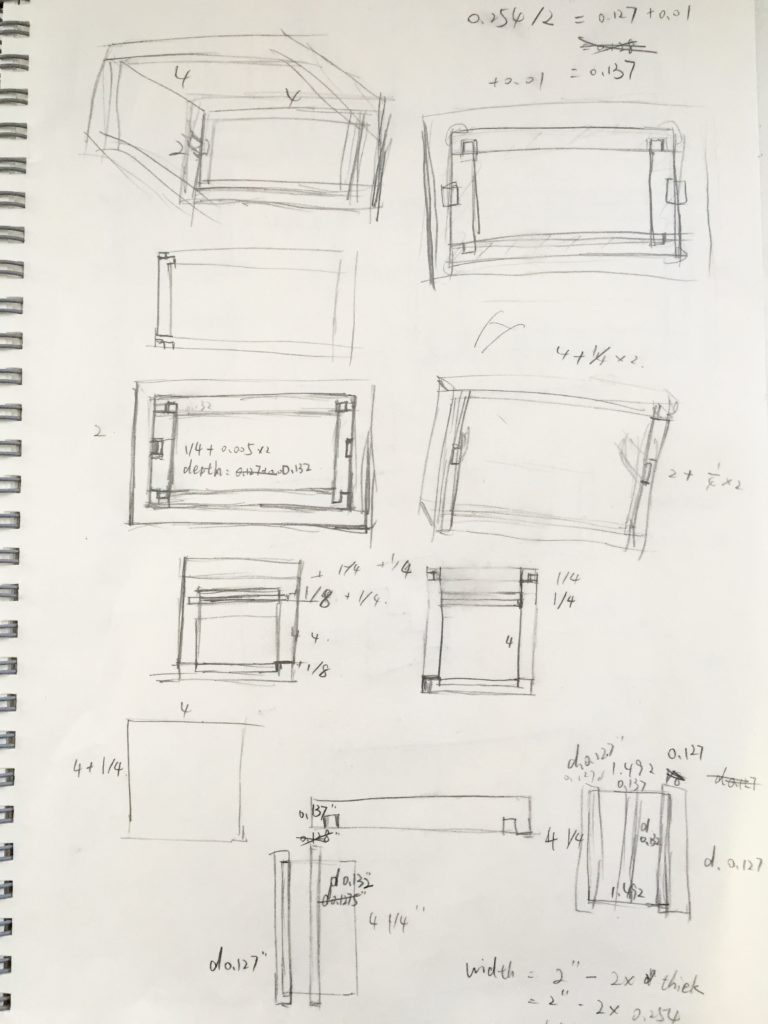
You can actually see a lot of mistakes in this design. I was designing a box instead of a drawer, and I didn’t have rounded corners for inner pocketing. Went back and forth a lot between CAD and CAM for this sort of trouble shooting.
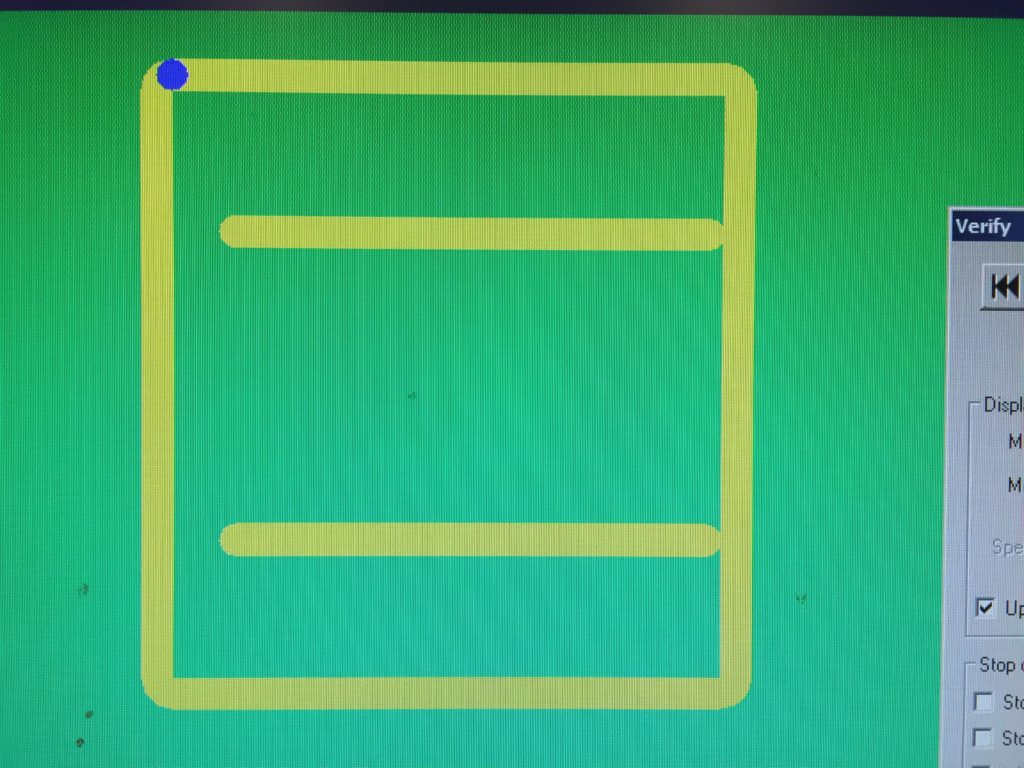
I thought the slot and pocketed joint can only exist on the same side (double side job sounded troublesome), then I’ll need two 1/8″ slots on the bottom piece for this kind of design.
And MasterCAM gladly accepted my request.
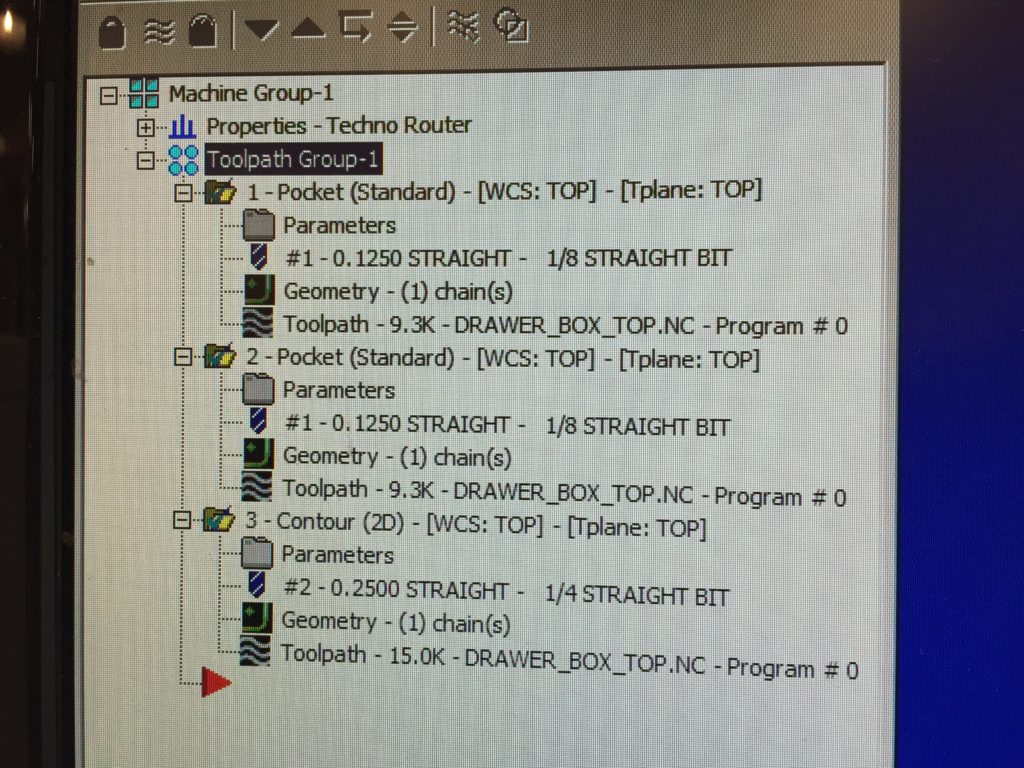
It seemed good in Techno Router as well, displaying different tools using different colors.
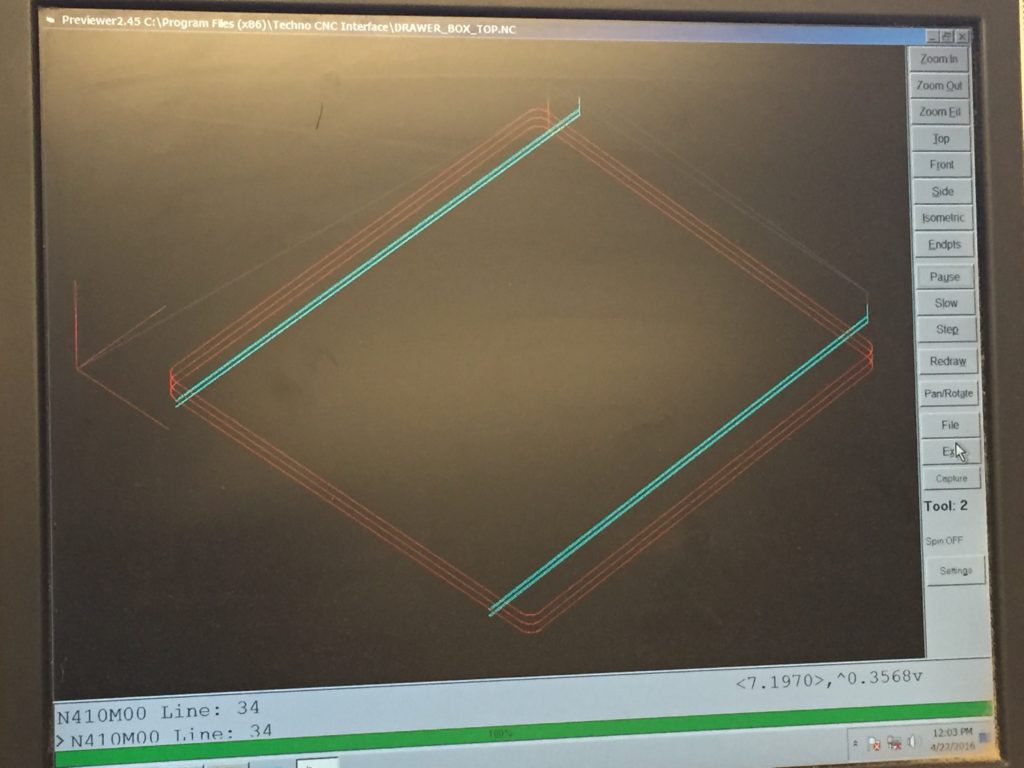
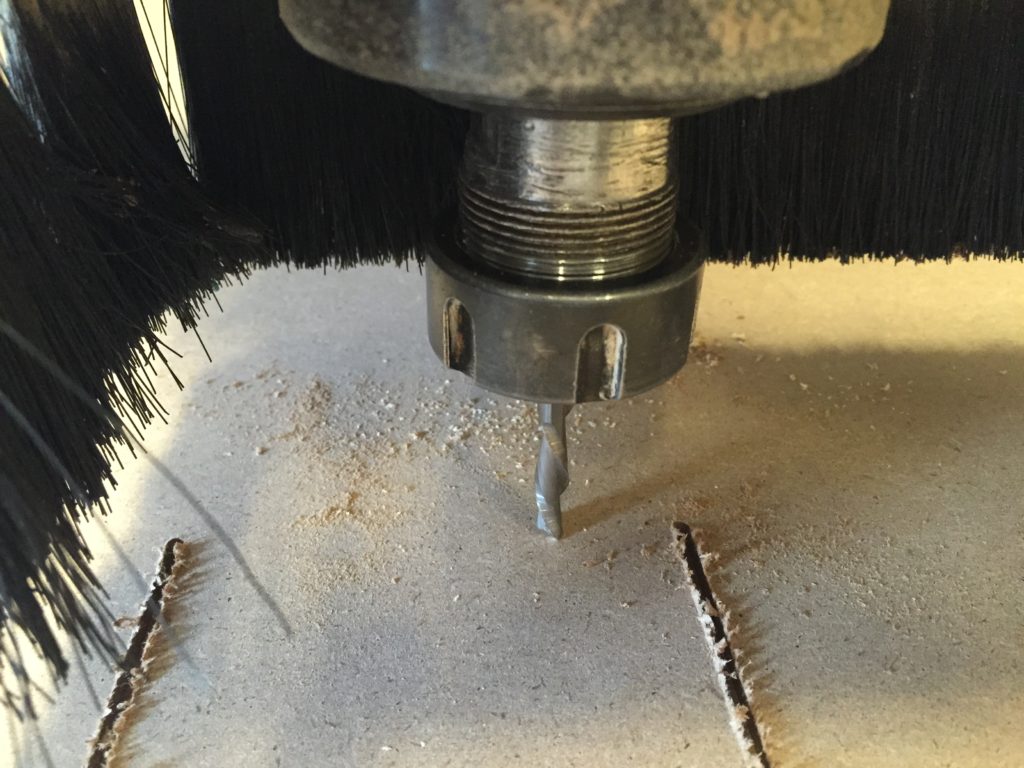
I was careful to lower the cutting parameters.
Seemed just good.
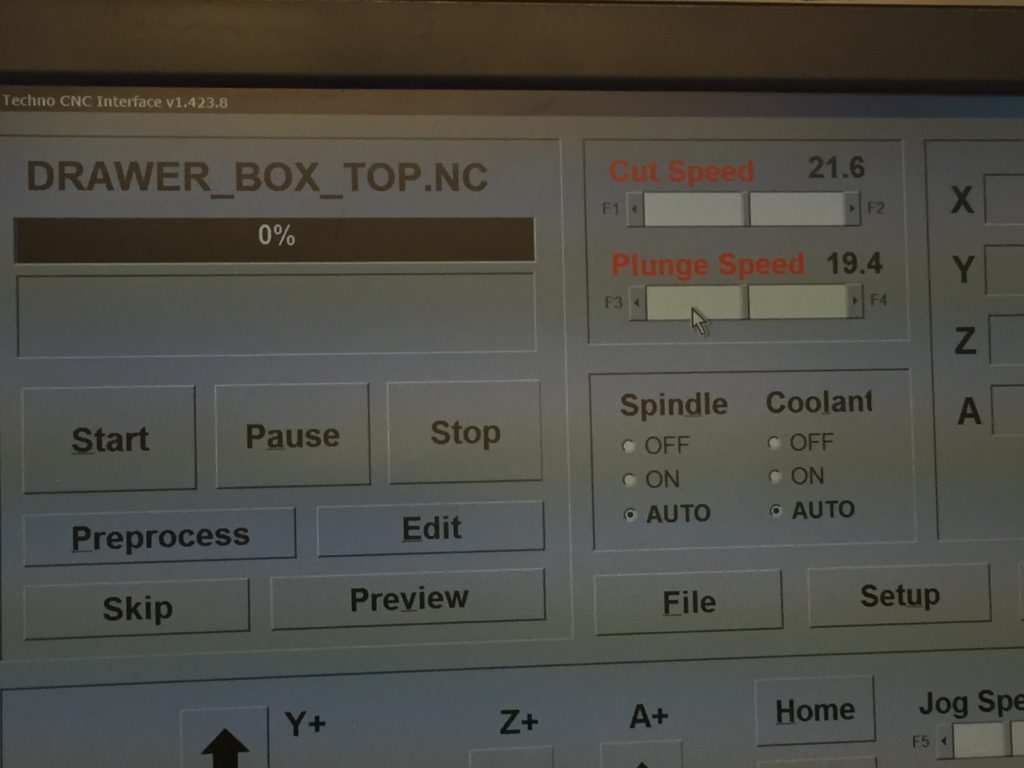
Gladly it automatically paused and prompted me to switch tool when finishing the first job.
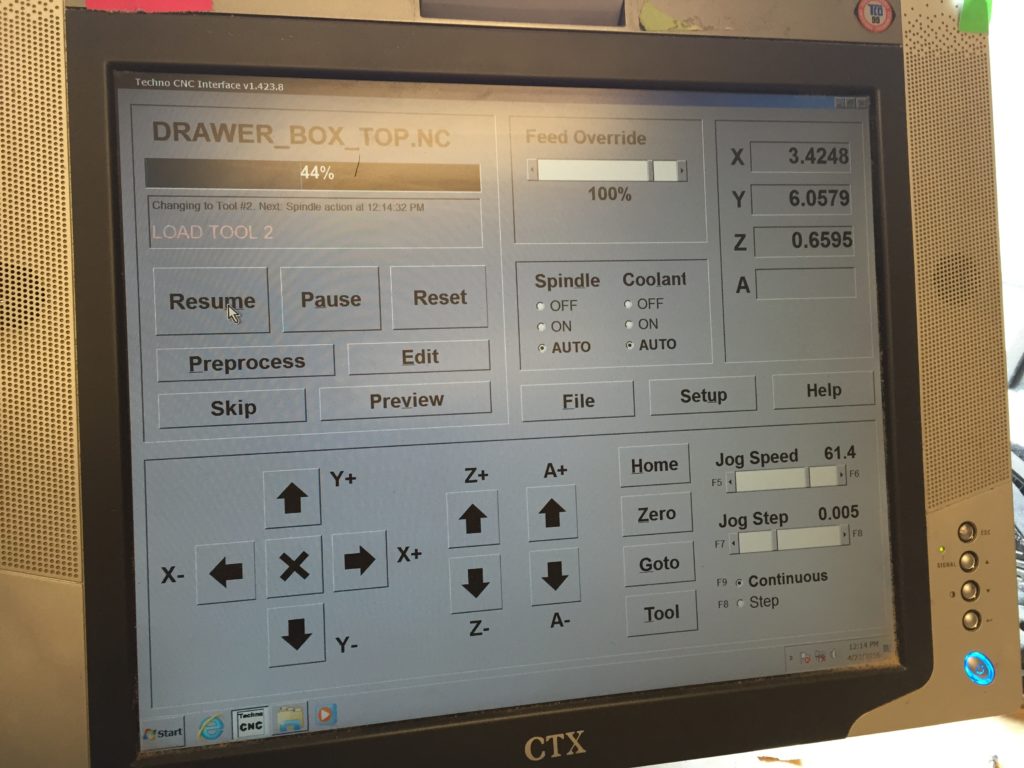
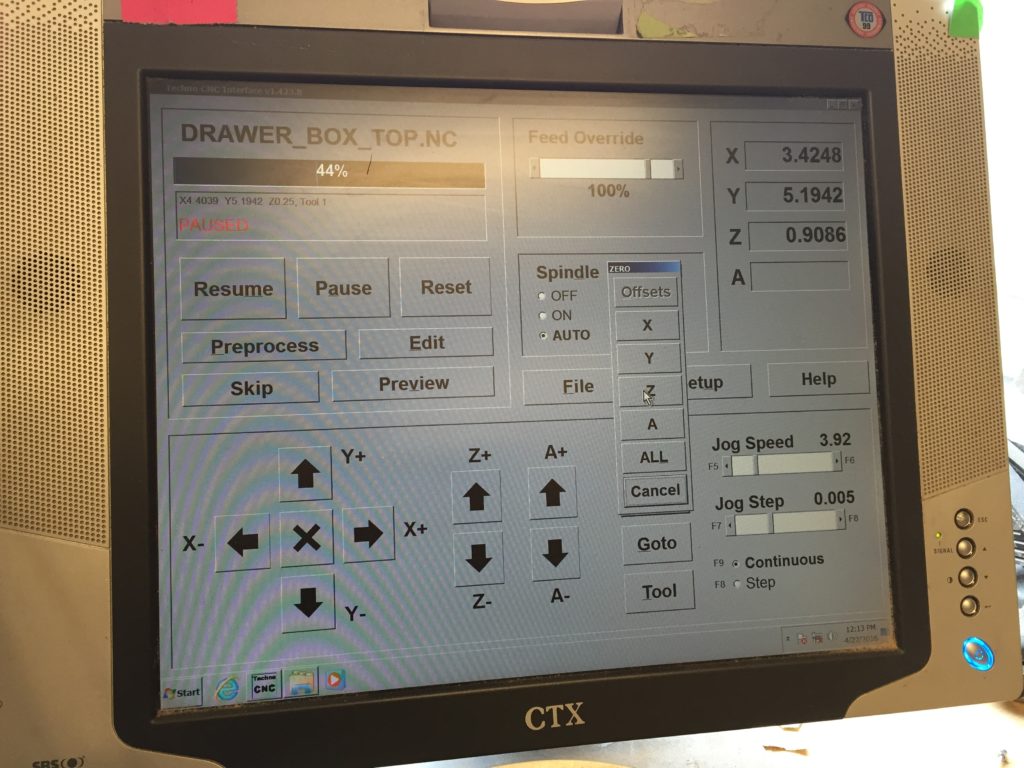
Then I changed my bit and wanted to Zero All in the origin. I tried Homing X, but surprisingly it moved all the way to the extreme reach of machine instead of the zero points I set. (What I needed was actually Goto rather than Homing.)
Then I thought about trying to only reset zero on Z without zeroing X and Y.
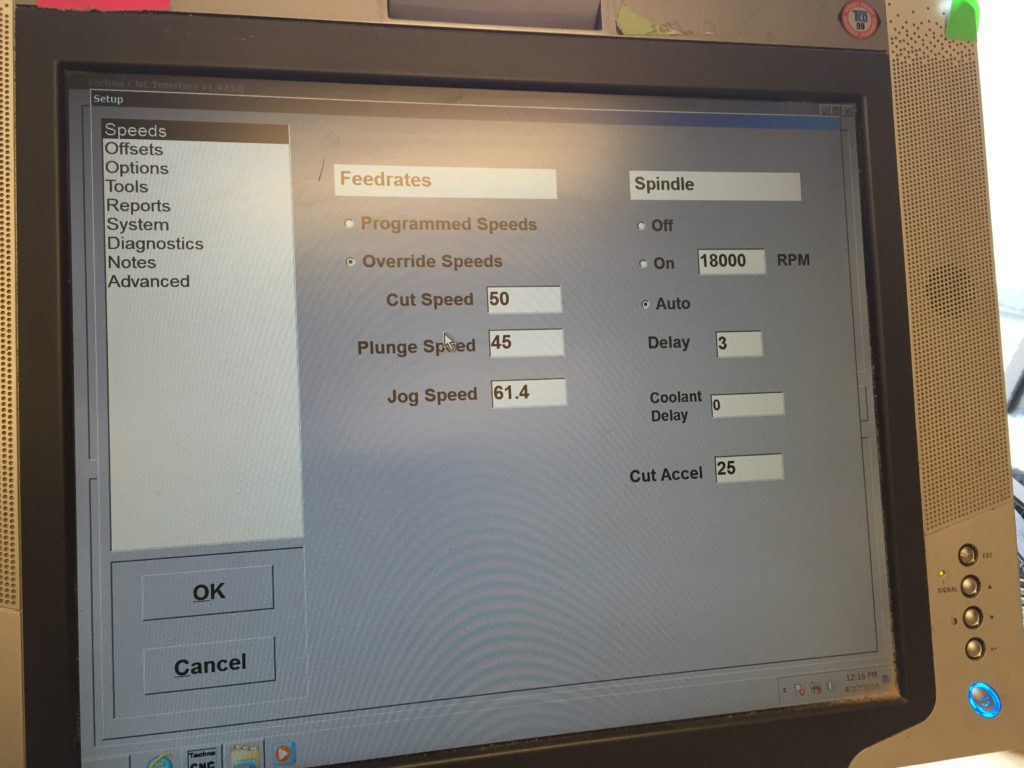
Then I found the bit moving very slow…and realized I didn’t change cut and plunge speeds after switching bit. It seemed the only place to change them was in this Setup dialog.
Nicely finished.
#2 second design and full cutout
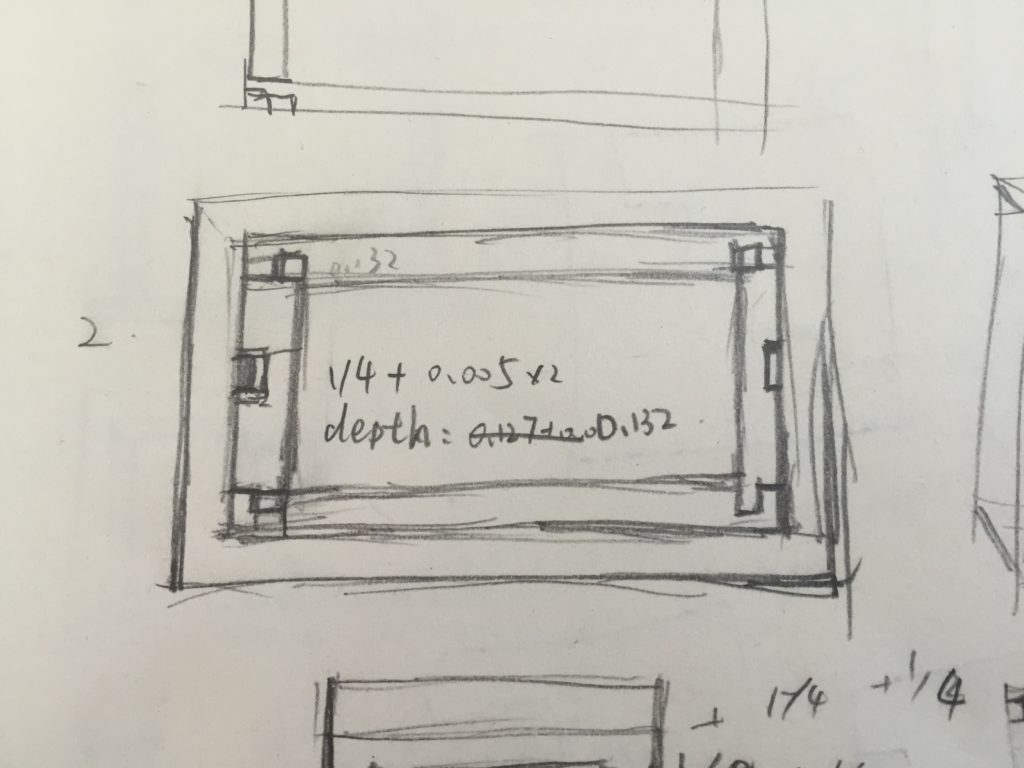
The other day I suddenly realized that I don’t need six faces for a drawer 😛 And I needed rounded corners, two sliders, and a hole in front piece to open the drawer, etc.
And this was the second design, with a lot of settings in tolerance. If my piece measures 0.254″ in average, then the pocketed concave in front piece should be as wide as 0.254″ + 2 x 0.005″ to make it snug, and the side slot should be 0.254″ + 2 x 0.01″ to let it slide easily, things like that.
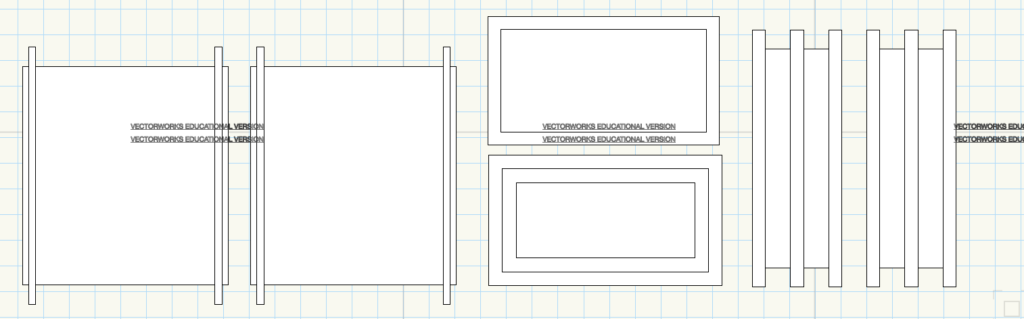
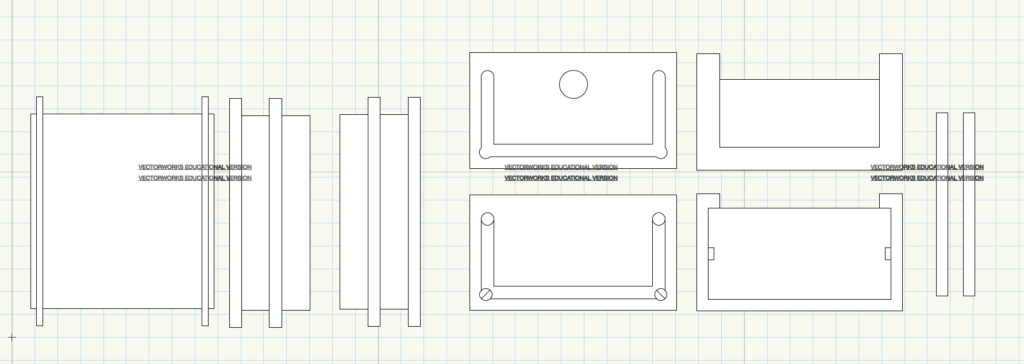
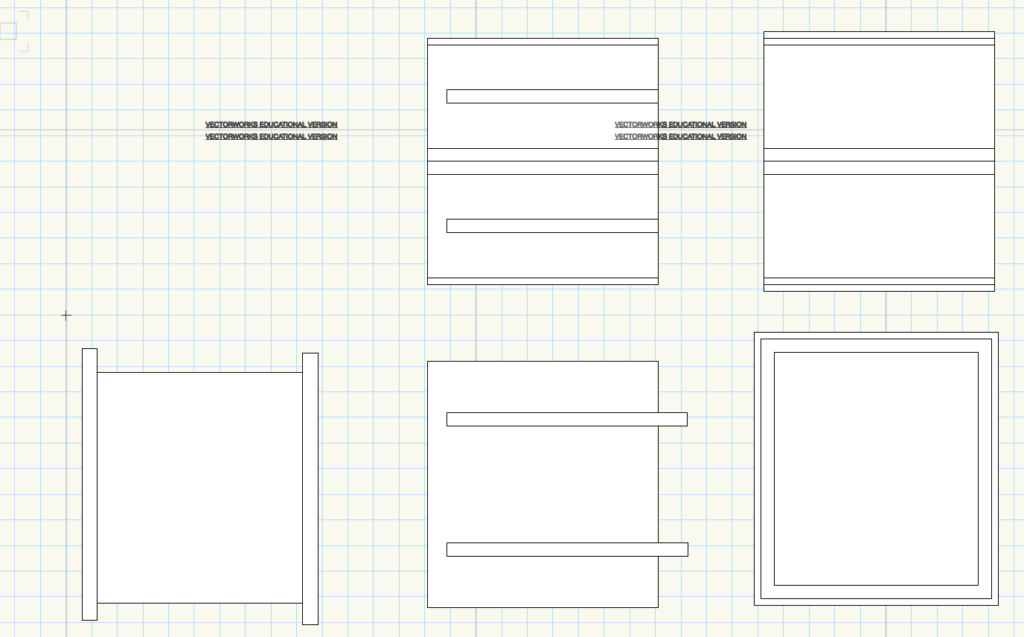
2nd design in Vectorworks.
Hit pause whenever it popped.
Finally.
Finish.
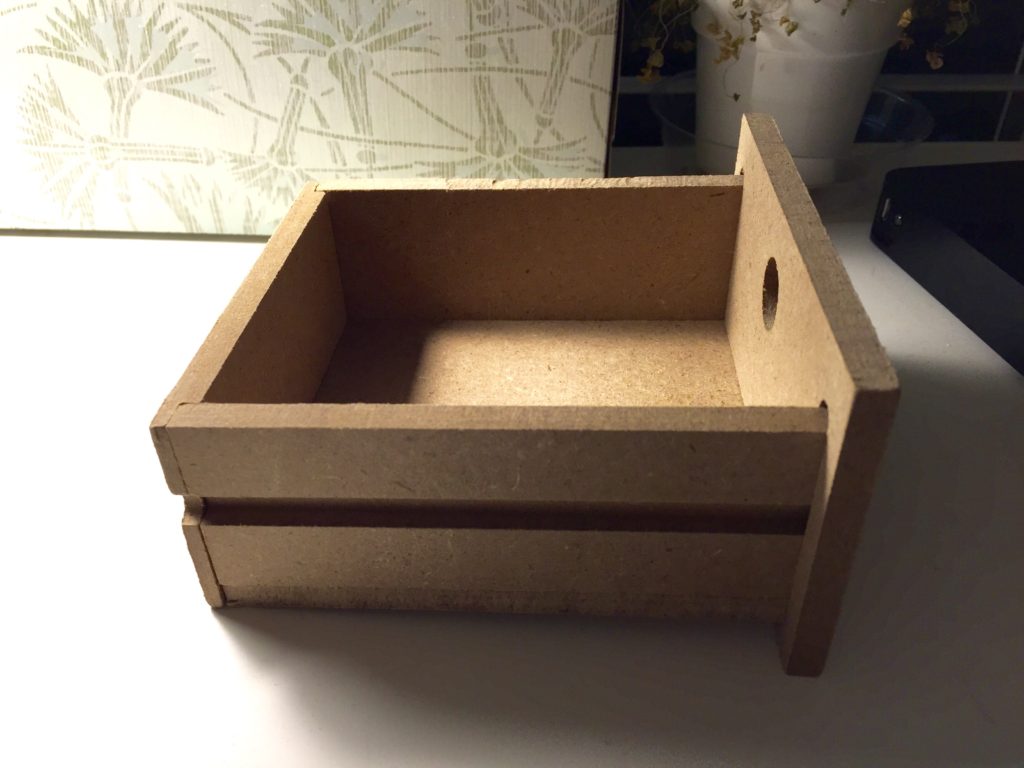
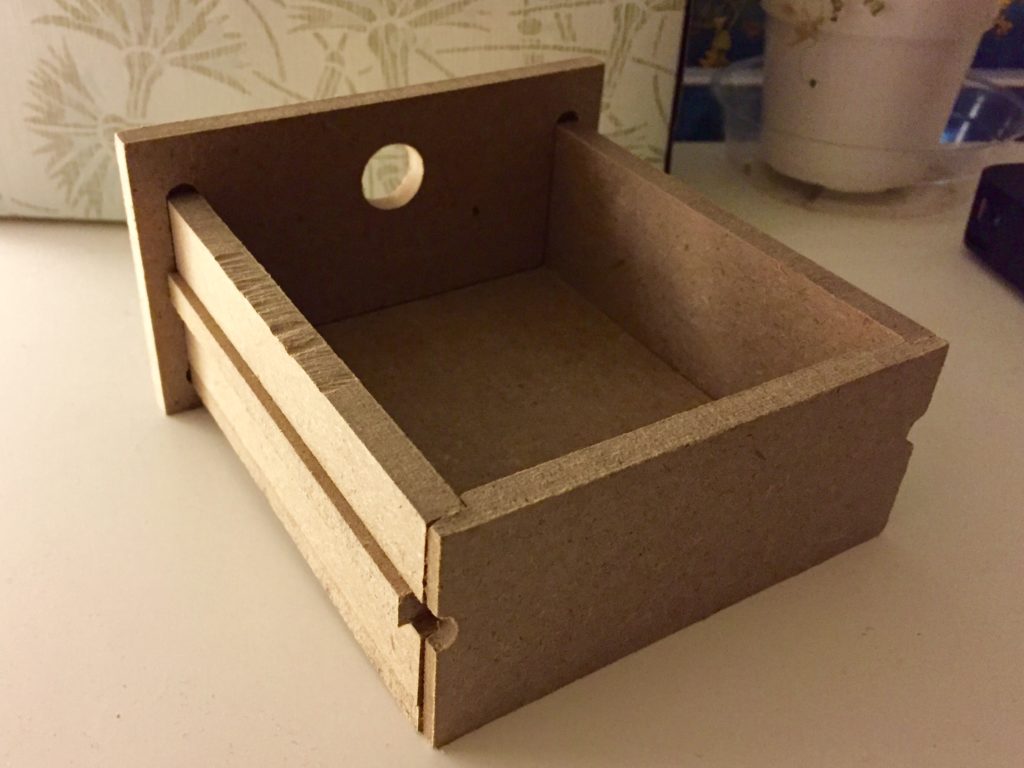
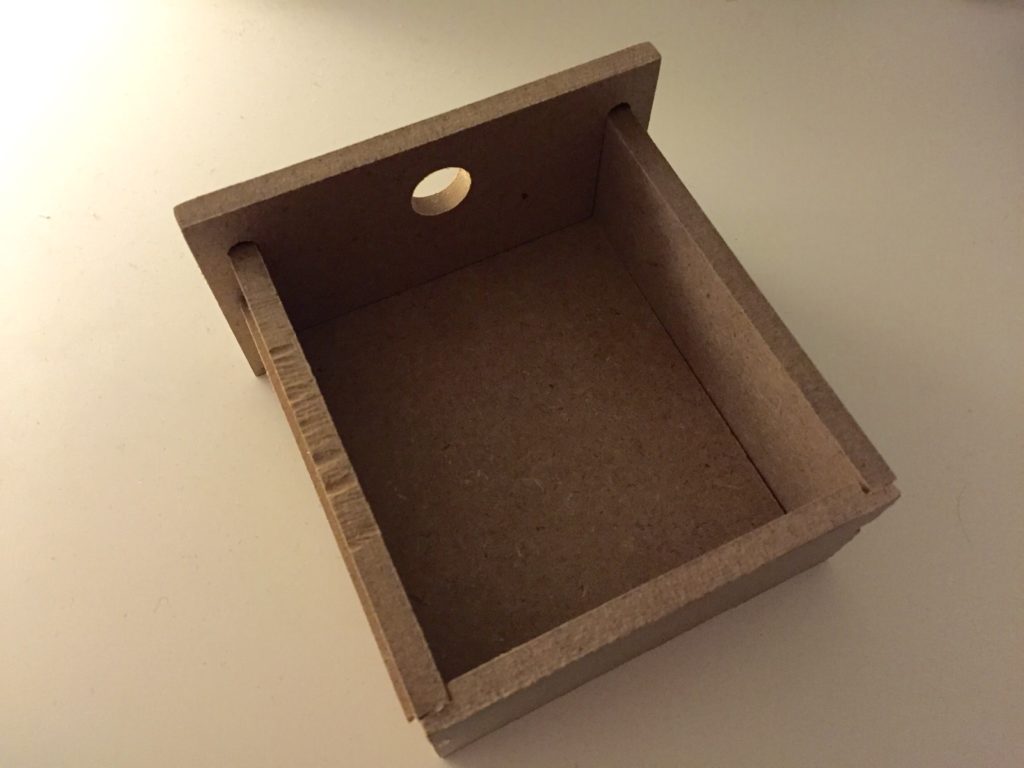

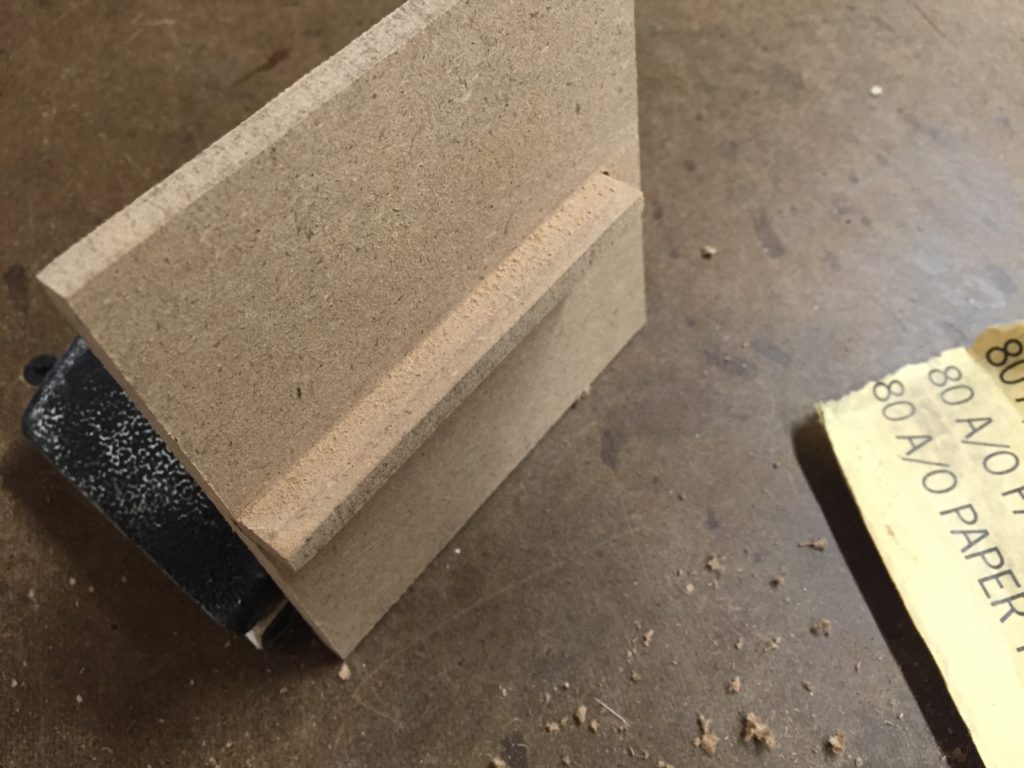
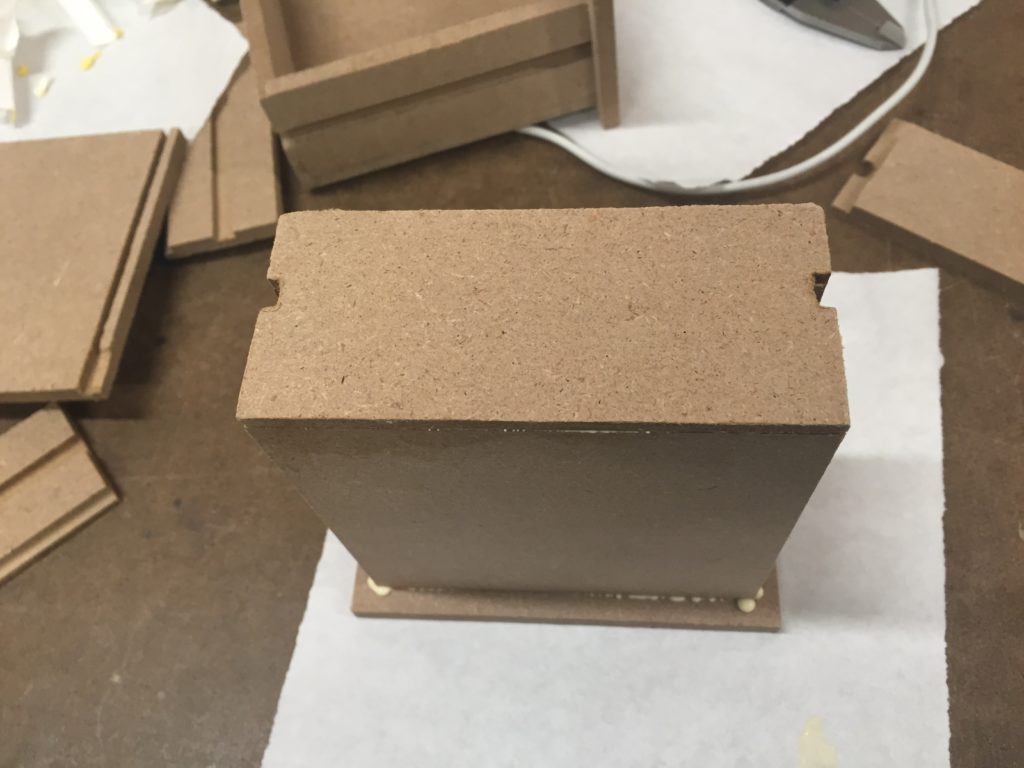
Just when I glued them together everything seemed fine except that the face is not very perpendicular to the slide. Should have laid it down like what I did later:
————————————————————————–
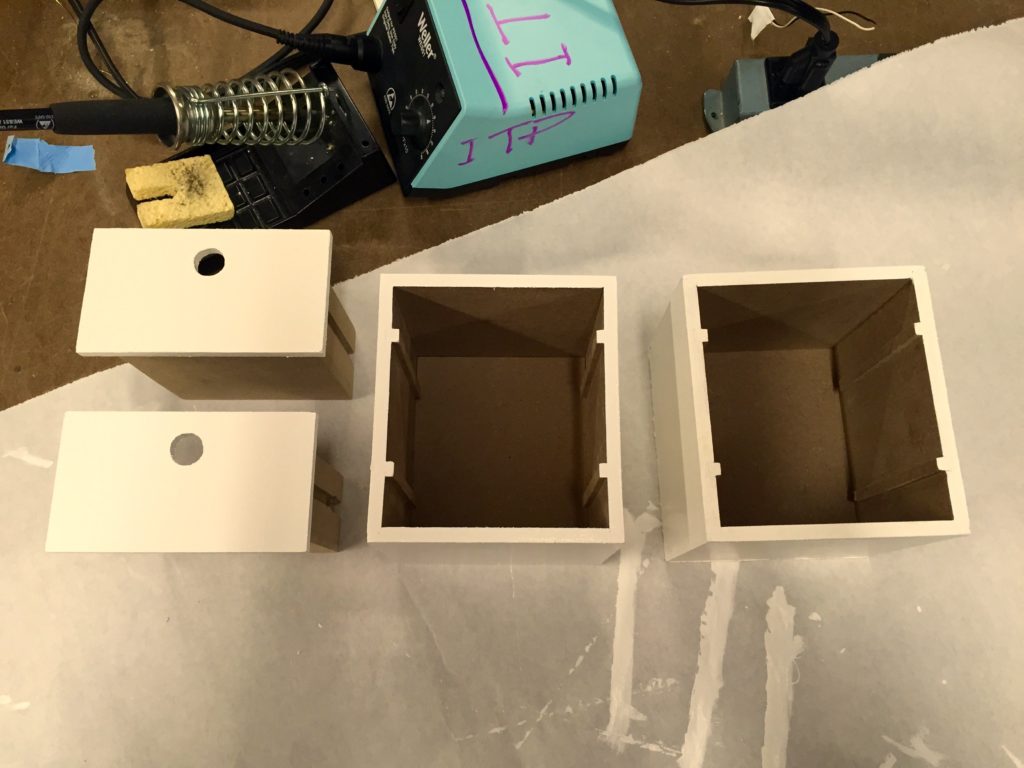
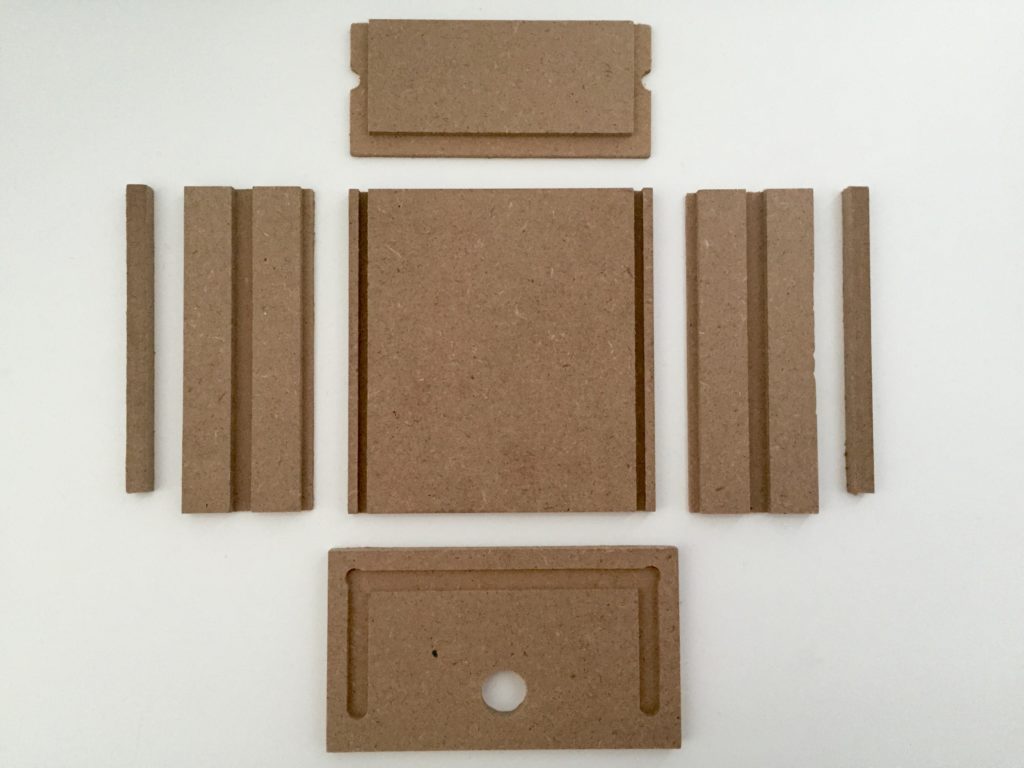
Week 13: the drawer chest
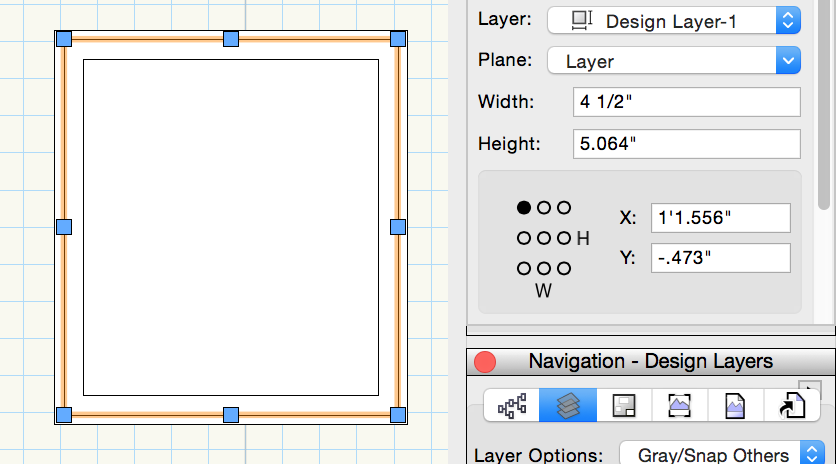
I designed the chest based on my drawer, with two slots on each side of the wall to hold two drawers. (below is 2nd draft)
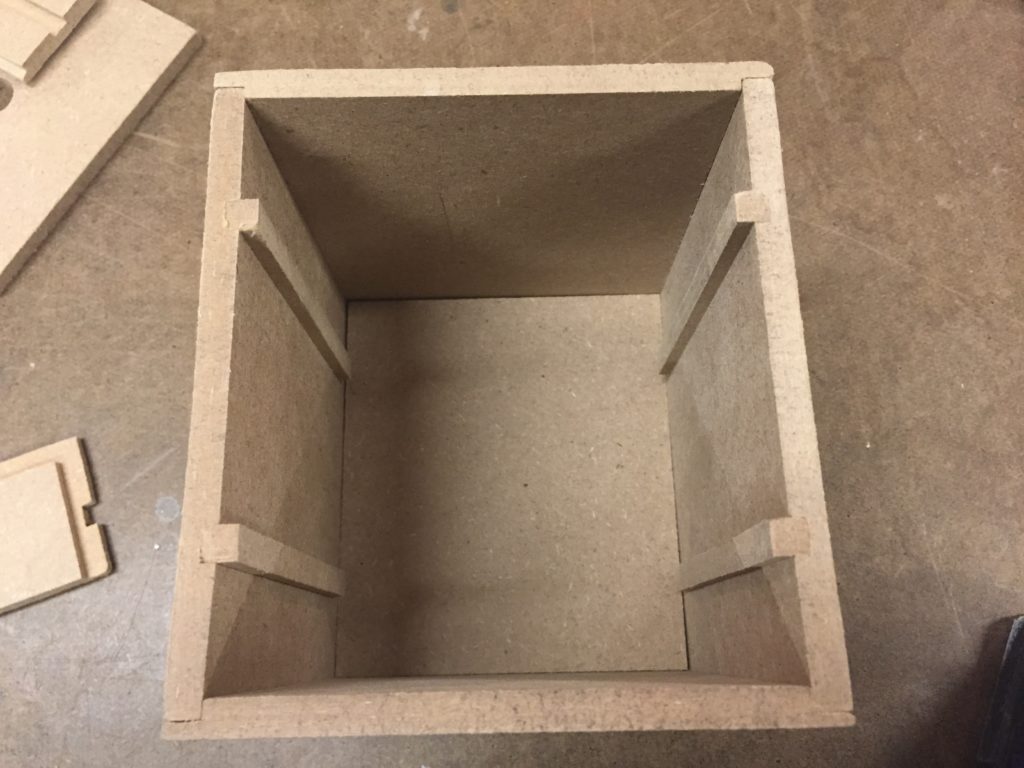
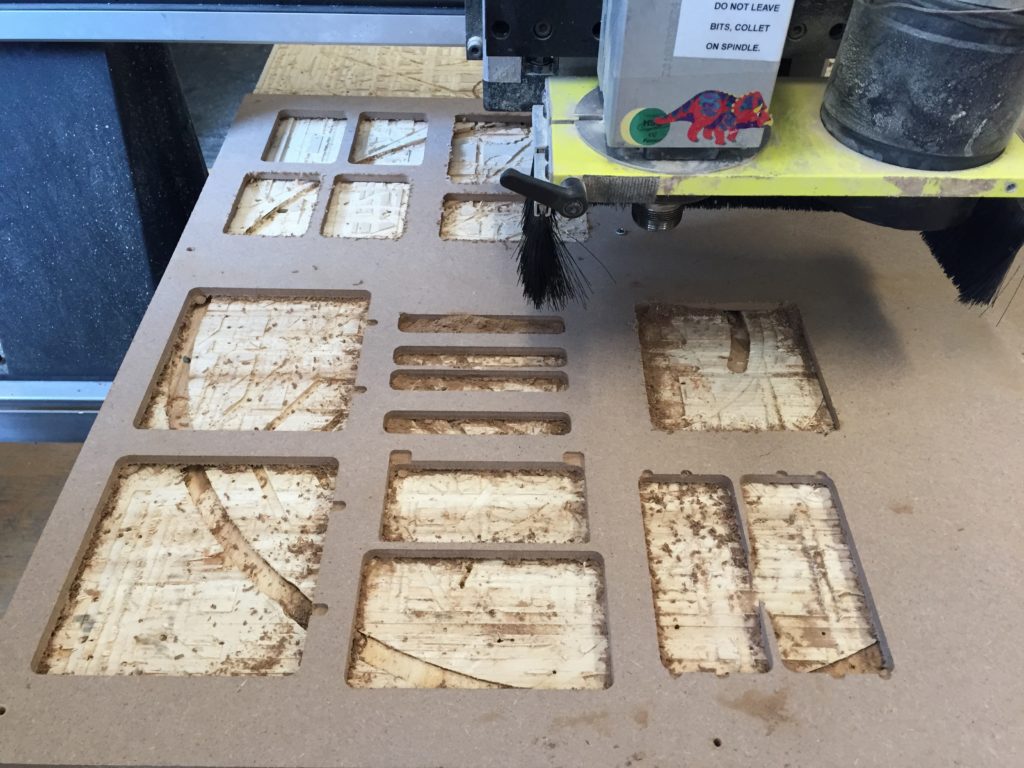
It still includes a lot of back and forth trouble shooting like incomplete pocketing.
1st draft
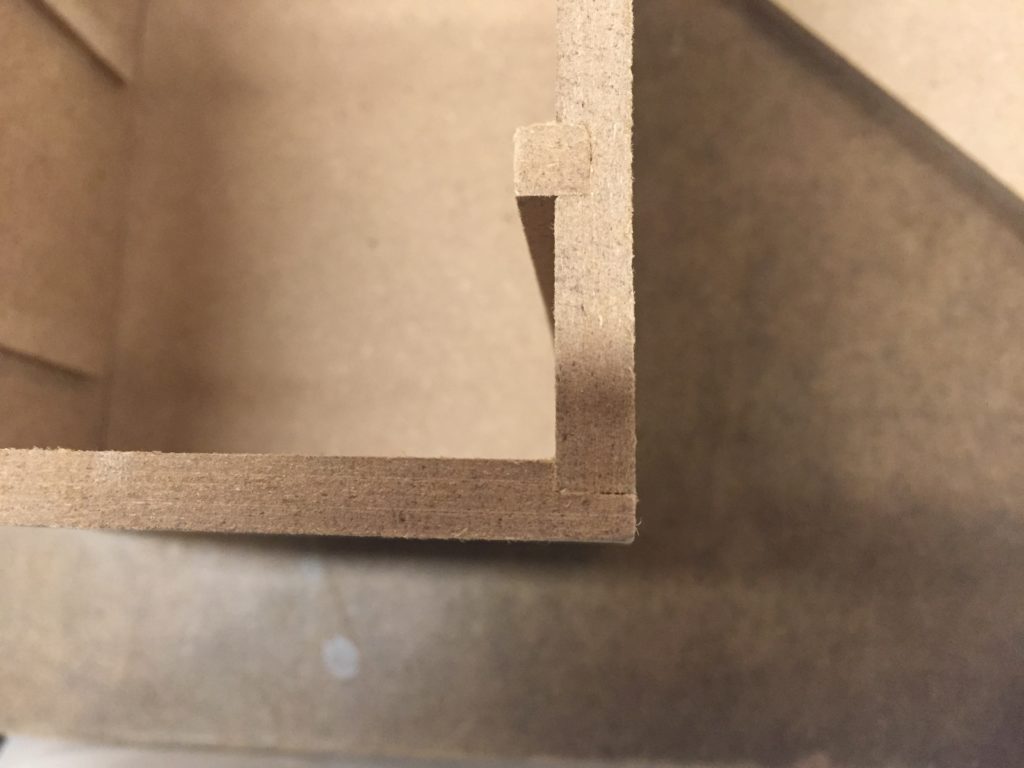
My first draft turn out to be good, but when I put my drawer to the bottom slots, I found that it didn’t fit well to the bottom layer, because the tolerance inside of chest is not set nicely.
And the pocketing turned out to be not very precise as well, that why the size of my chest even shrank after gluing.
2nd draft
I tried another design with more tolerance inside.
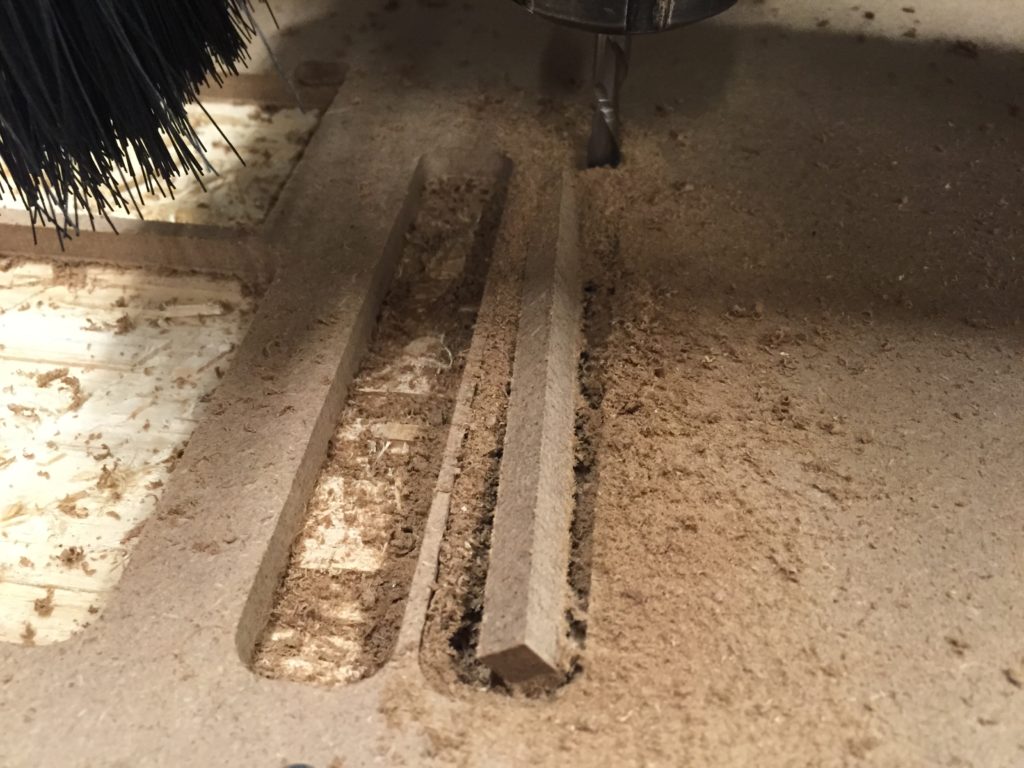
It turned out that the pocketing is not as precise as routing. The same design resulted in pieces with different depth, and it also seems that the tolerance set in machine is not as dominant as how good you set the zero of Z axis on the machine.
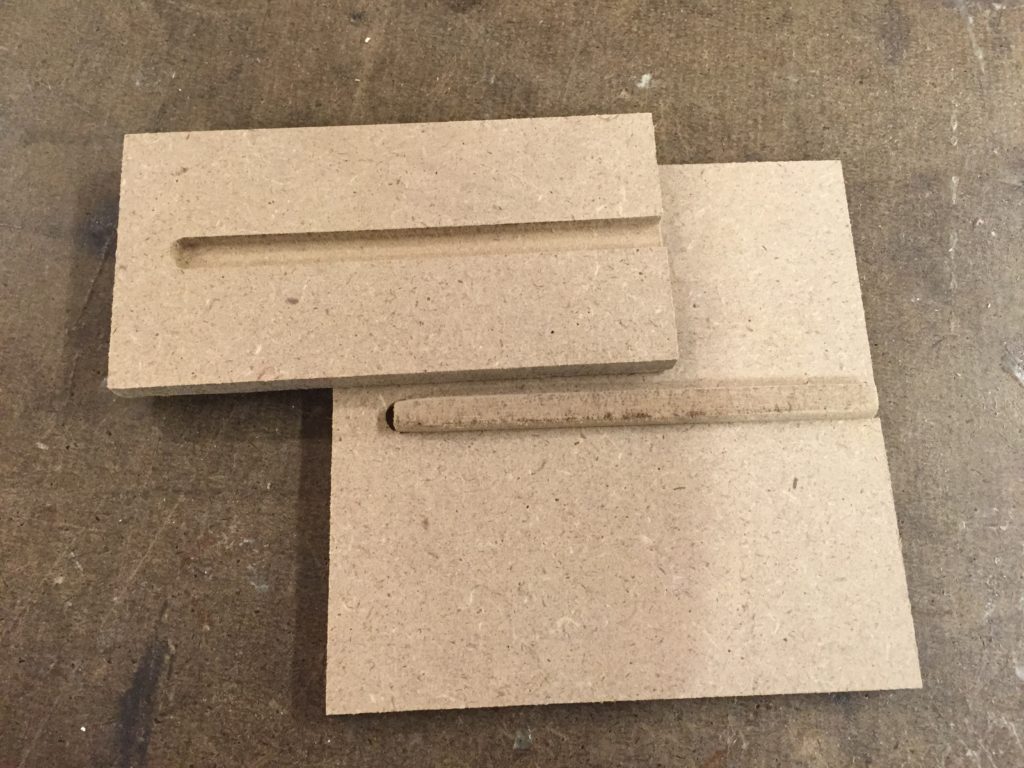
Luckily I think this shallow-pocketed piece in the bottom is actually good for allowing more tolerance for the drawer.
This time I use this technique to get it glued more precisely and clean.
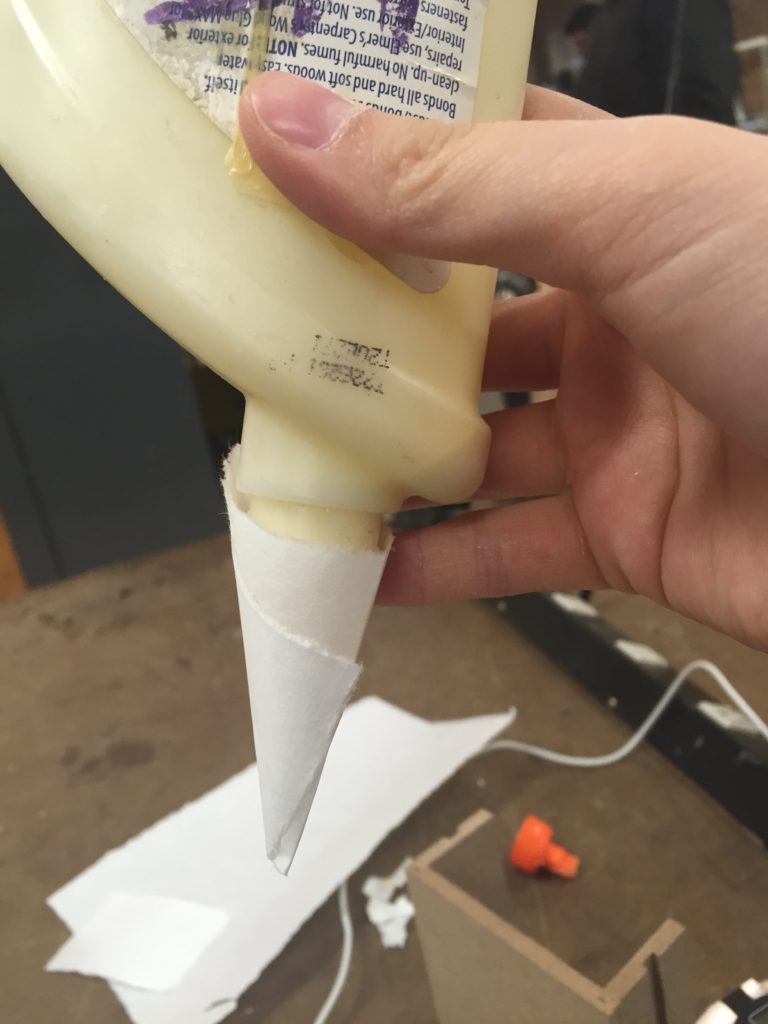
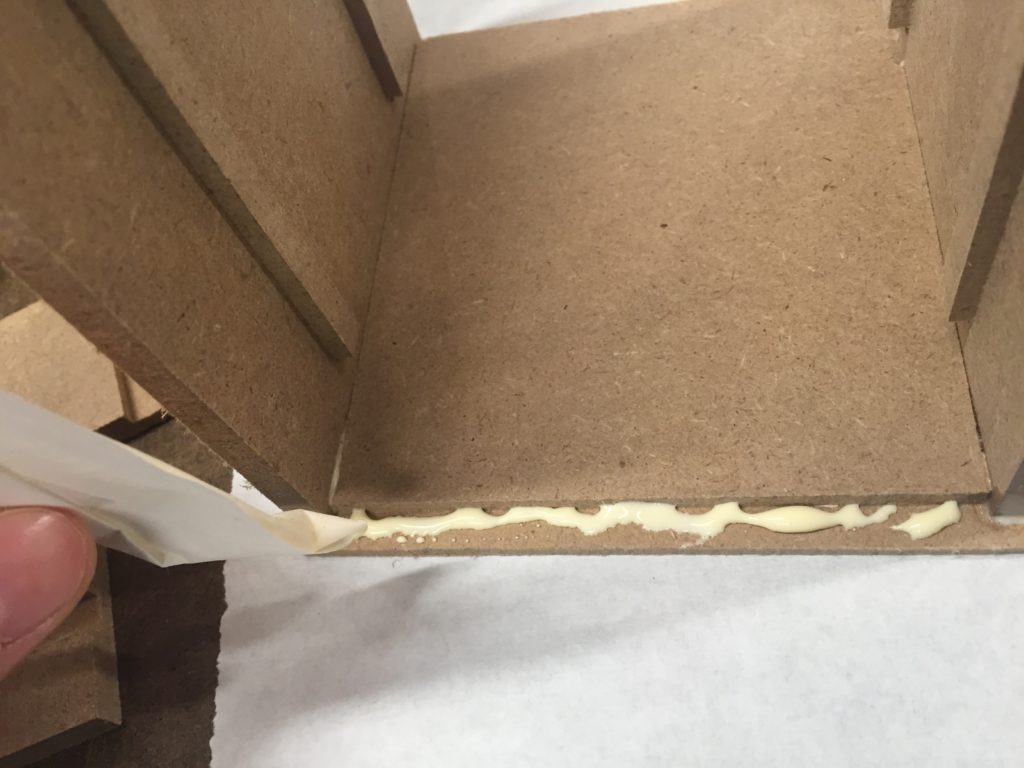
But it turned out that since I used less glue, the tolerance set for gluing was wasted so the inner size of chest shrank even more…
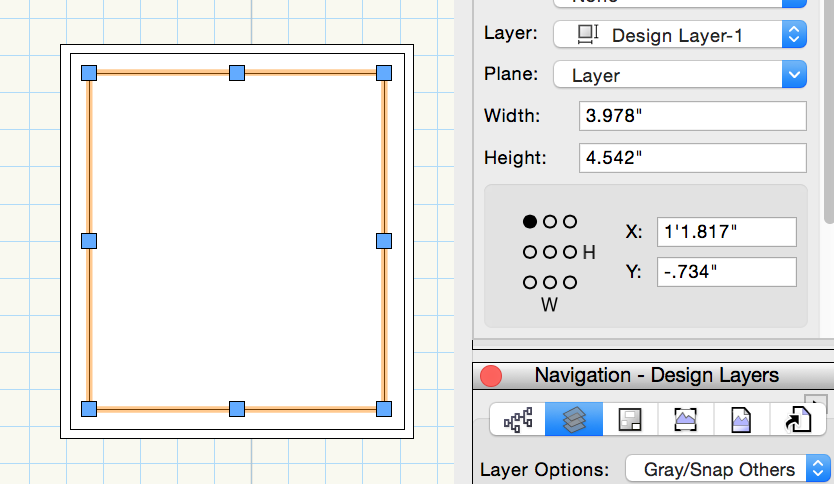
outer width = 4.5″
inner width = 3.978″
board thickness = 0.254″ ~ 0.256″
each side has (4.5-3.978)/2 – 0.255 = 0.006″ tolerance
And the tolerance was not filled by glue.
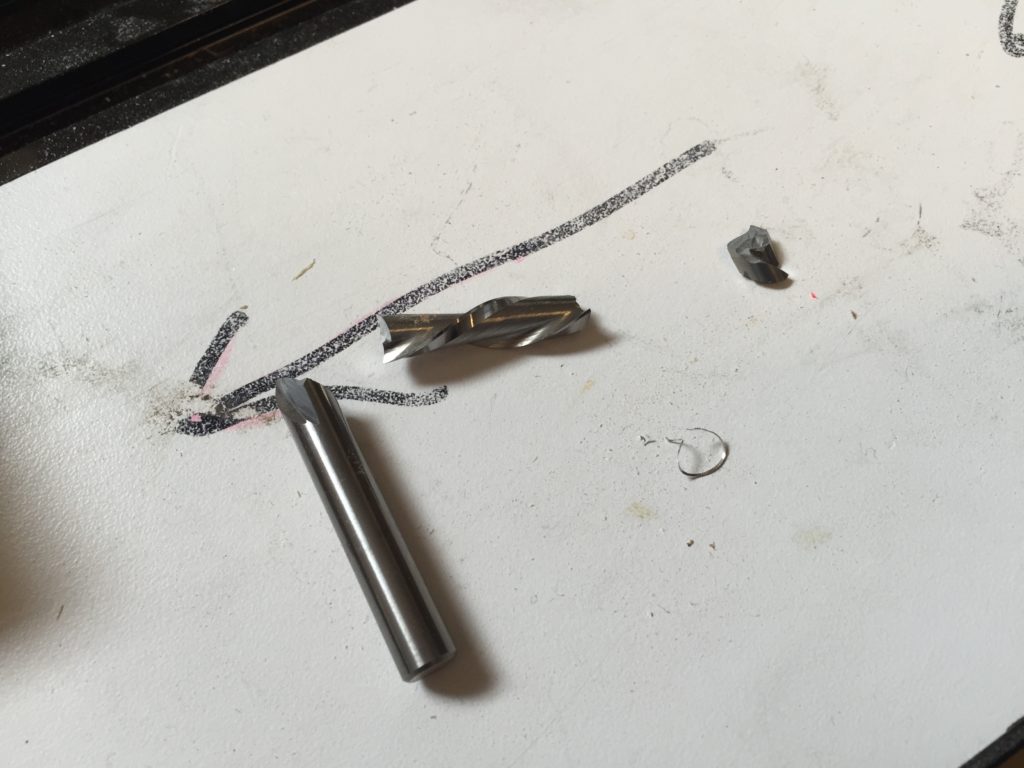
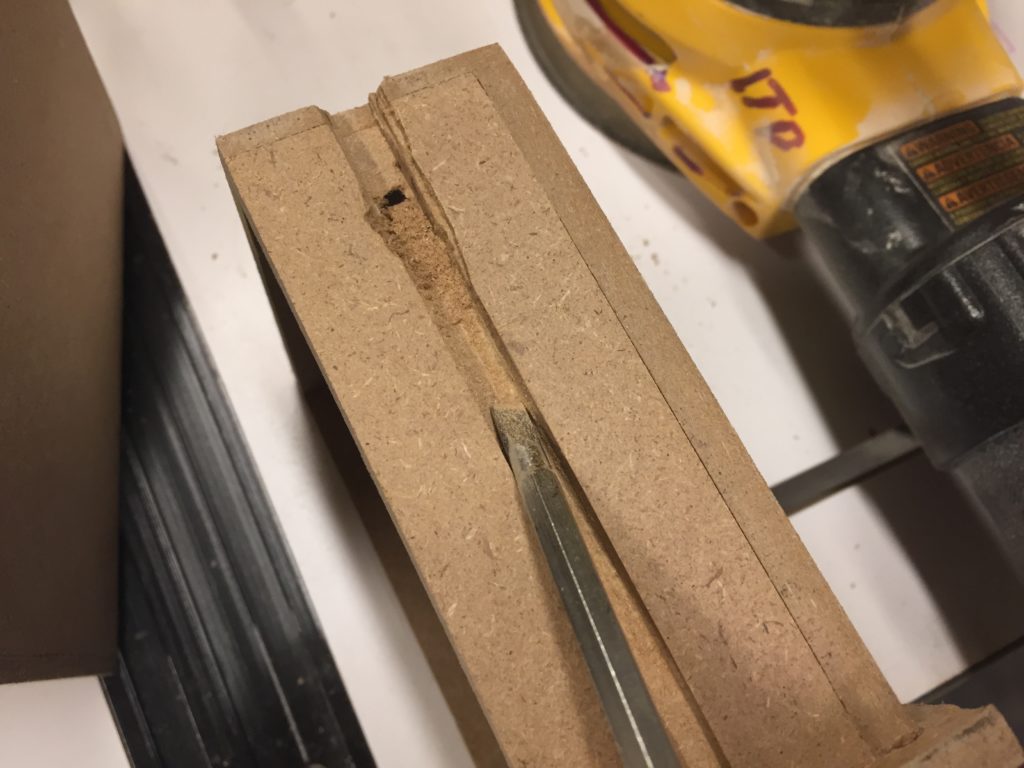
Bit broke for I paused, moved it somewhere unexpected, and hit resume. Then it goes wildly and broke.
The other drawer was just bad for this unexpected uneveness of pocketing.
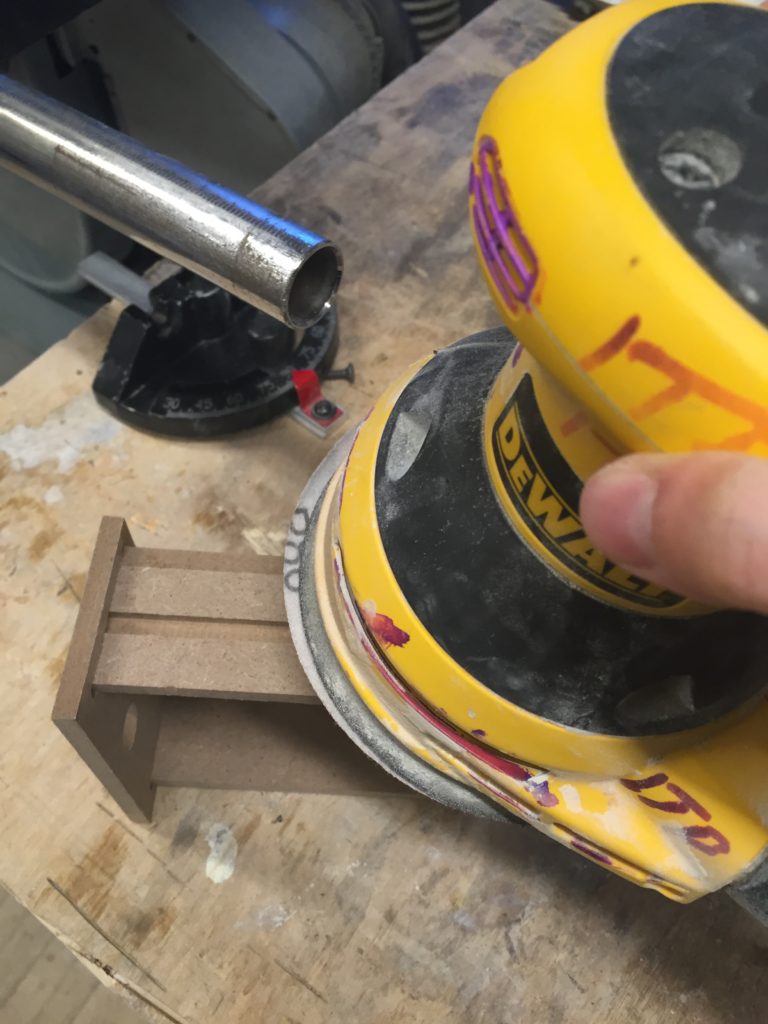
I tried sanding and it just took forever.
Then I tried hand router and just not that good.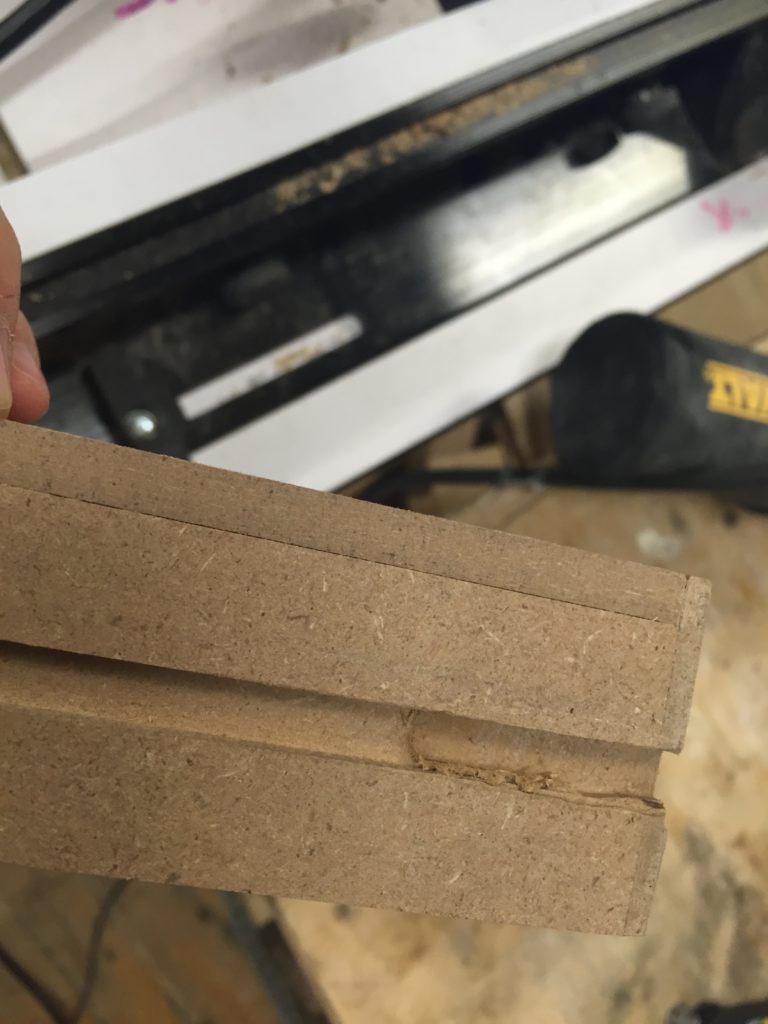
It turned out that the best solution is screw driver.
And since they are super snug for 2nd draft I had to sand them super hard.
Eventually they fit nicely.

And then paint it.